How to Install a Web Server on Windows 10
Introduction
In this tutorial, we will see how to install a Web Server on a Windows 10 machine. By using Apache as our Web server, PHP (8.0) as our underlying HTML-code generating Programing language, and MySQL as our Database-server, we will have the possibility to create websites and host them locally for testing before deploying them online and making them available to the public.
Install Apache
The first step in installing a local and private Webserver would be to install the actual Webserver which will be responsible for hosting our files and making them available to a browser.
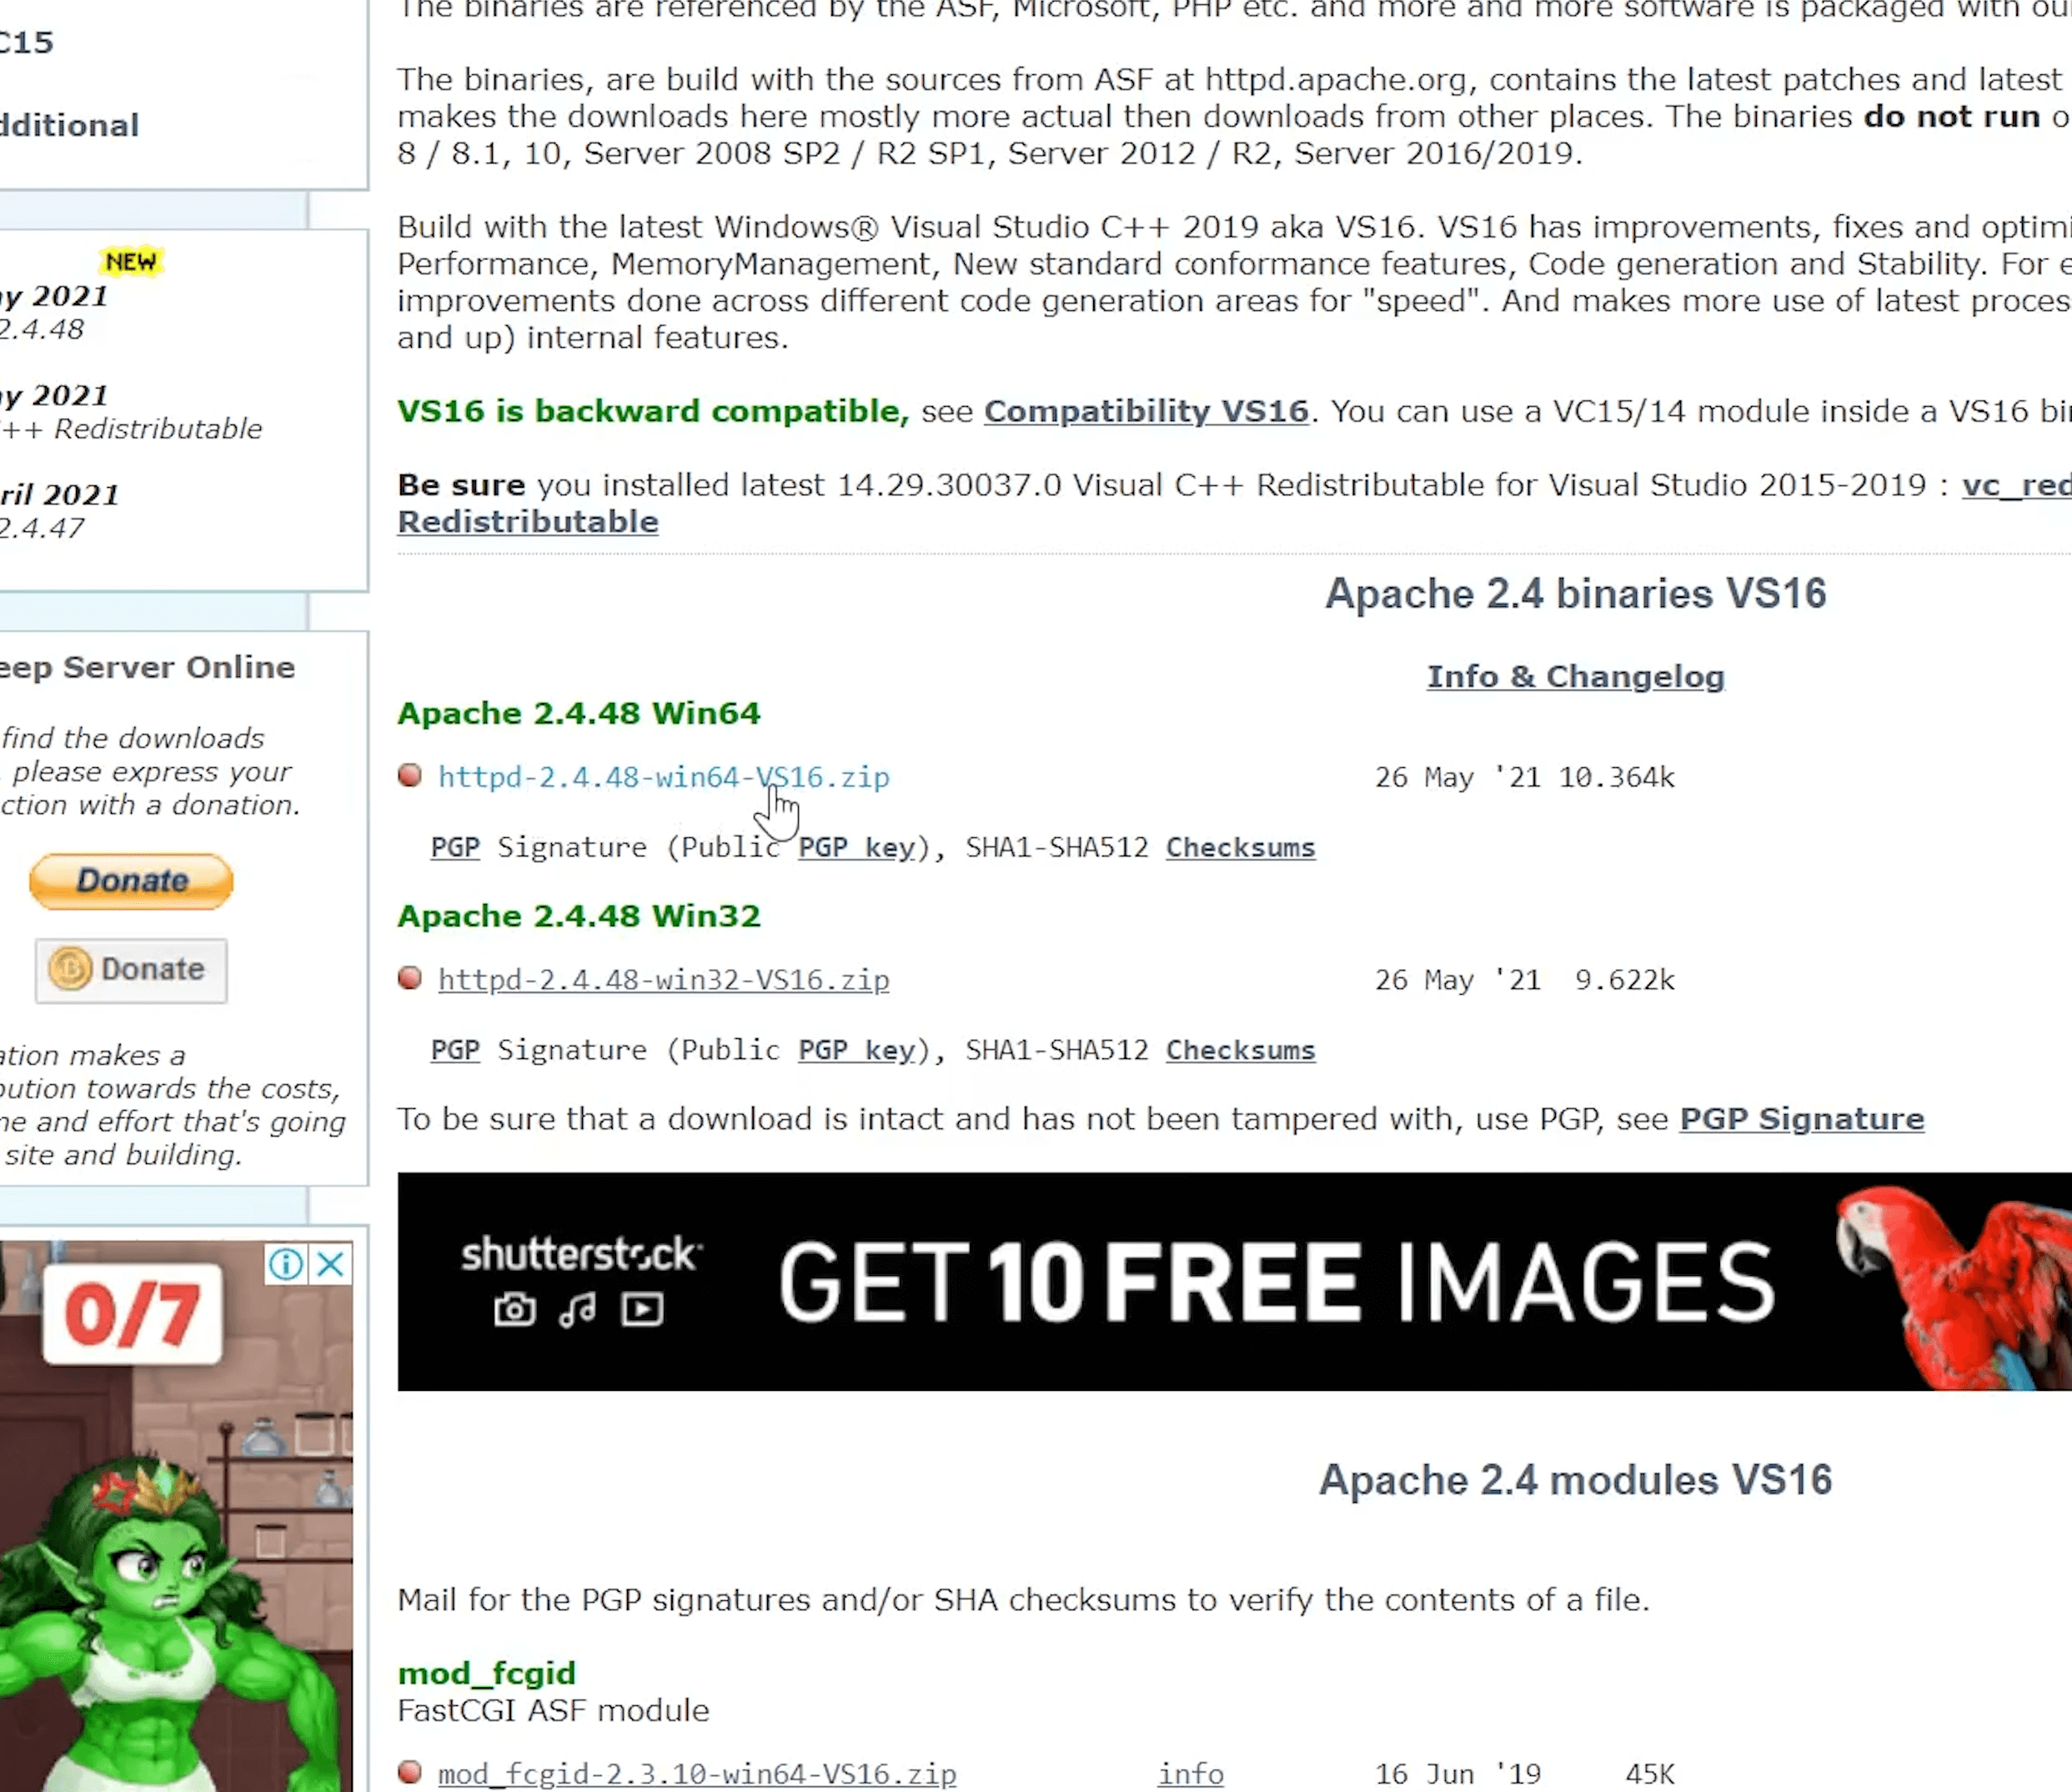
To do so, we first need to download the newest version of Apache right here.
-> Please make sure to download the Win64 version of Apache.

Once we downloaded the Zip-File, we need to Drag-and-Drop the whole "Apache24" folder from the downloaded Zip-File into our C:/ drive.
Now we have Apache's files placed but we need to install it as a Service.
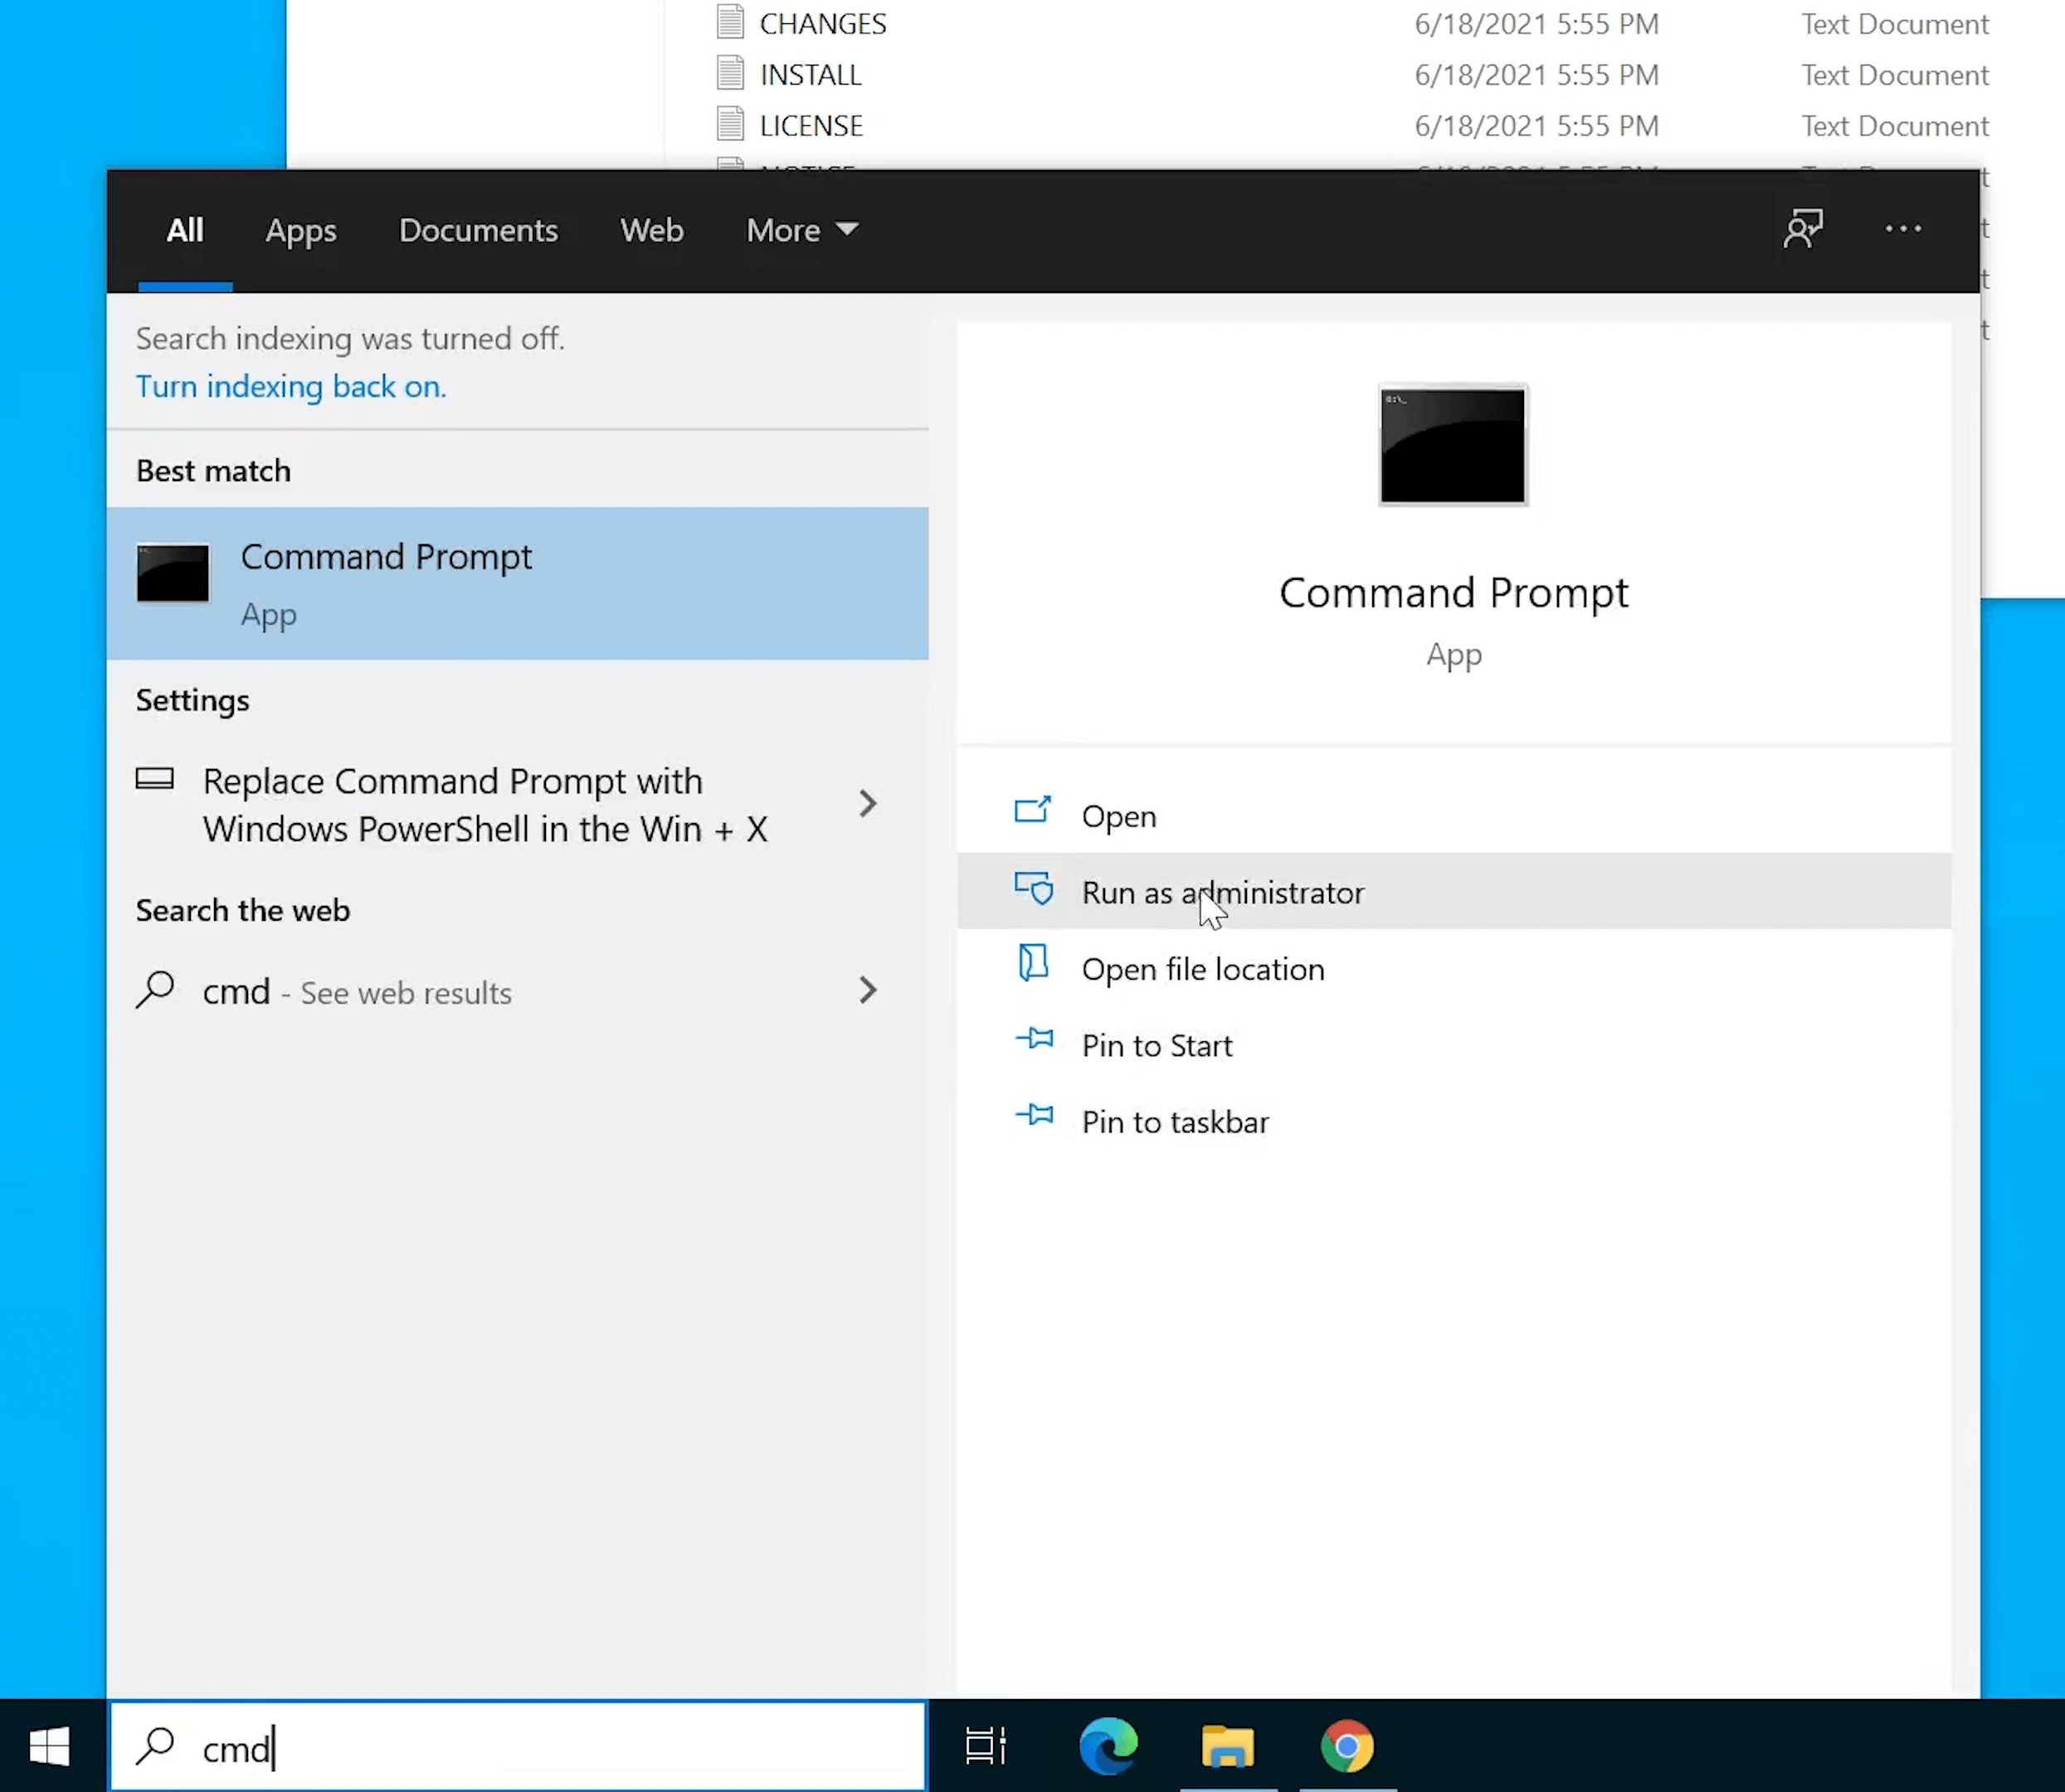
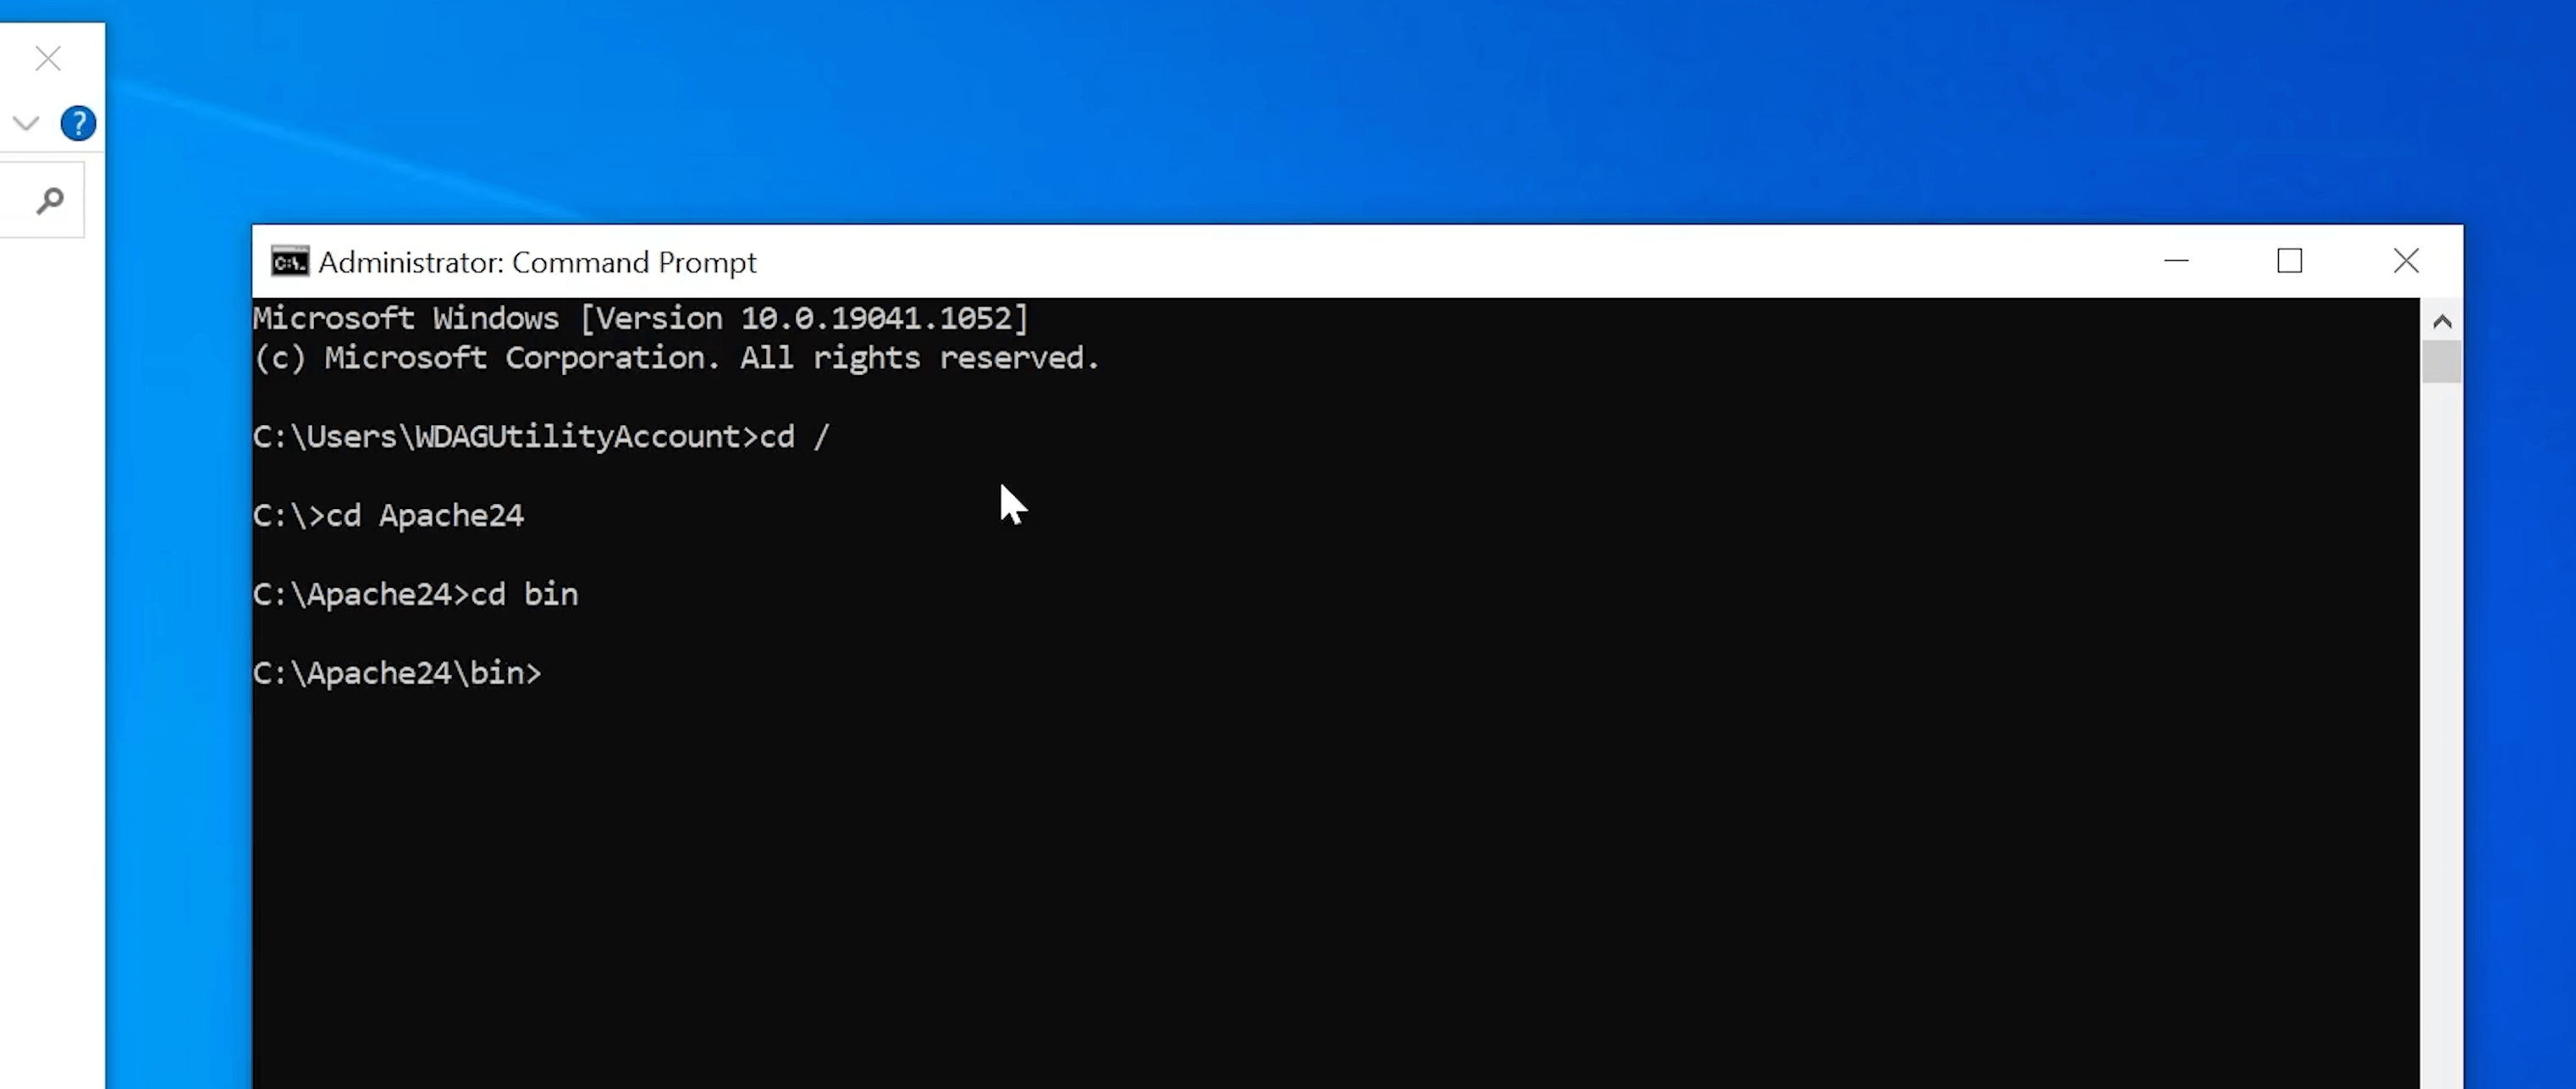
For this, we will open Windows's Start menu, search for "CMD" and open it up in Administrator mode.
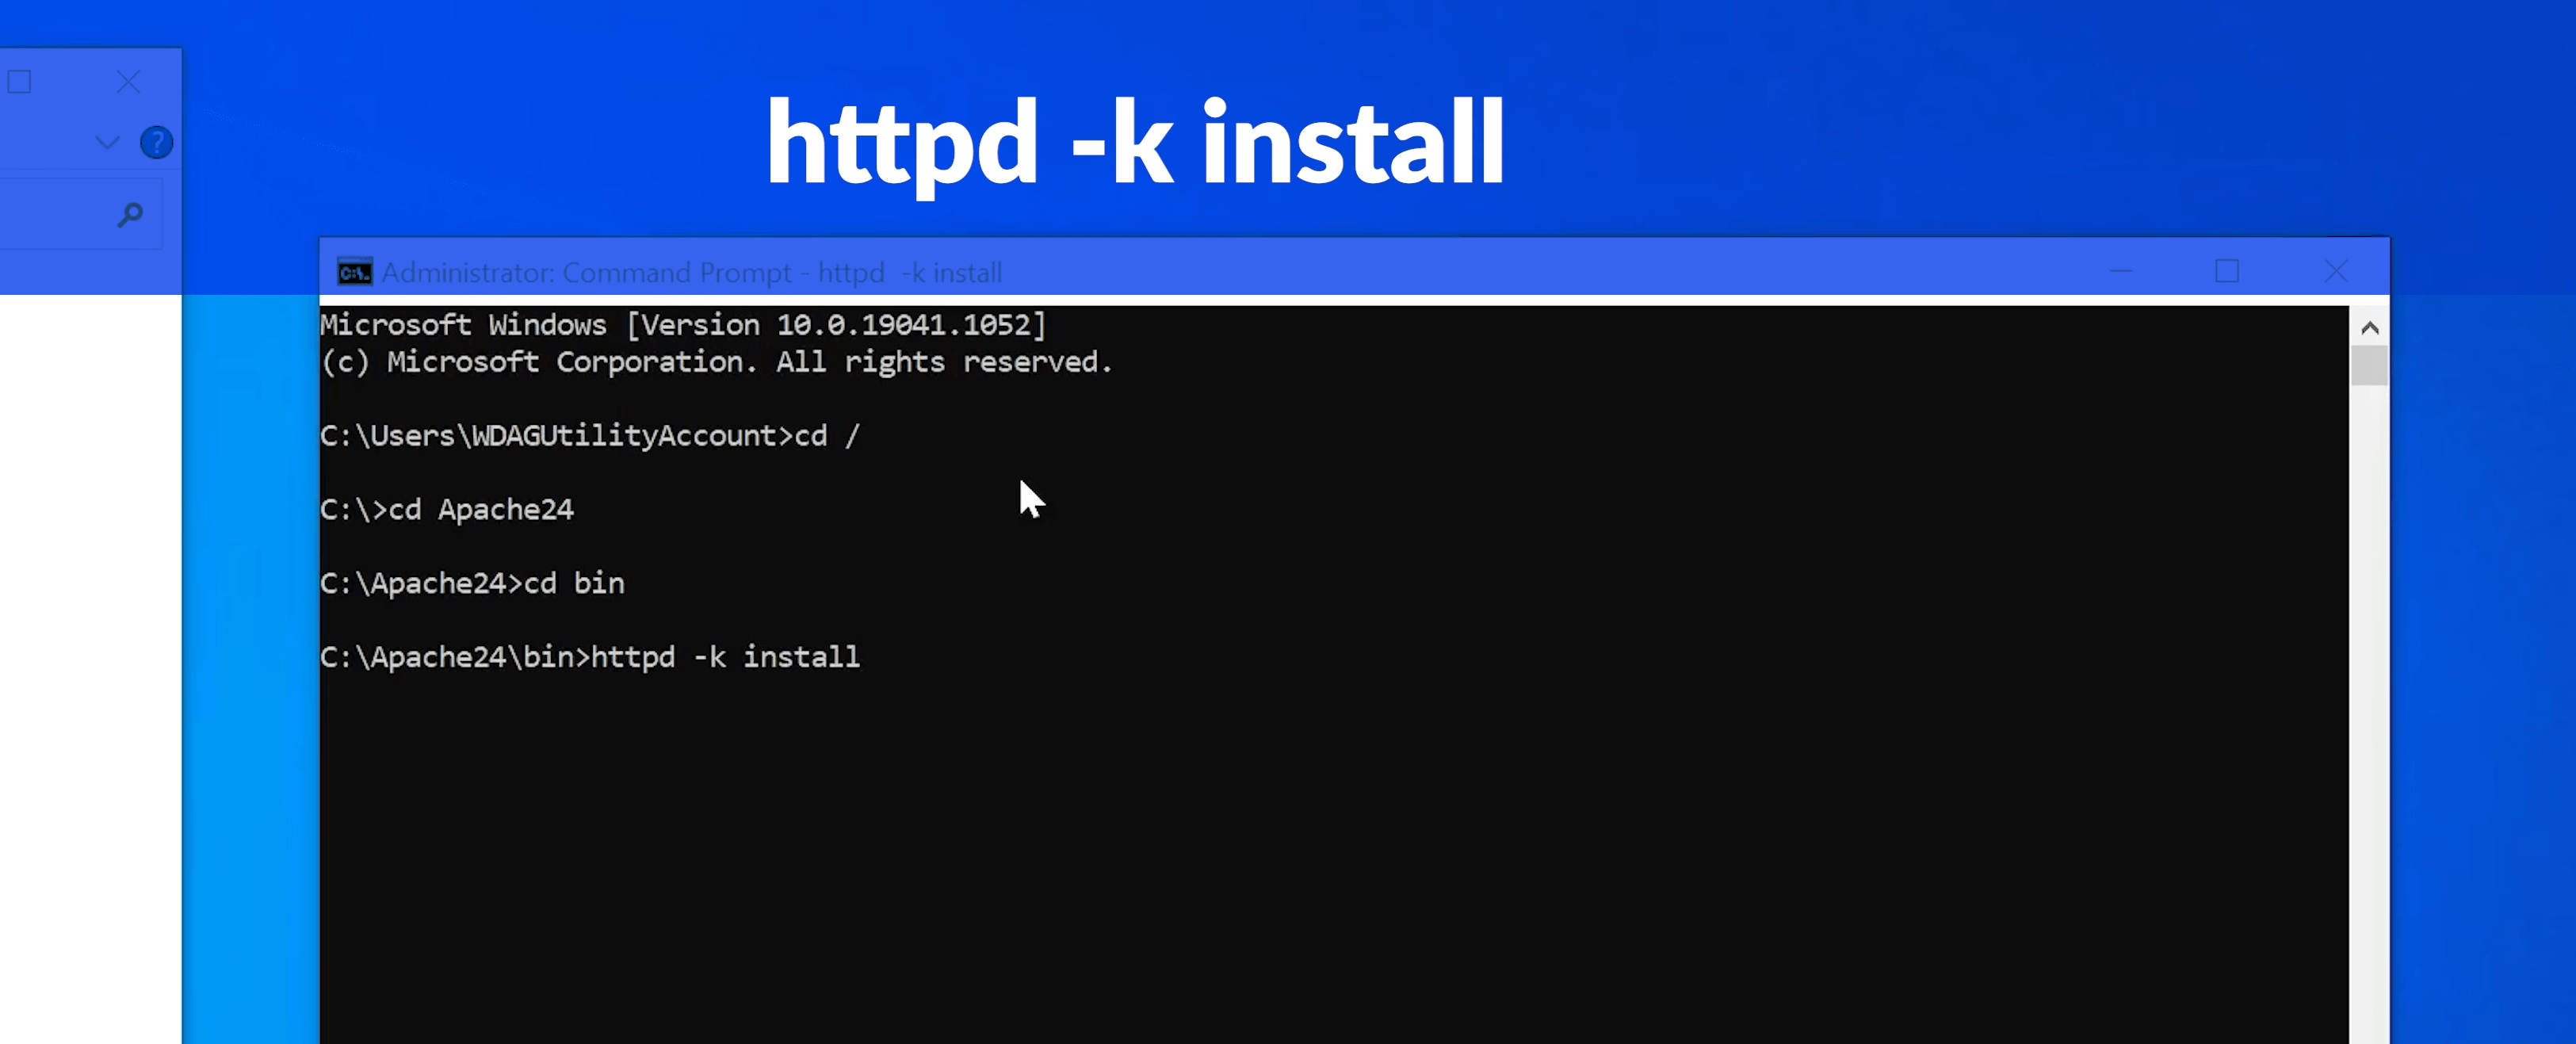
In this Black Window, we will execute the following commands:
cd /Apache24/bin
httpd-k install
In this Black Window, we will execute the following commands:
*Make sure to confirm each command with a hit on your -Enter- key.
*Don't close CMD after executing the commands, we will need it later on
There are occasions in which there might be a missing DLL error at this point (VCRUNTIME140.dll)
If that is the case, please follow the following tutorial and then re-use the commands above. (TUTORIAL)
Once Apache is installed, we can proceed by configuring it properly.
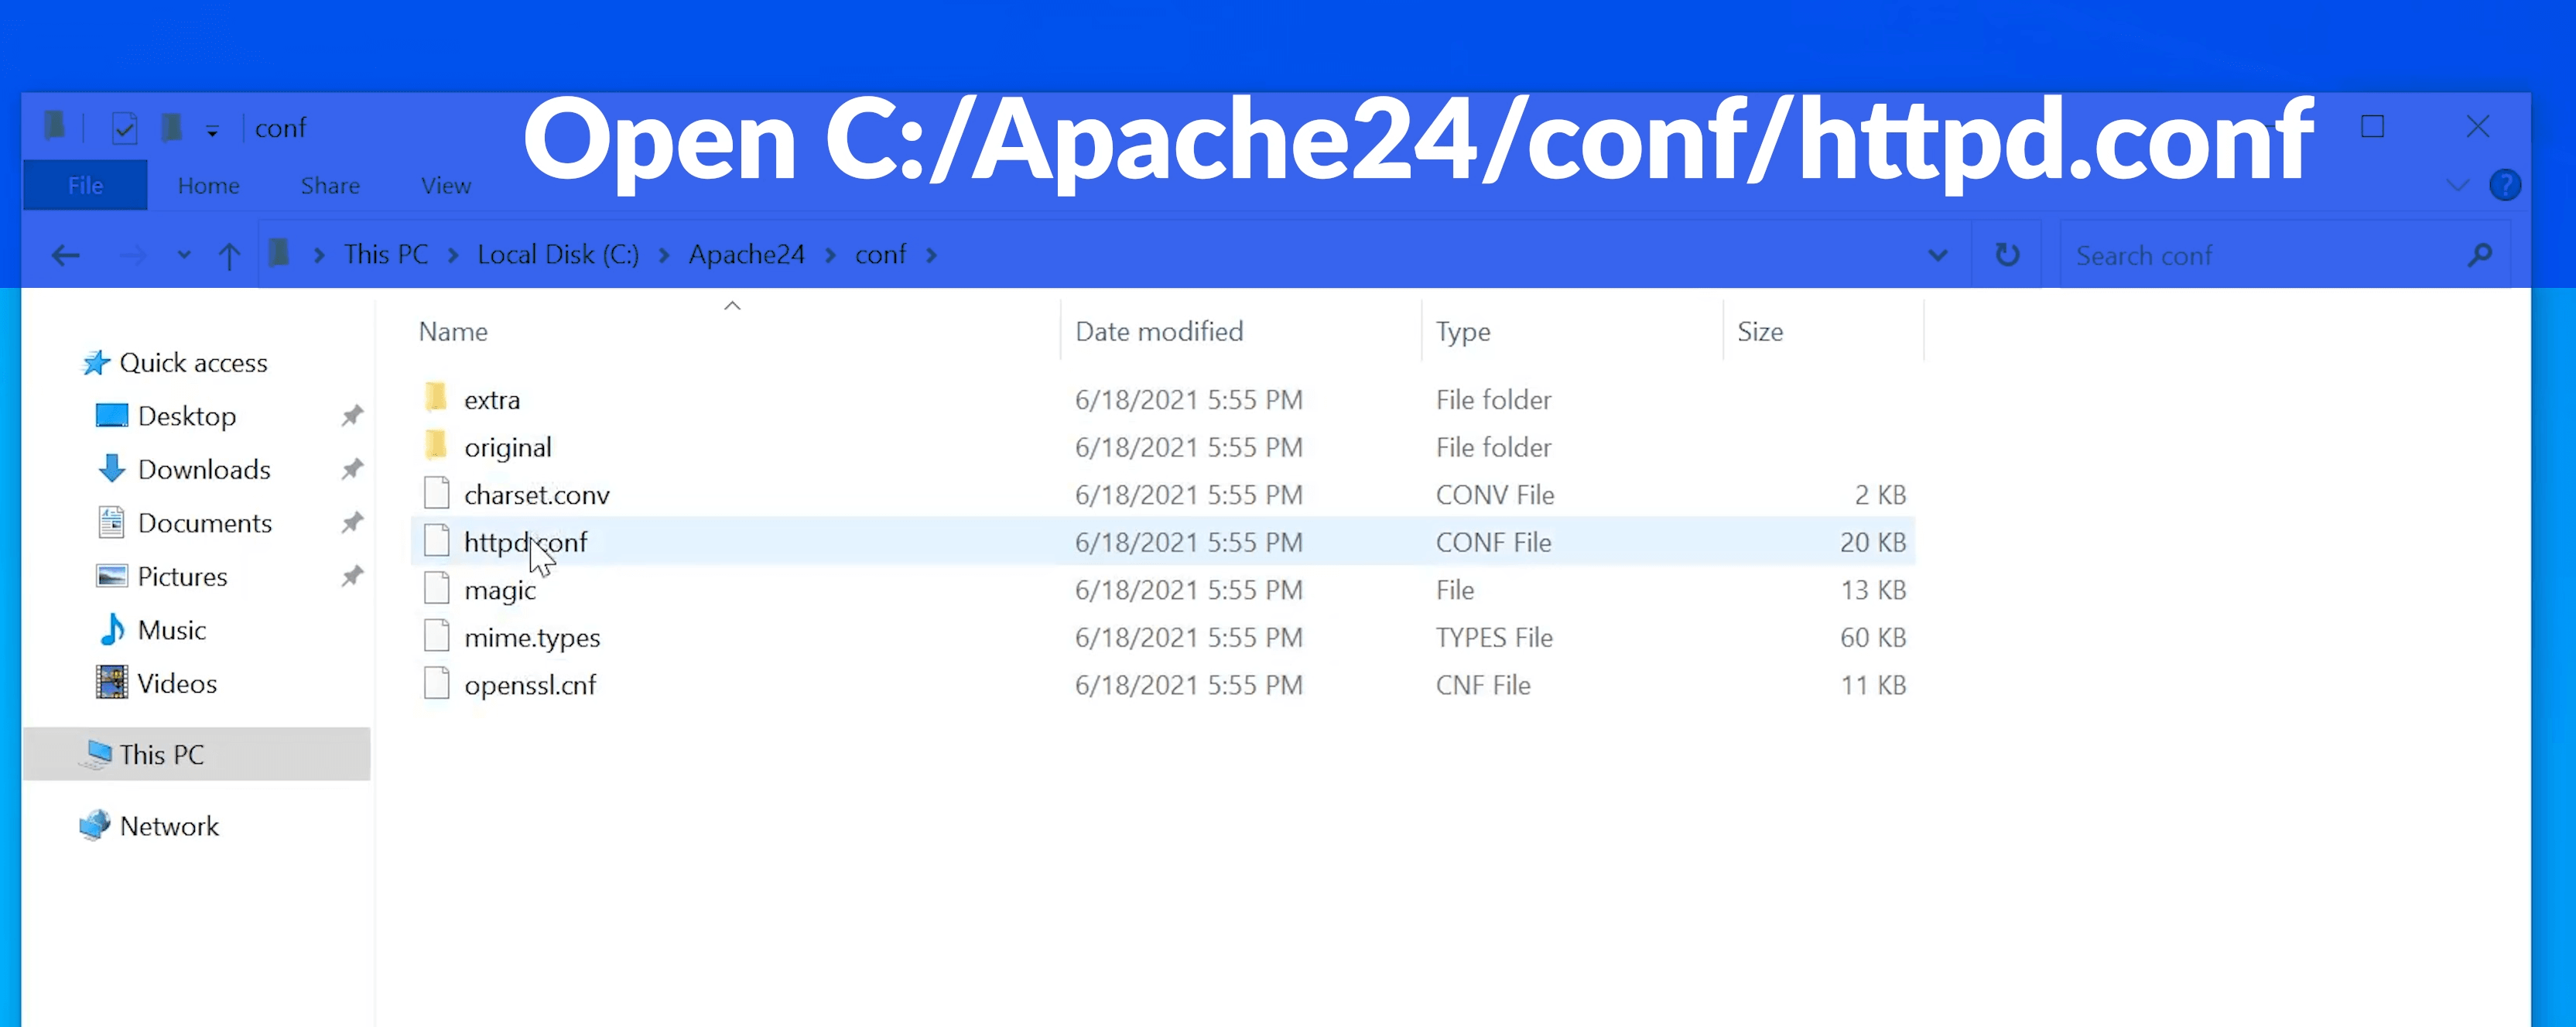
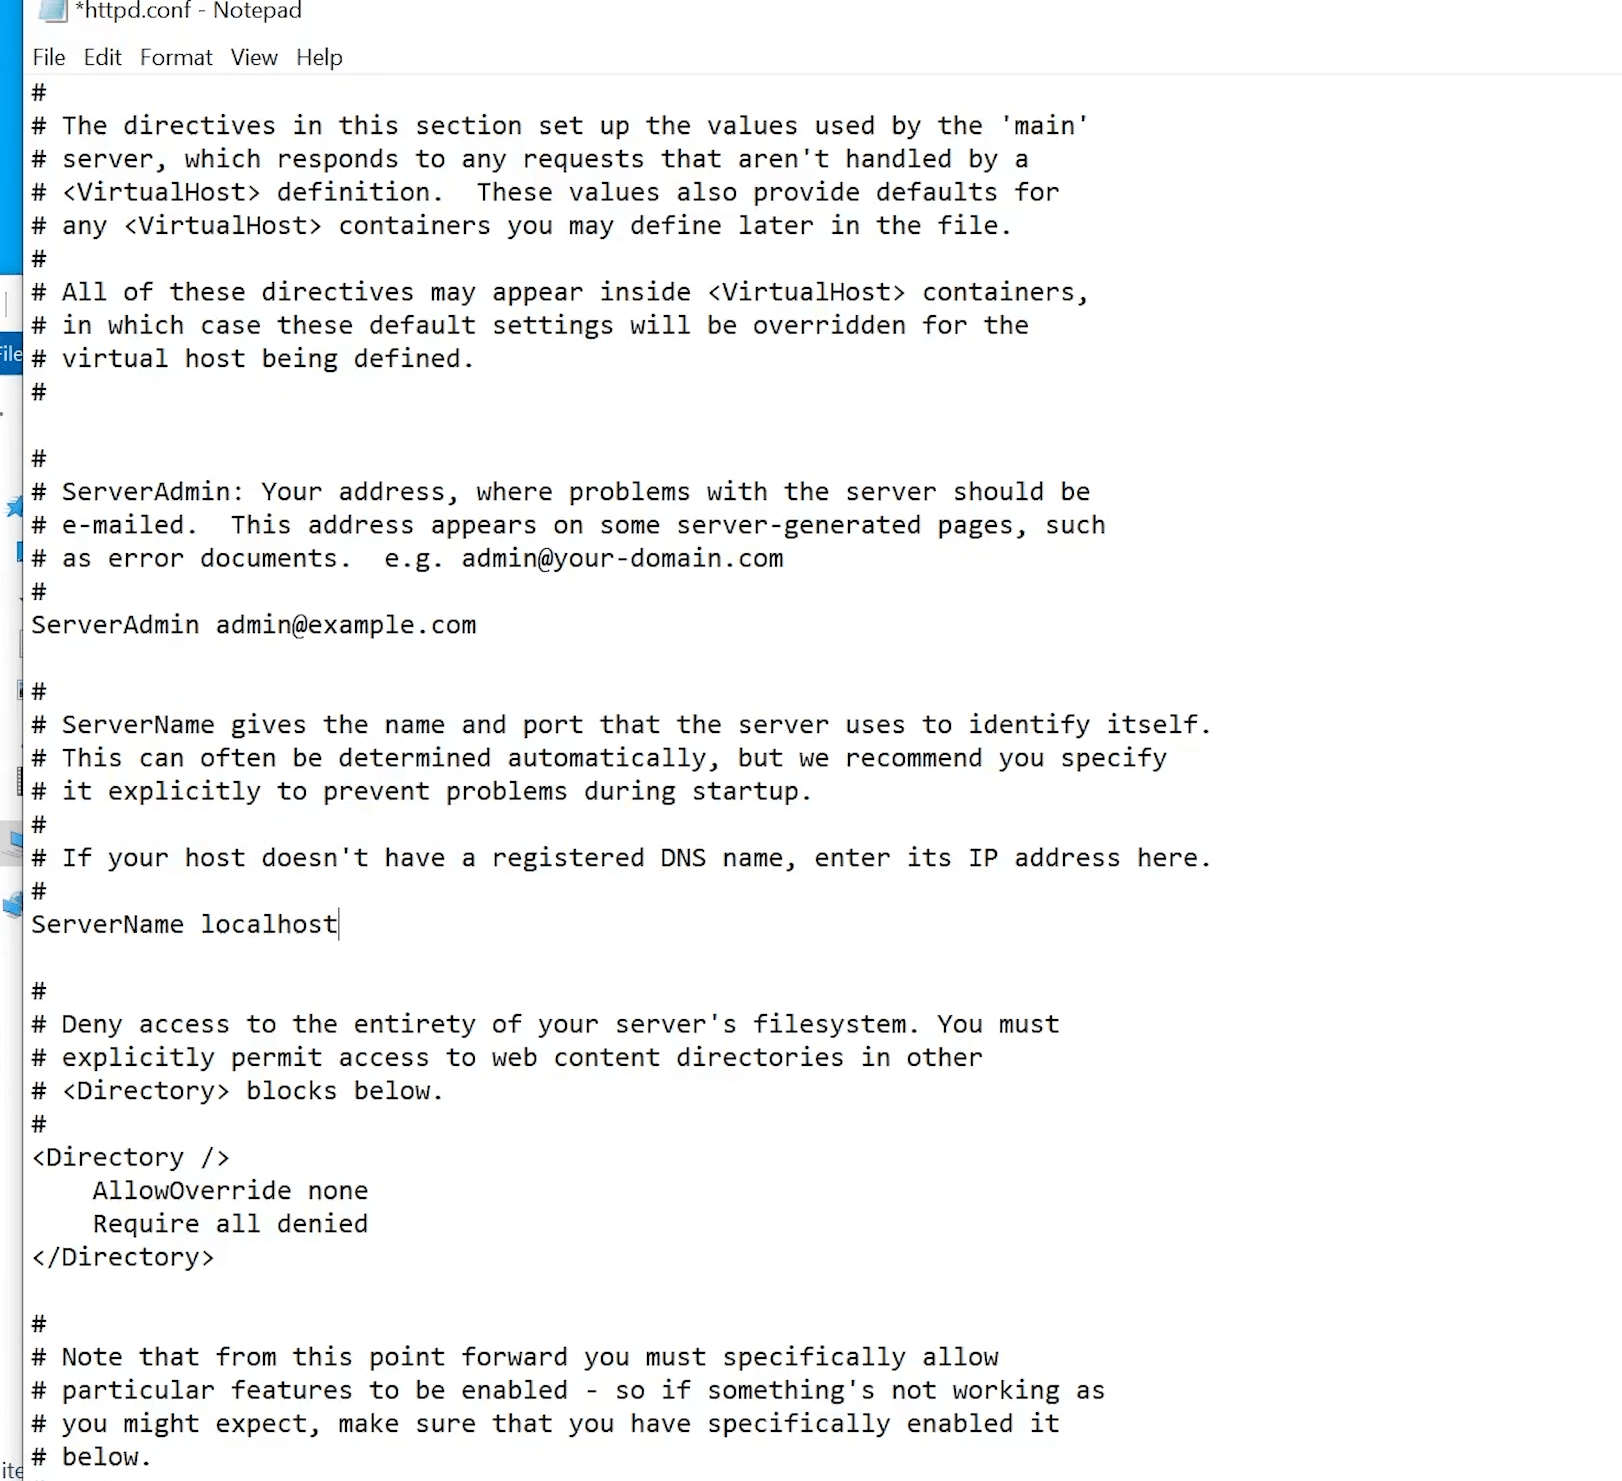
For this step, we will need to open Apache's configuration file: C:/Apache24/conf/httpd.conf
In this file, we will look for the line "#ServerName www.example.com" and change it to "ServerName localhost"
Then we can save the file by hitting the CTRL-S Keys followed by closing notepad.
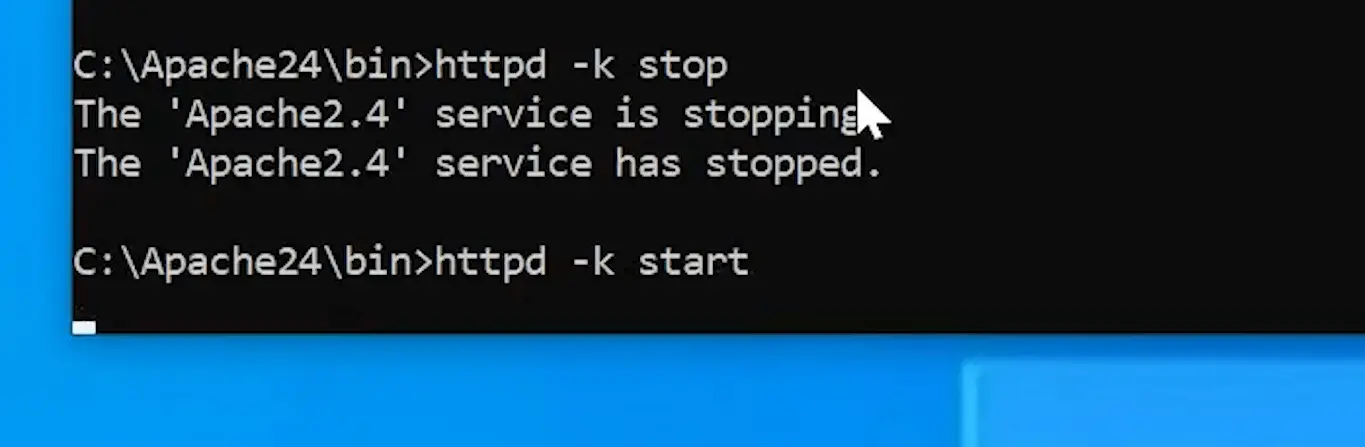
Now Apache is properly configured to server us the files we need, but it needs to reload the changes we just made.
For this we will re-use our CMD window and use the following command:
httpd-k restart
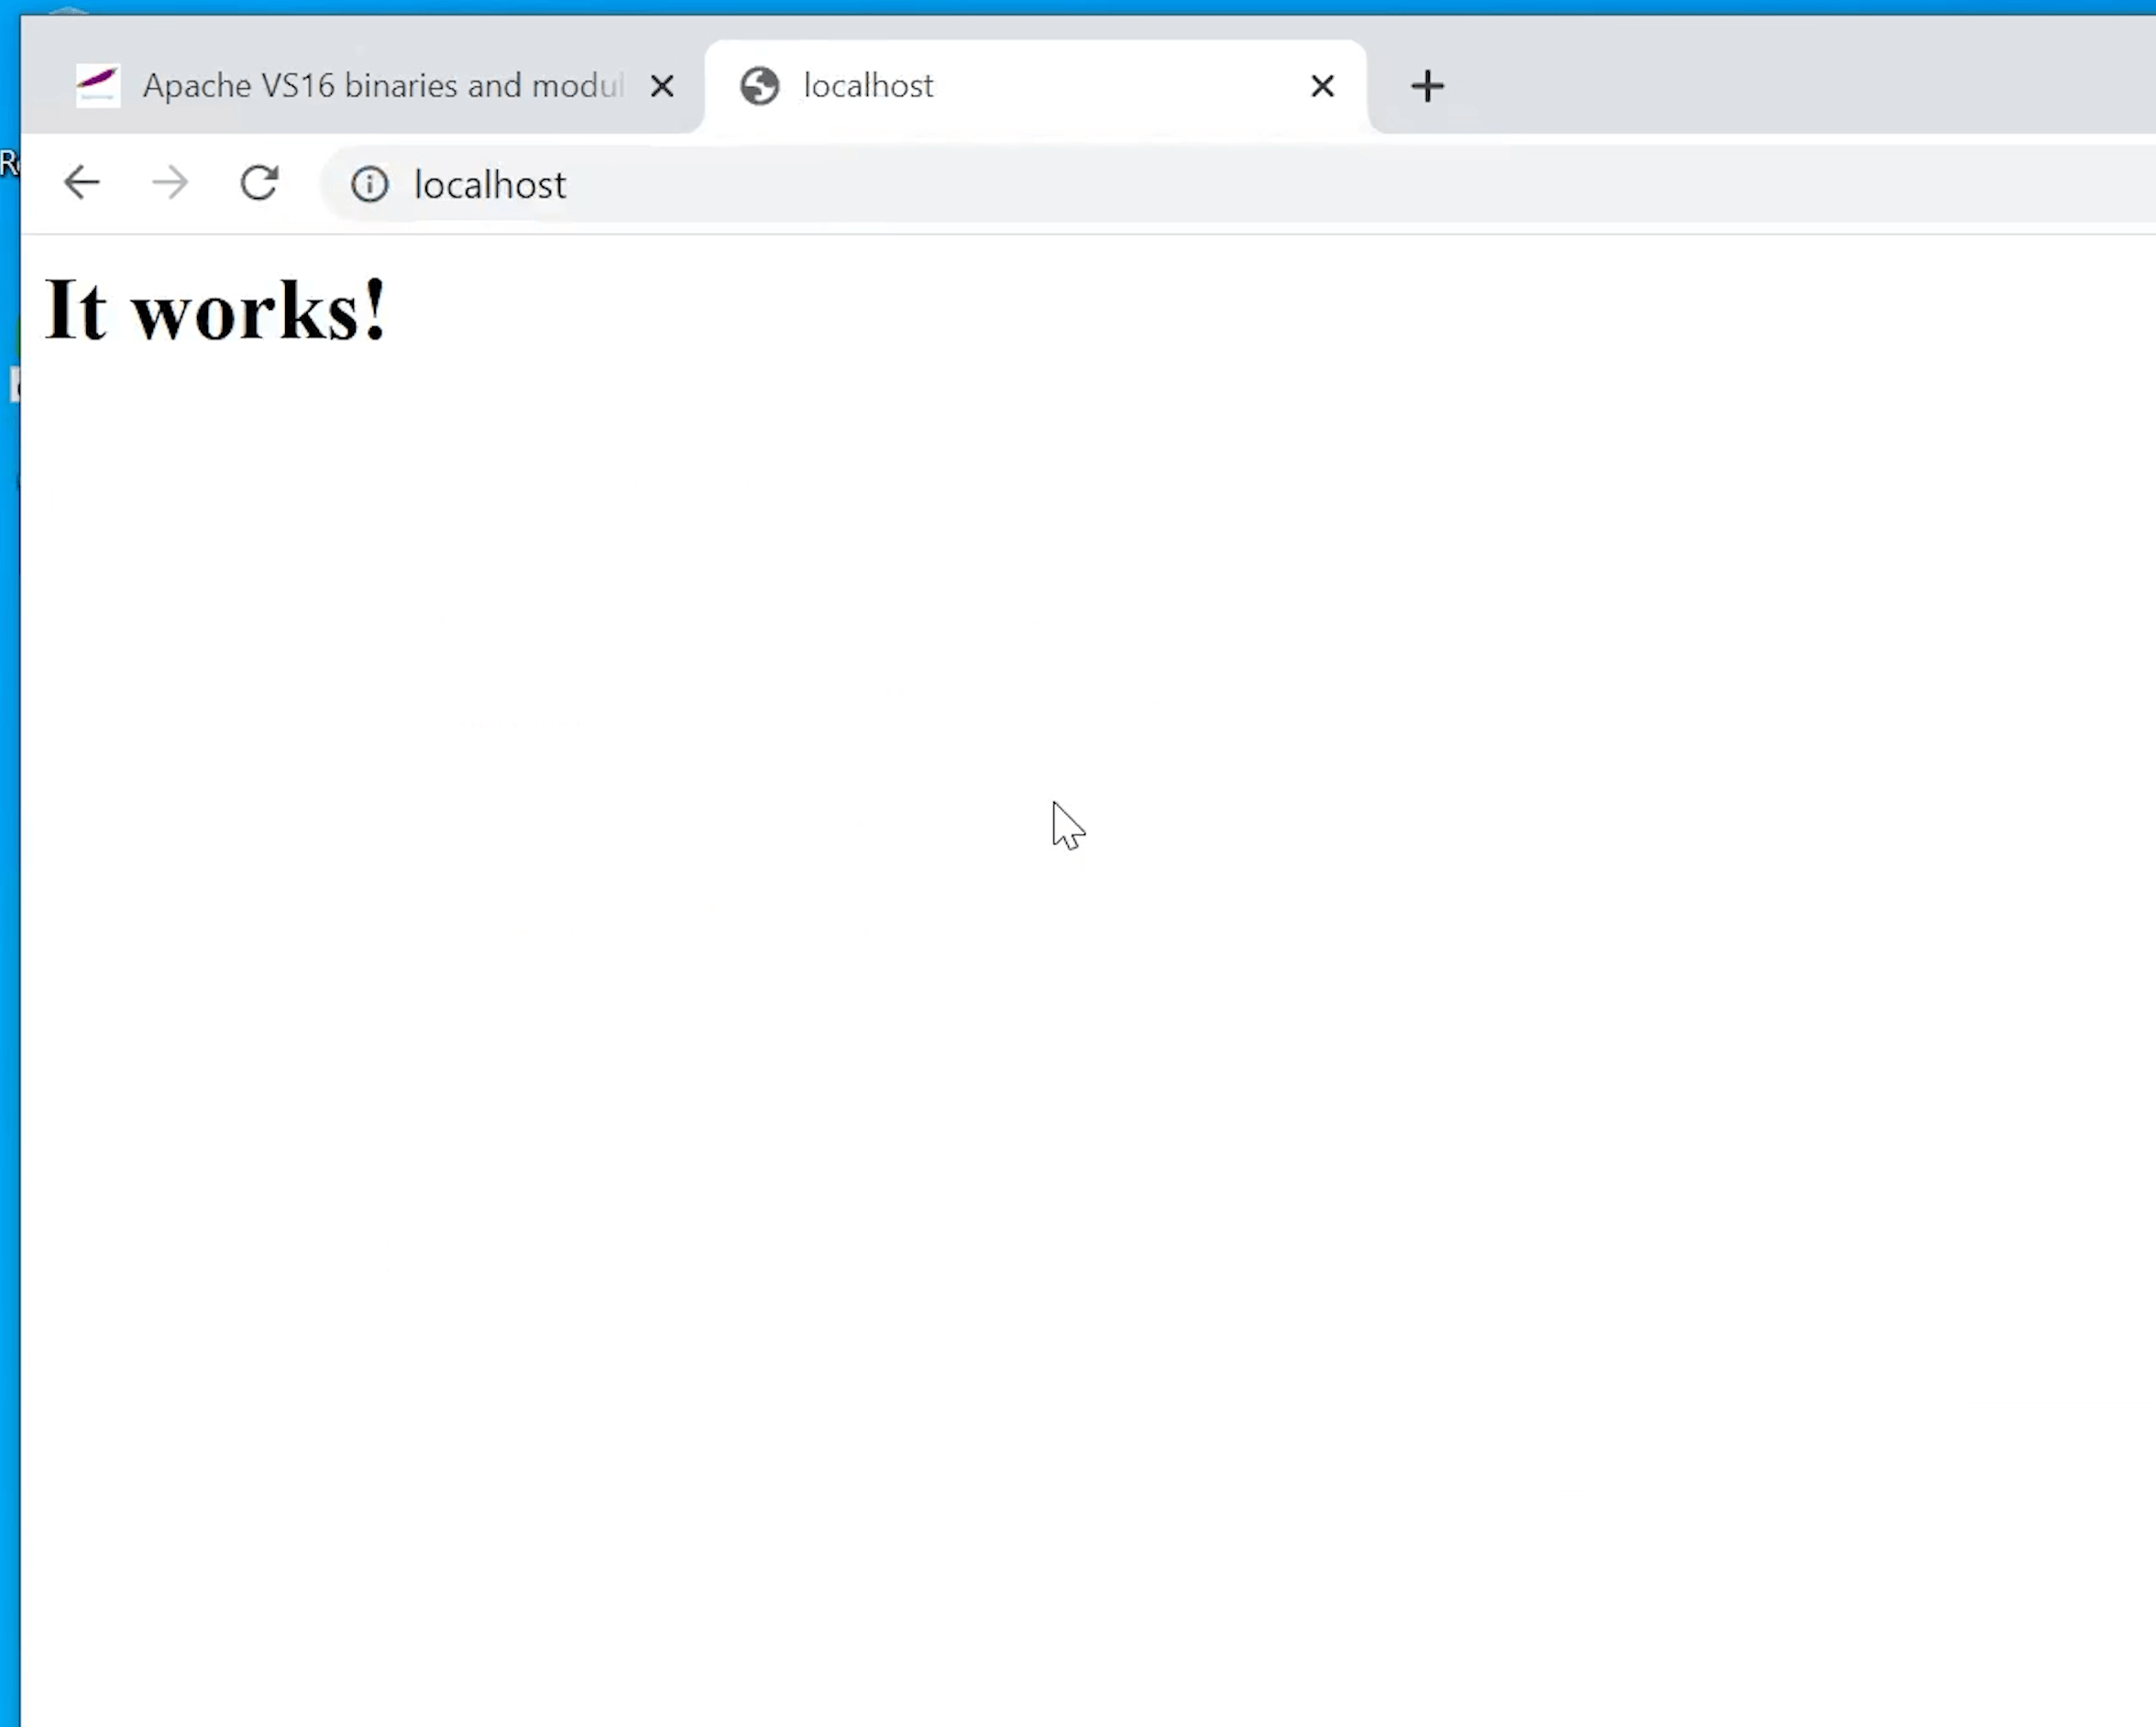
Now we finally have a properly configured Apache Server which we can test by opening a browser and going to the website "localhost", meaning our local webserver.
If a site saying "It Works!" appears, we can be assured that everything is working fine and we can proceed by installing PHP.
Install PHP 8.0
Installing PHP is just as easy as installing PHP.
Let's begin by downloading PHP.
For the sake of this tutorial, we will be focusing on PHP 8.0, which as of writing this tutorial, is the newest version available.
In the future, there might be a newer version, but this tutorial might not apply for version 9.0 or above as there is a small line of code that is specifically calling version 8.0.
As this might be an issue in the future, we would recommend the use the download links we put in this tutorial in order to ensure your copy of PHP works fine.
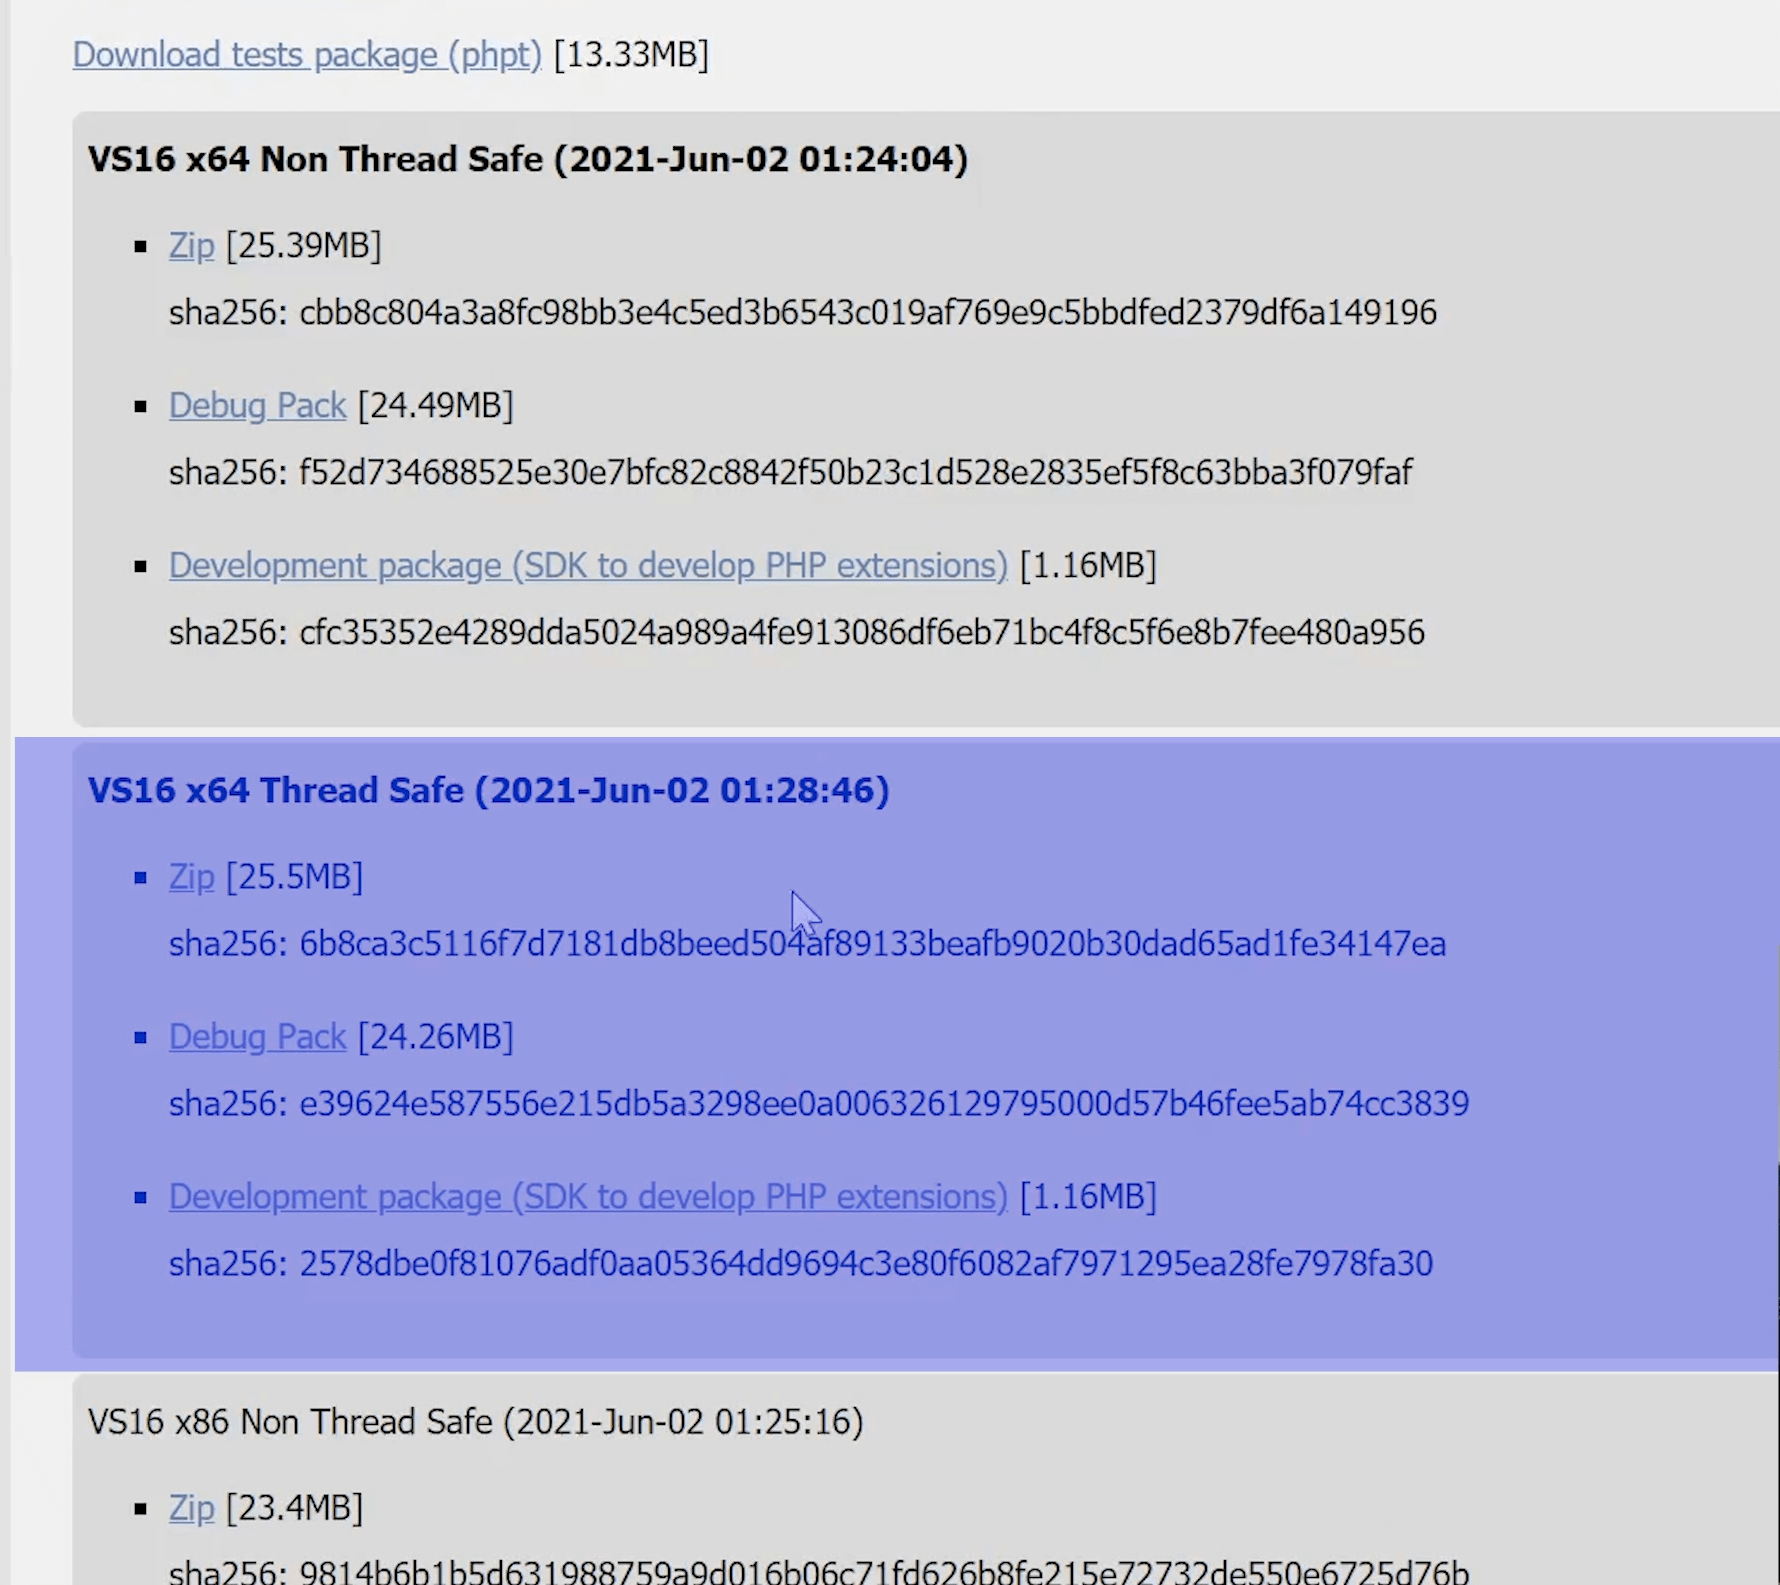
Let's get to PHP by downloading the VS16 x64 Thread Safe version here.
*Please make sure to download the VS16 x64 THREAD SAFE version.
In the meantime, we can prepare the folder in which PHP will be stored. For this, we will create a folder called "php" in our C:/ drive.
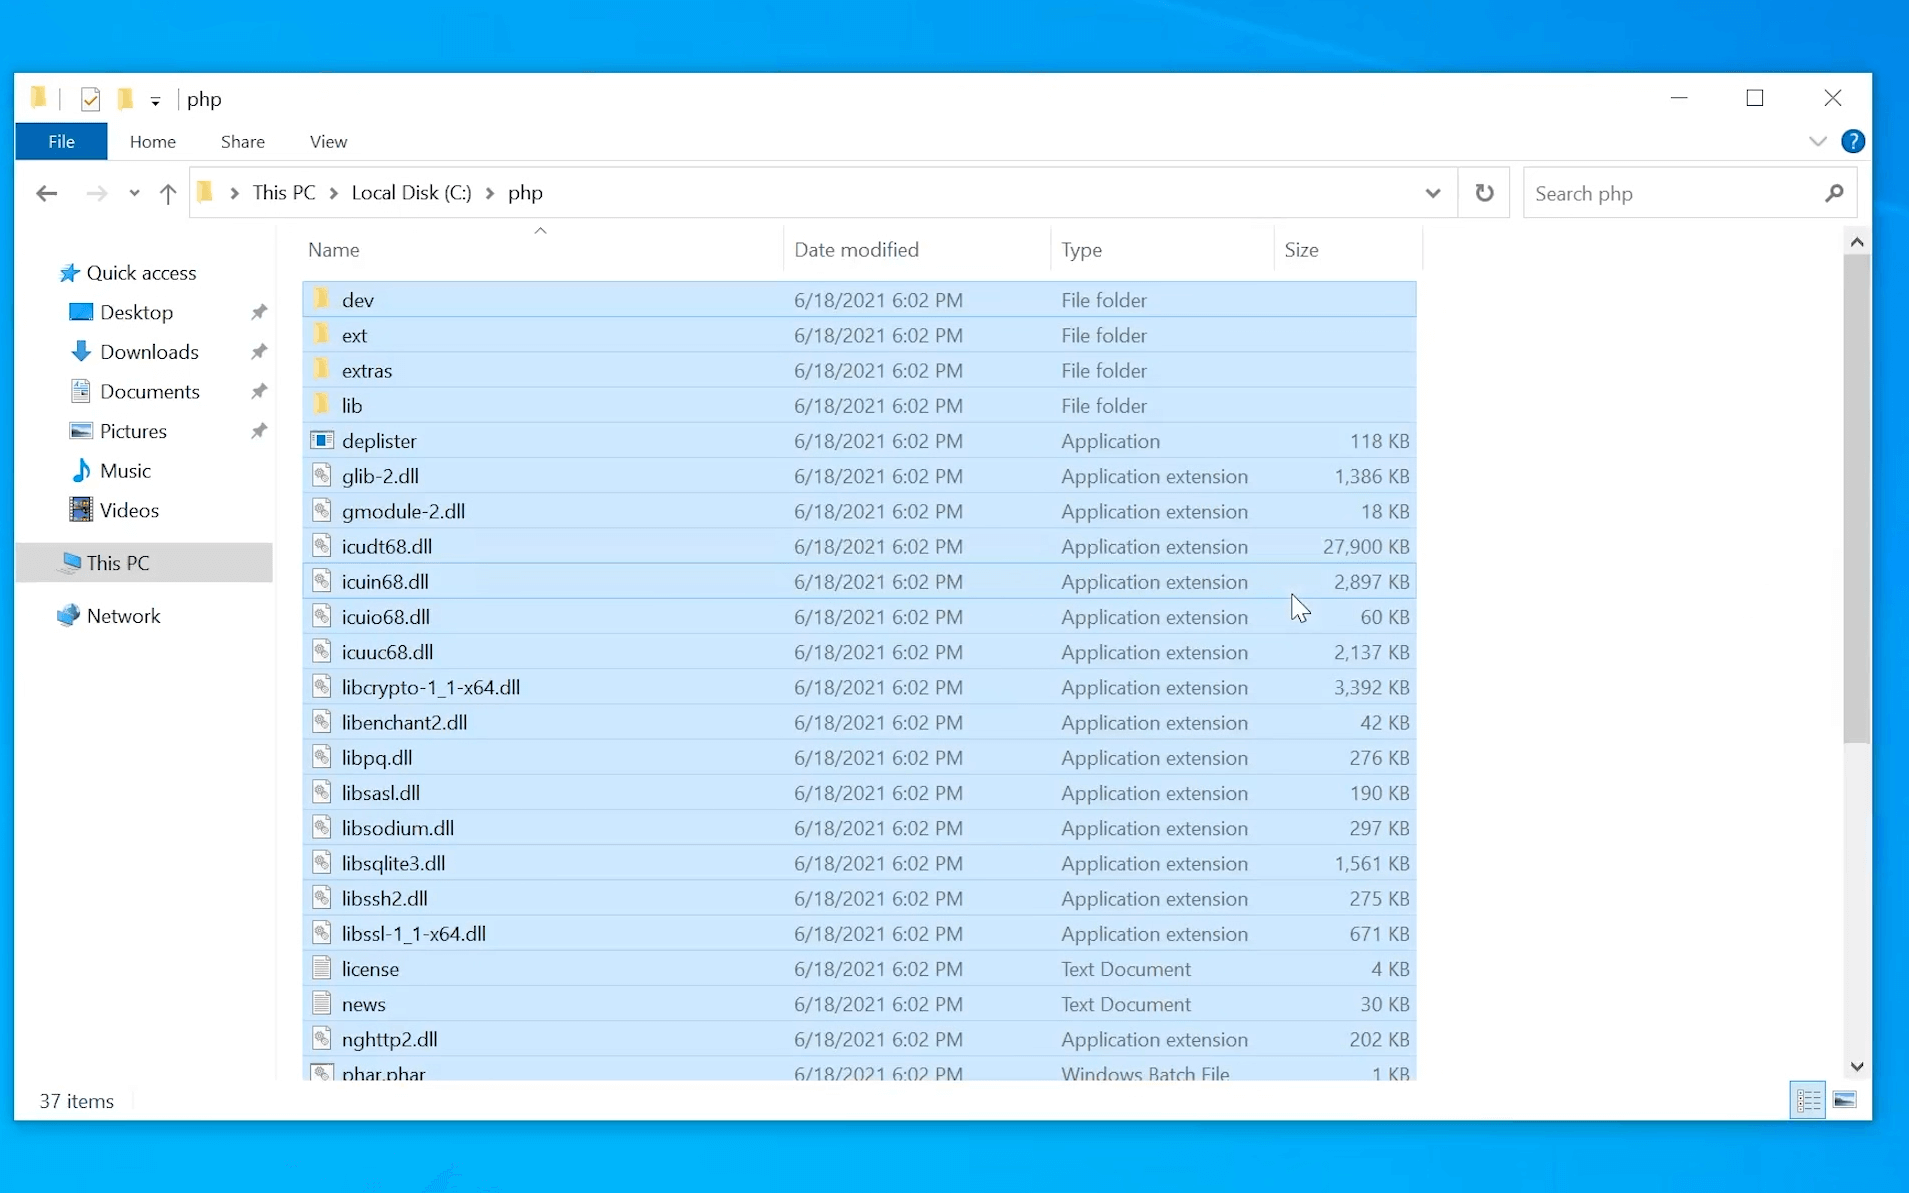
Once the Zip file is downloaded, we can proceed by drag-dropping every item within the Zip-File into the recently created "php" folder.
At this point, we have a ready PHP copy on our machine. But Apache still needs to know how to work with it.
In order to help Apache out, we will re-open Apache's configuration file: C:/Apache24/conf/httpd.conf
In here we will scroll down to the last Line saying "LoadModule ...."
Underneath that line, we will paste the following lines:
LoadModule php_module "c:/php/php8apache2_4.dll"
AddType Application/x-httpd-php .php
PHPIniDir "c:/php"
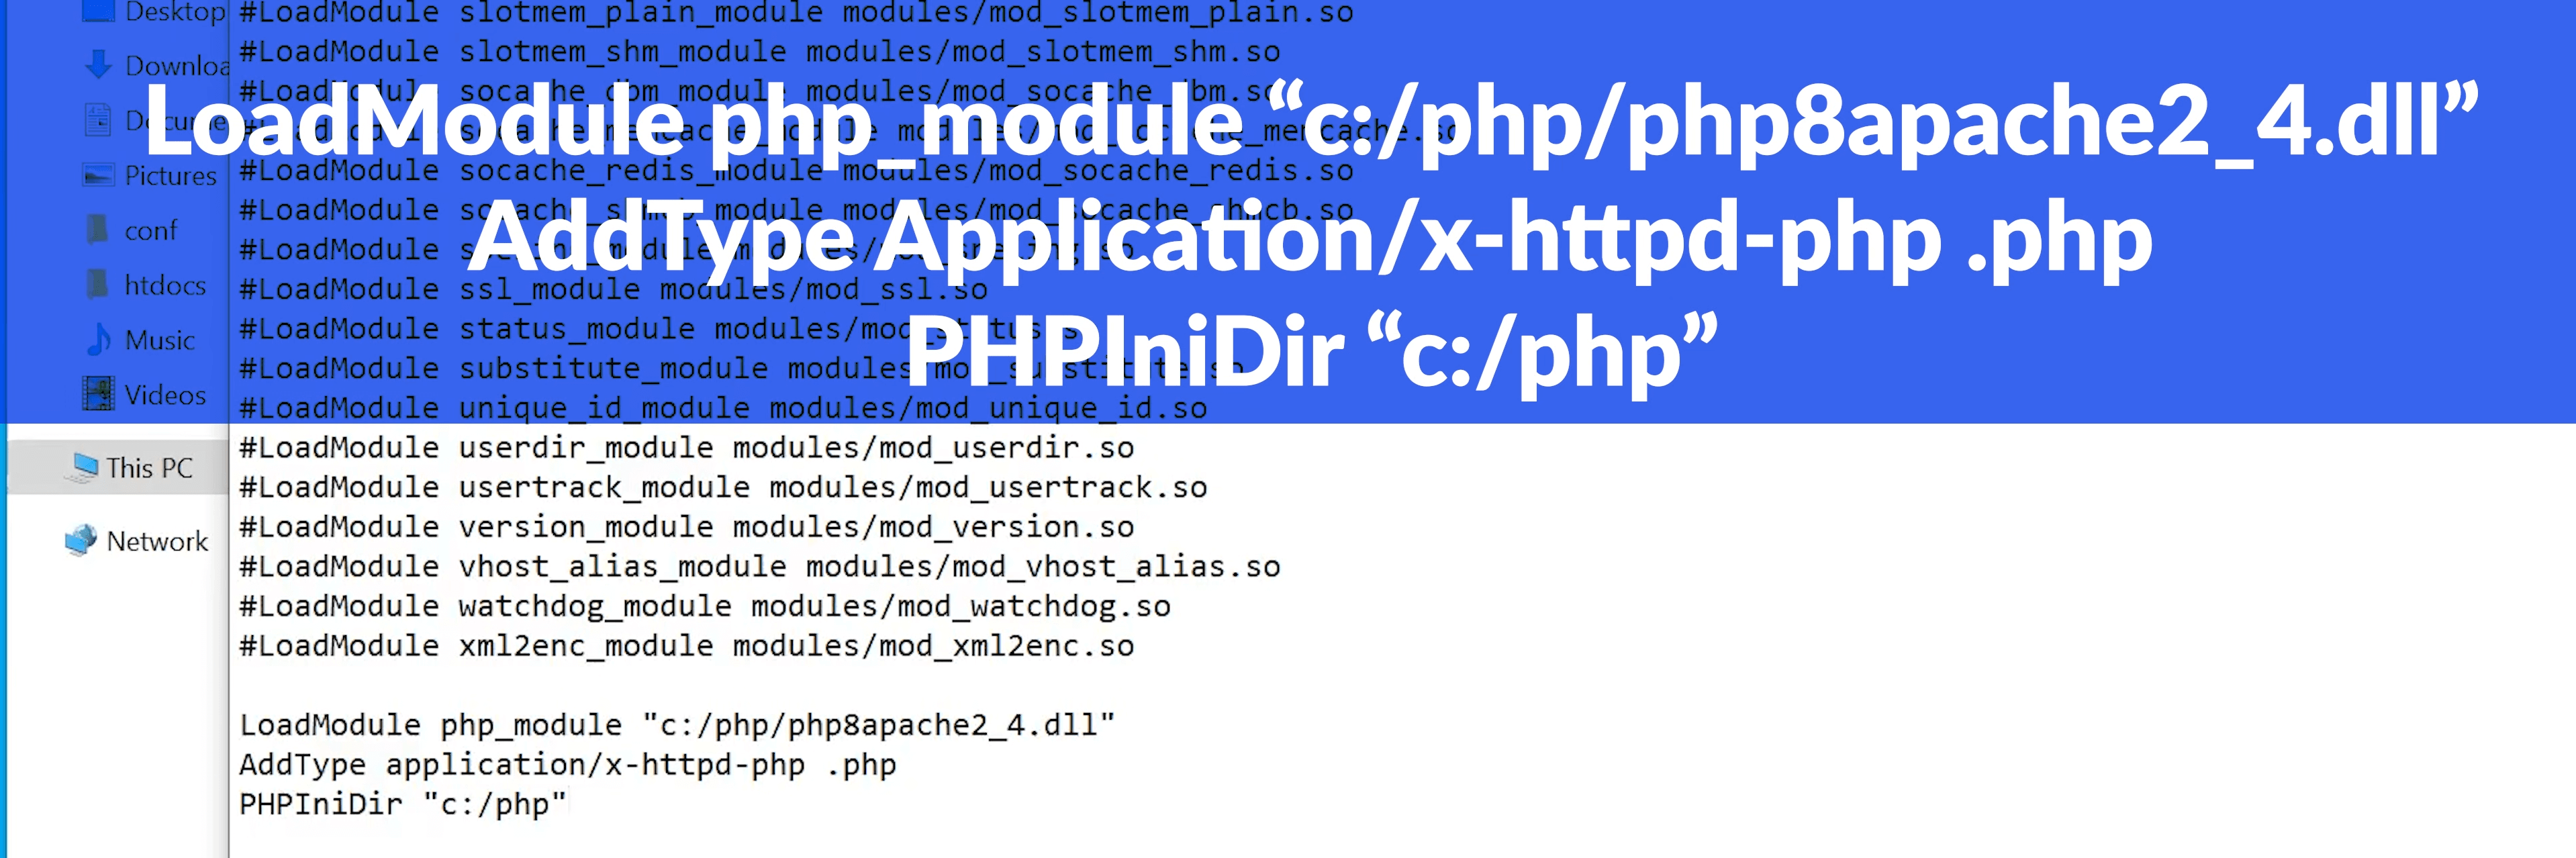

Additionally, we will tell Apache, that from now on it should favorite PHP files over plain HTML files.
Therefore we will need to scroll a bit further down to a Line Saying: "DirectoryIndex index.html" and change it to "DirectoryIndex index.php index.html"
This will tell apache that there is a new priority list favoring .php files.
Once all of these changes are complete, we can save & close the configuration file and restart Apache by re-using the command "httpd -k restart" in our CMD window.

At this point, we have a working Apache Webserver which is capable of hosting files and sending them to our browser as well as a PHP interpreter, which is able to interpret php-code and transform it into HTML code before Apache sends it out.
But before we can proceed, we need to test if our PHP interpreter is working correctly.
This is the moment the htdocs folder comes into play.
The htdocs folder located in "C:/Apache24/htdocs" is one of the most important folders which we will own from now on. The files inside this folder are the files which Apache is making available to our browser.
If we open the htdocs folder, we will find a file called index.html. This is the file that contains the "It Works!" text which we found before while testing our Webserver.
This means that every file we paste in here will from now on be available by using the "localhost" address in our browser.
For example, not specifying a file by going to localhost opens up the index.php or index.html file.
Specifying a file by going to localhost/users.php would open the users.php inside the htdocs folder, or display an error if it doesn't exist.
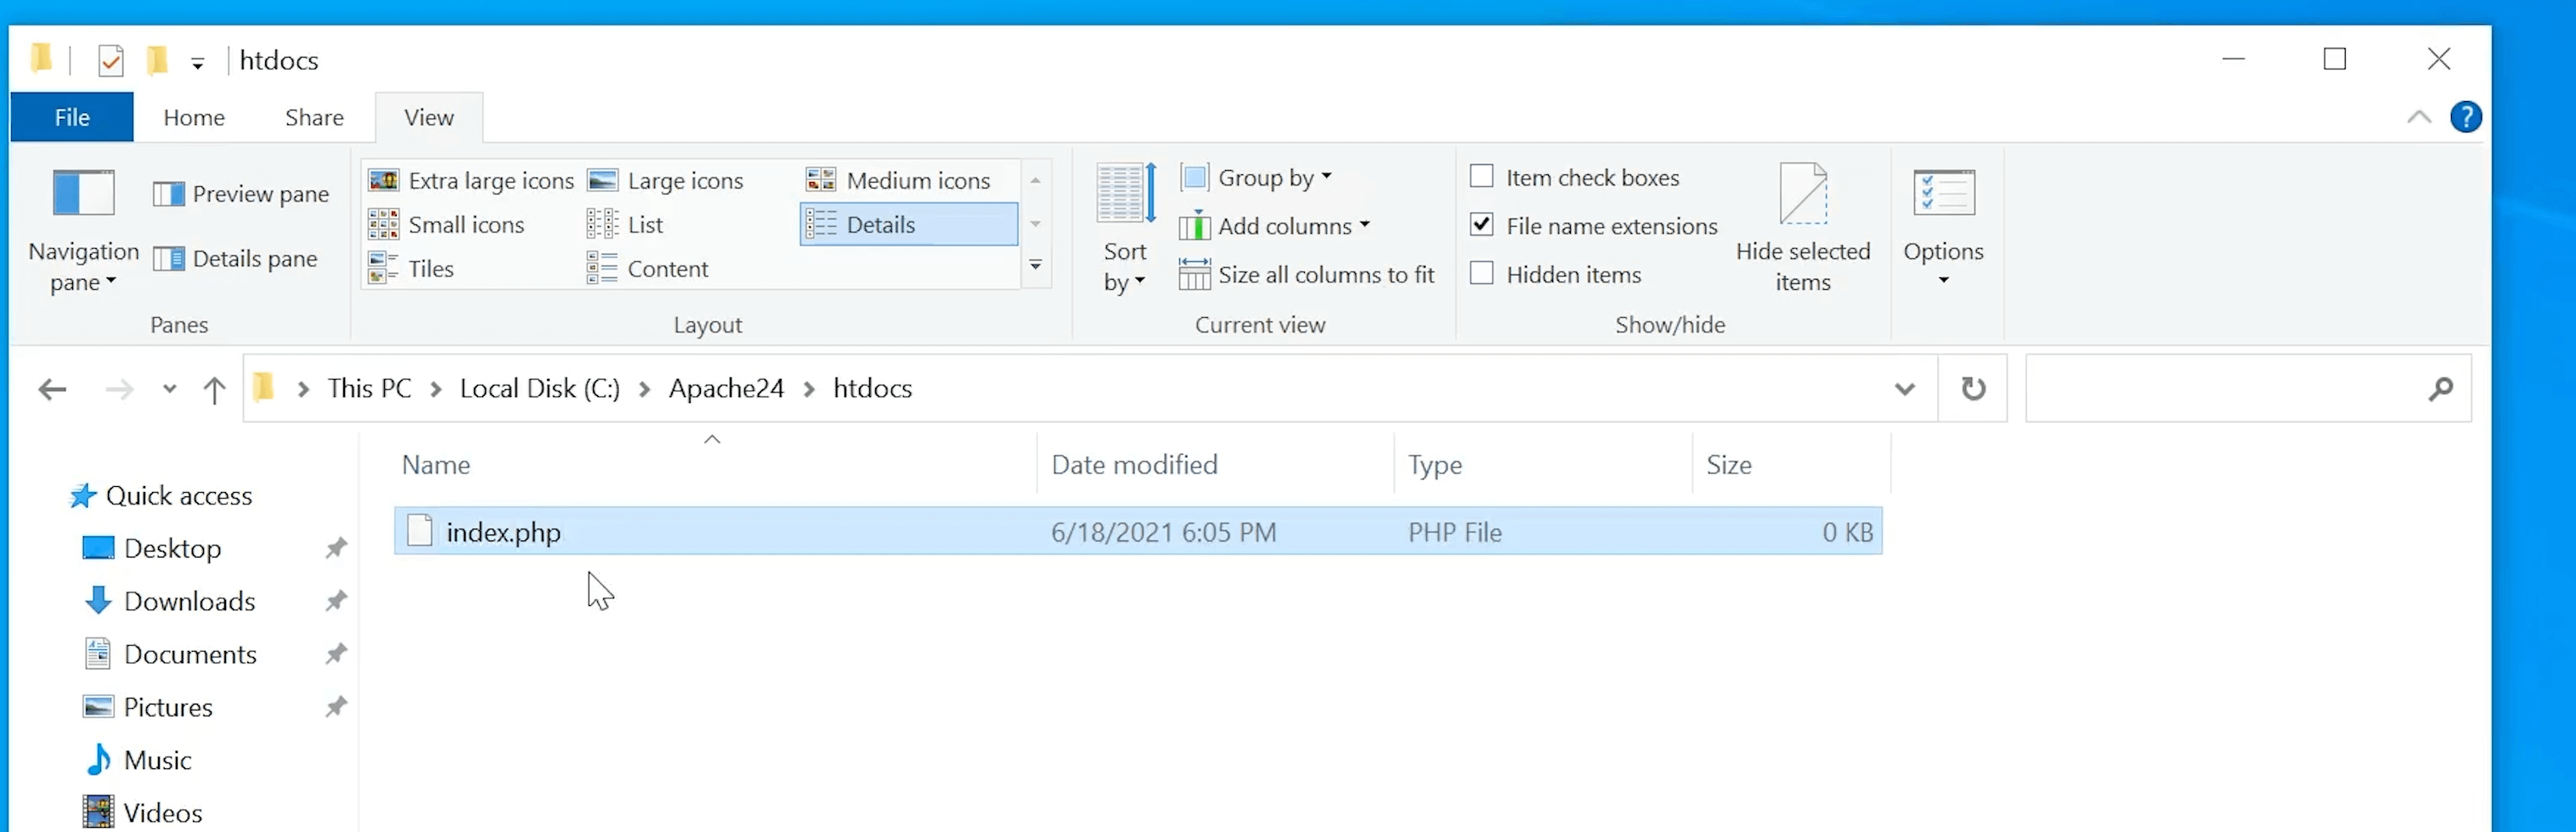
In order to test if our PHP is working fine, we will need to create an index.php file, meaning a PHP file that will be opened by using the address localhost.
Once the file is created, open it up and write the following line:

This line of code tells PHP to display every possible known configuration about itself, basically an "about me".
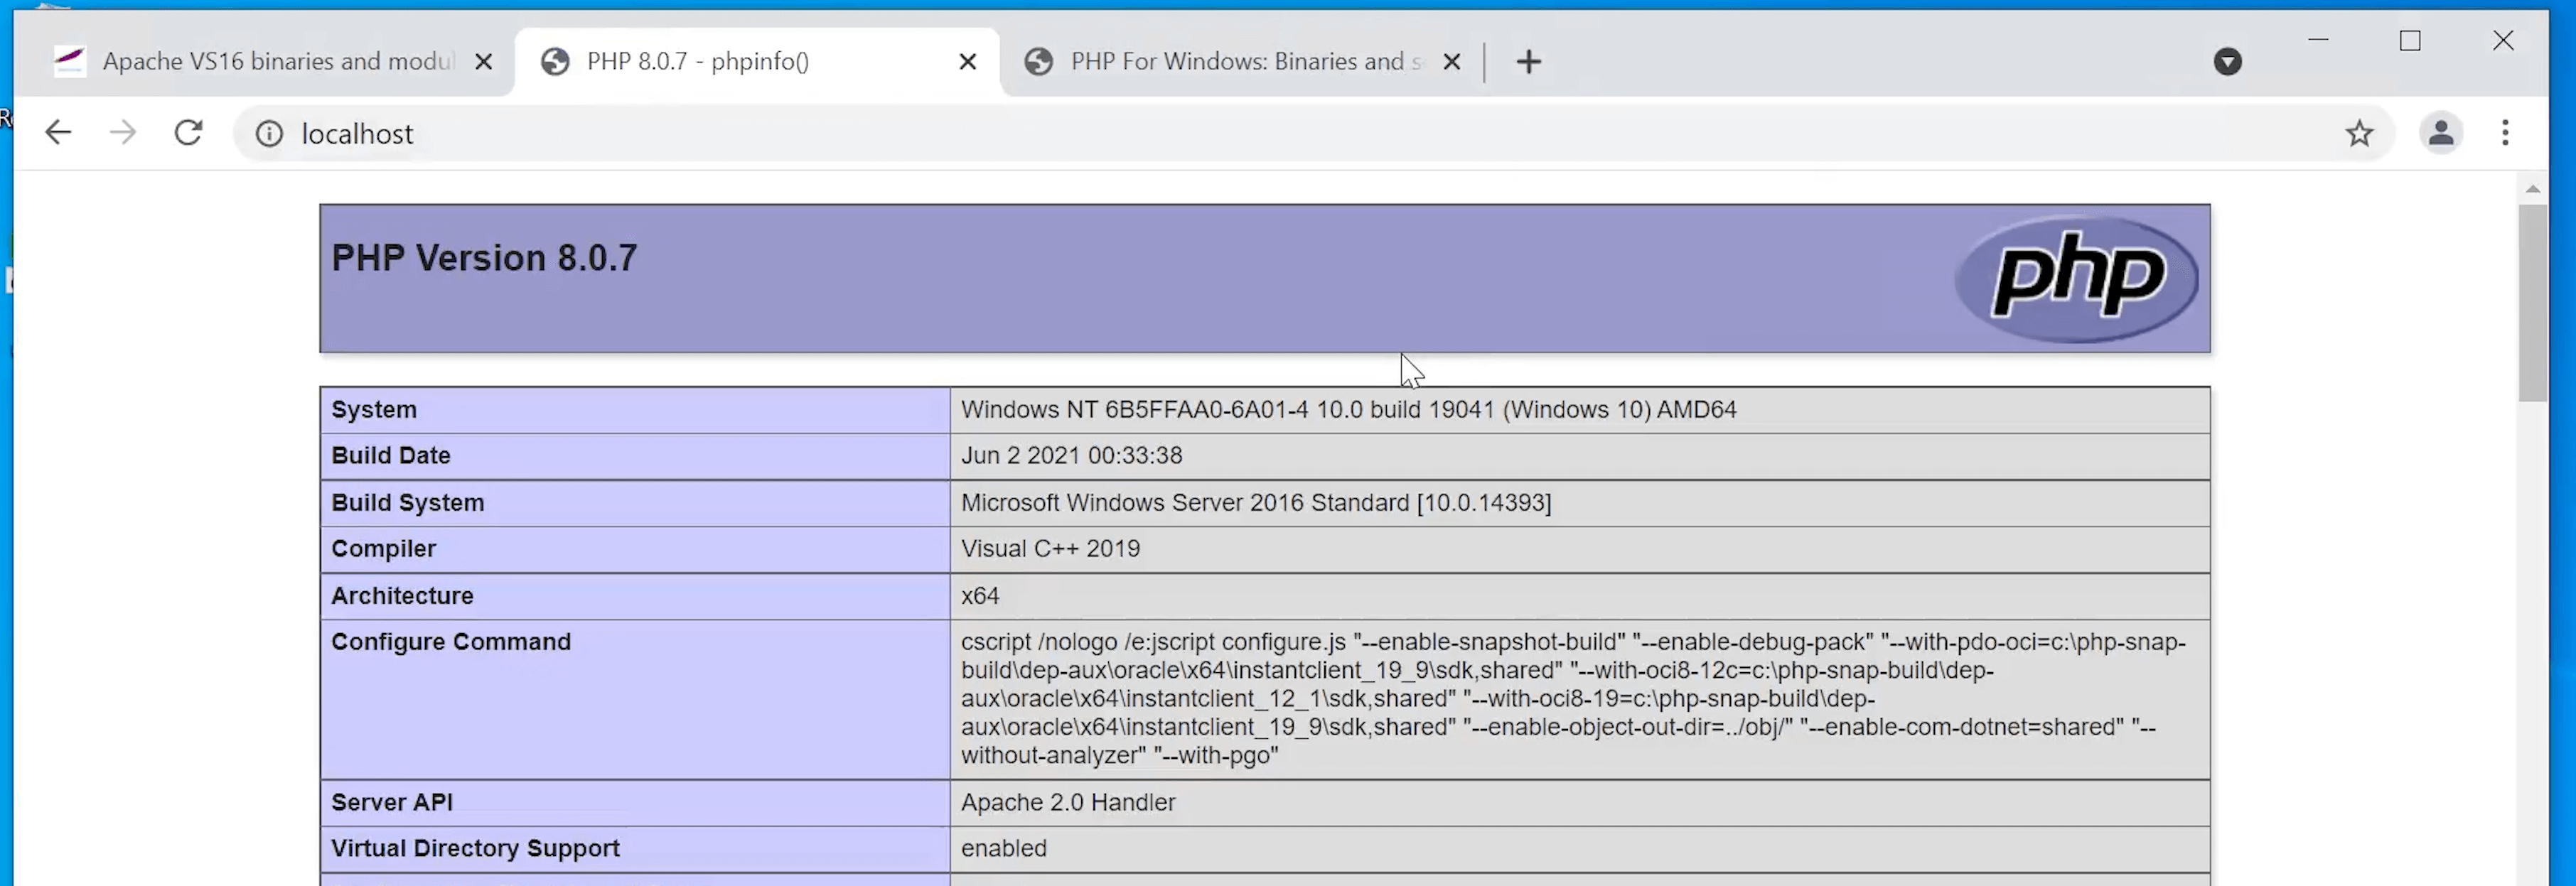
If you now open a browser and navigate to localhost a big violet PHP site will open giving you all the PHP information you might need, as well as informing you that everything works fine and letting you proceed to MySQL.
Install MySQL
Installing MySQL is by far the easiest step in this whole tutorial as it is the only application that comes with its own installer.
To begin this step, download MySQL here.
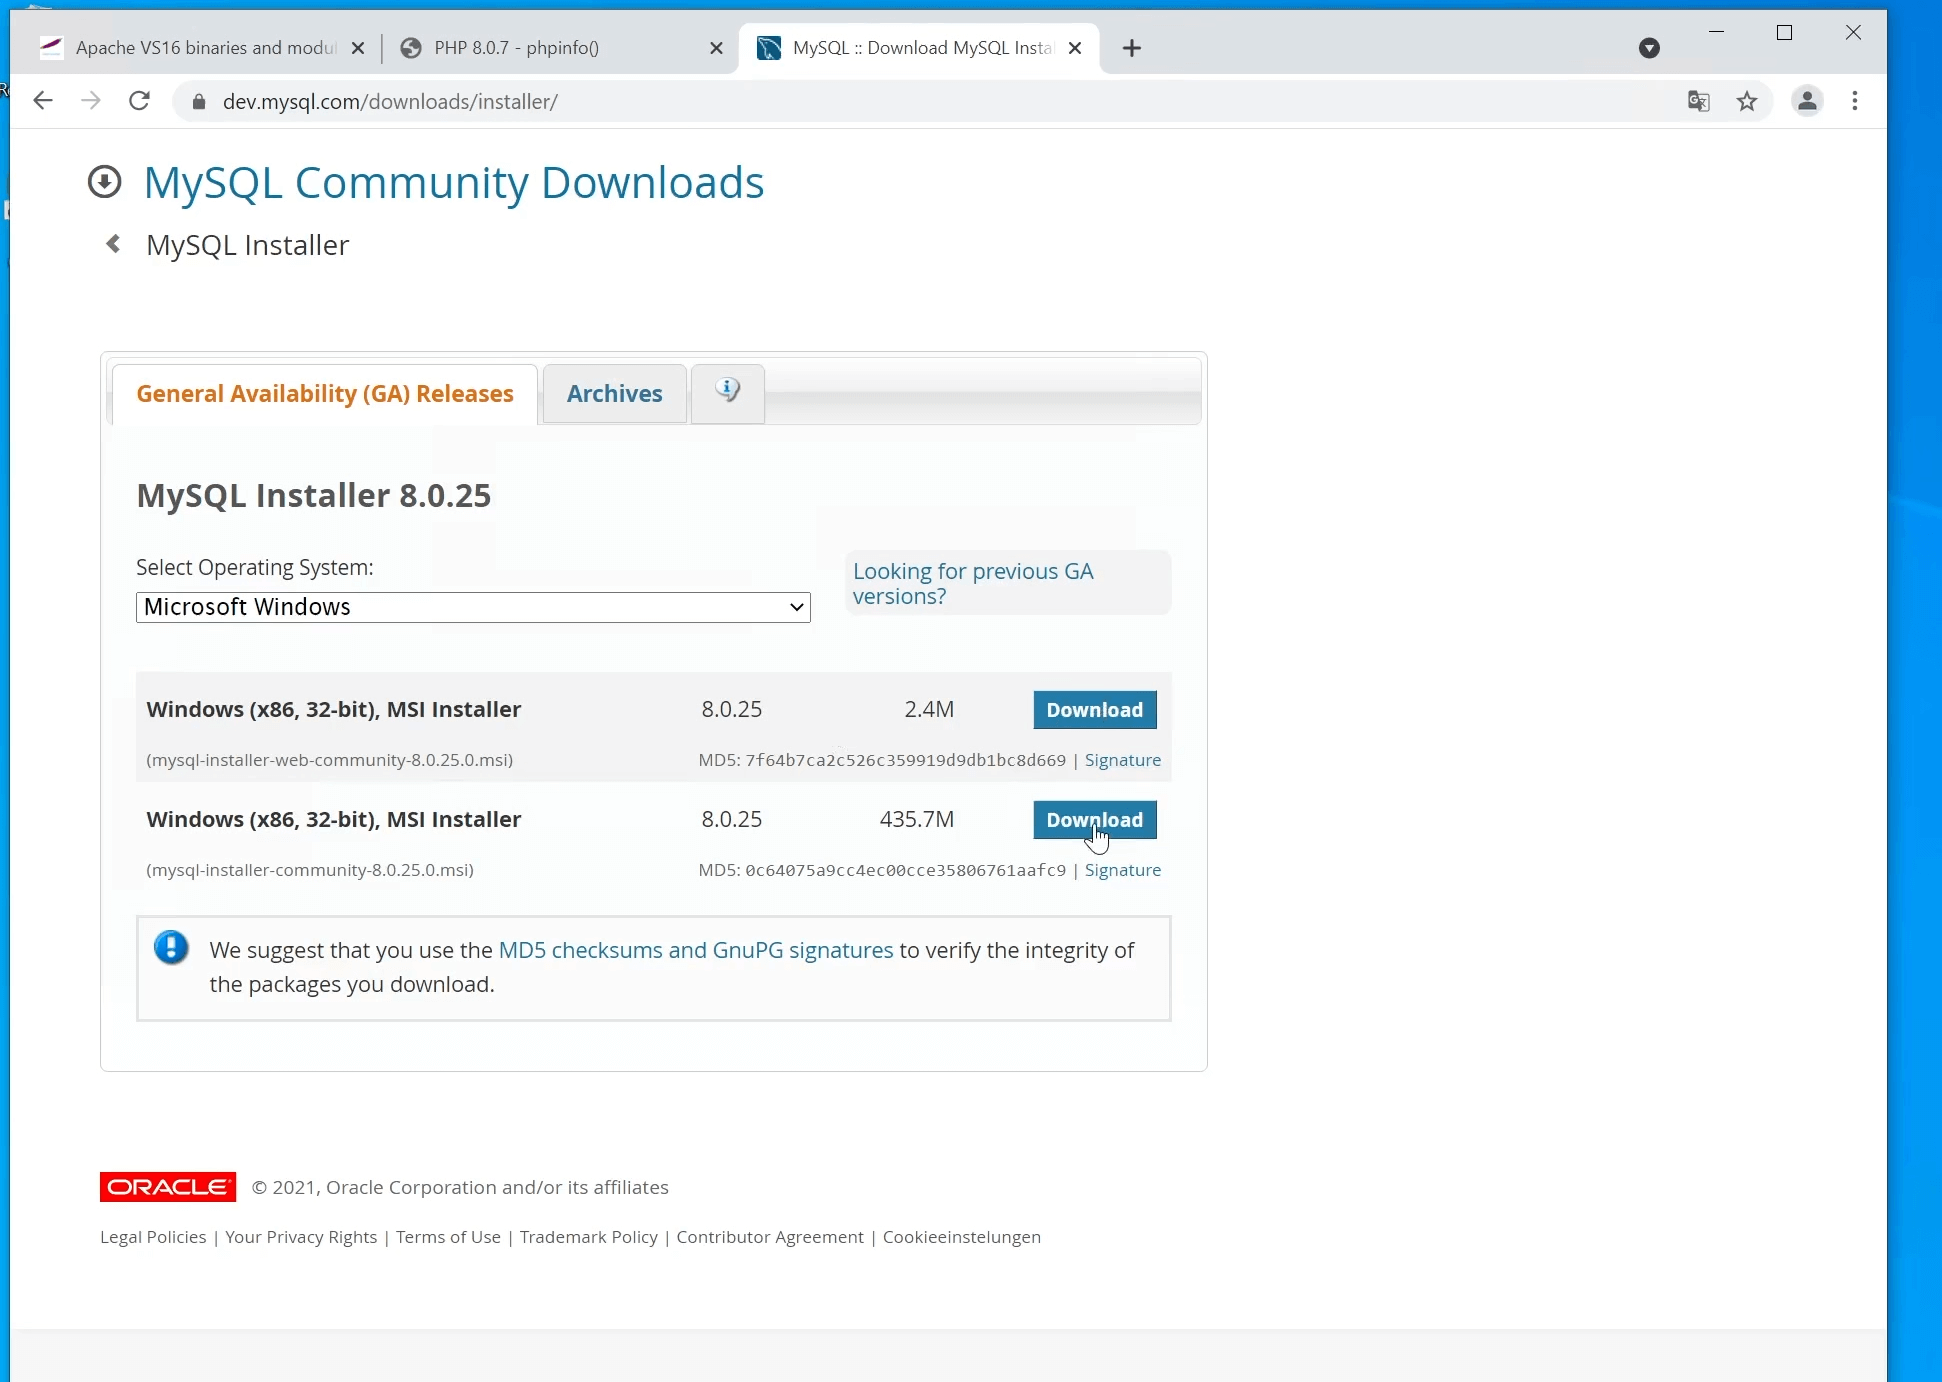
Once the Installer has started up, the only thing you need to do is hit Next and Execute as many times until MySQL asks you to set a Root Password.
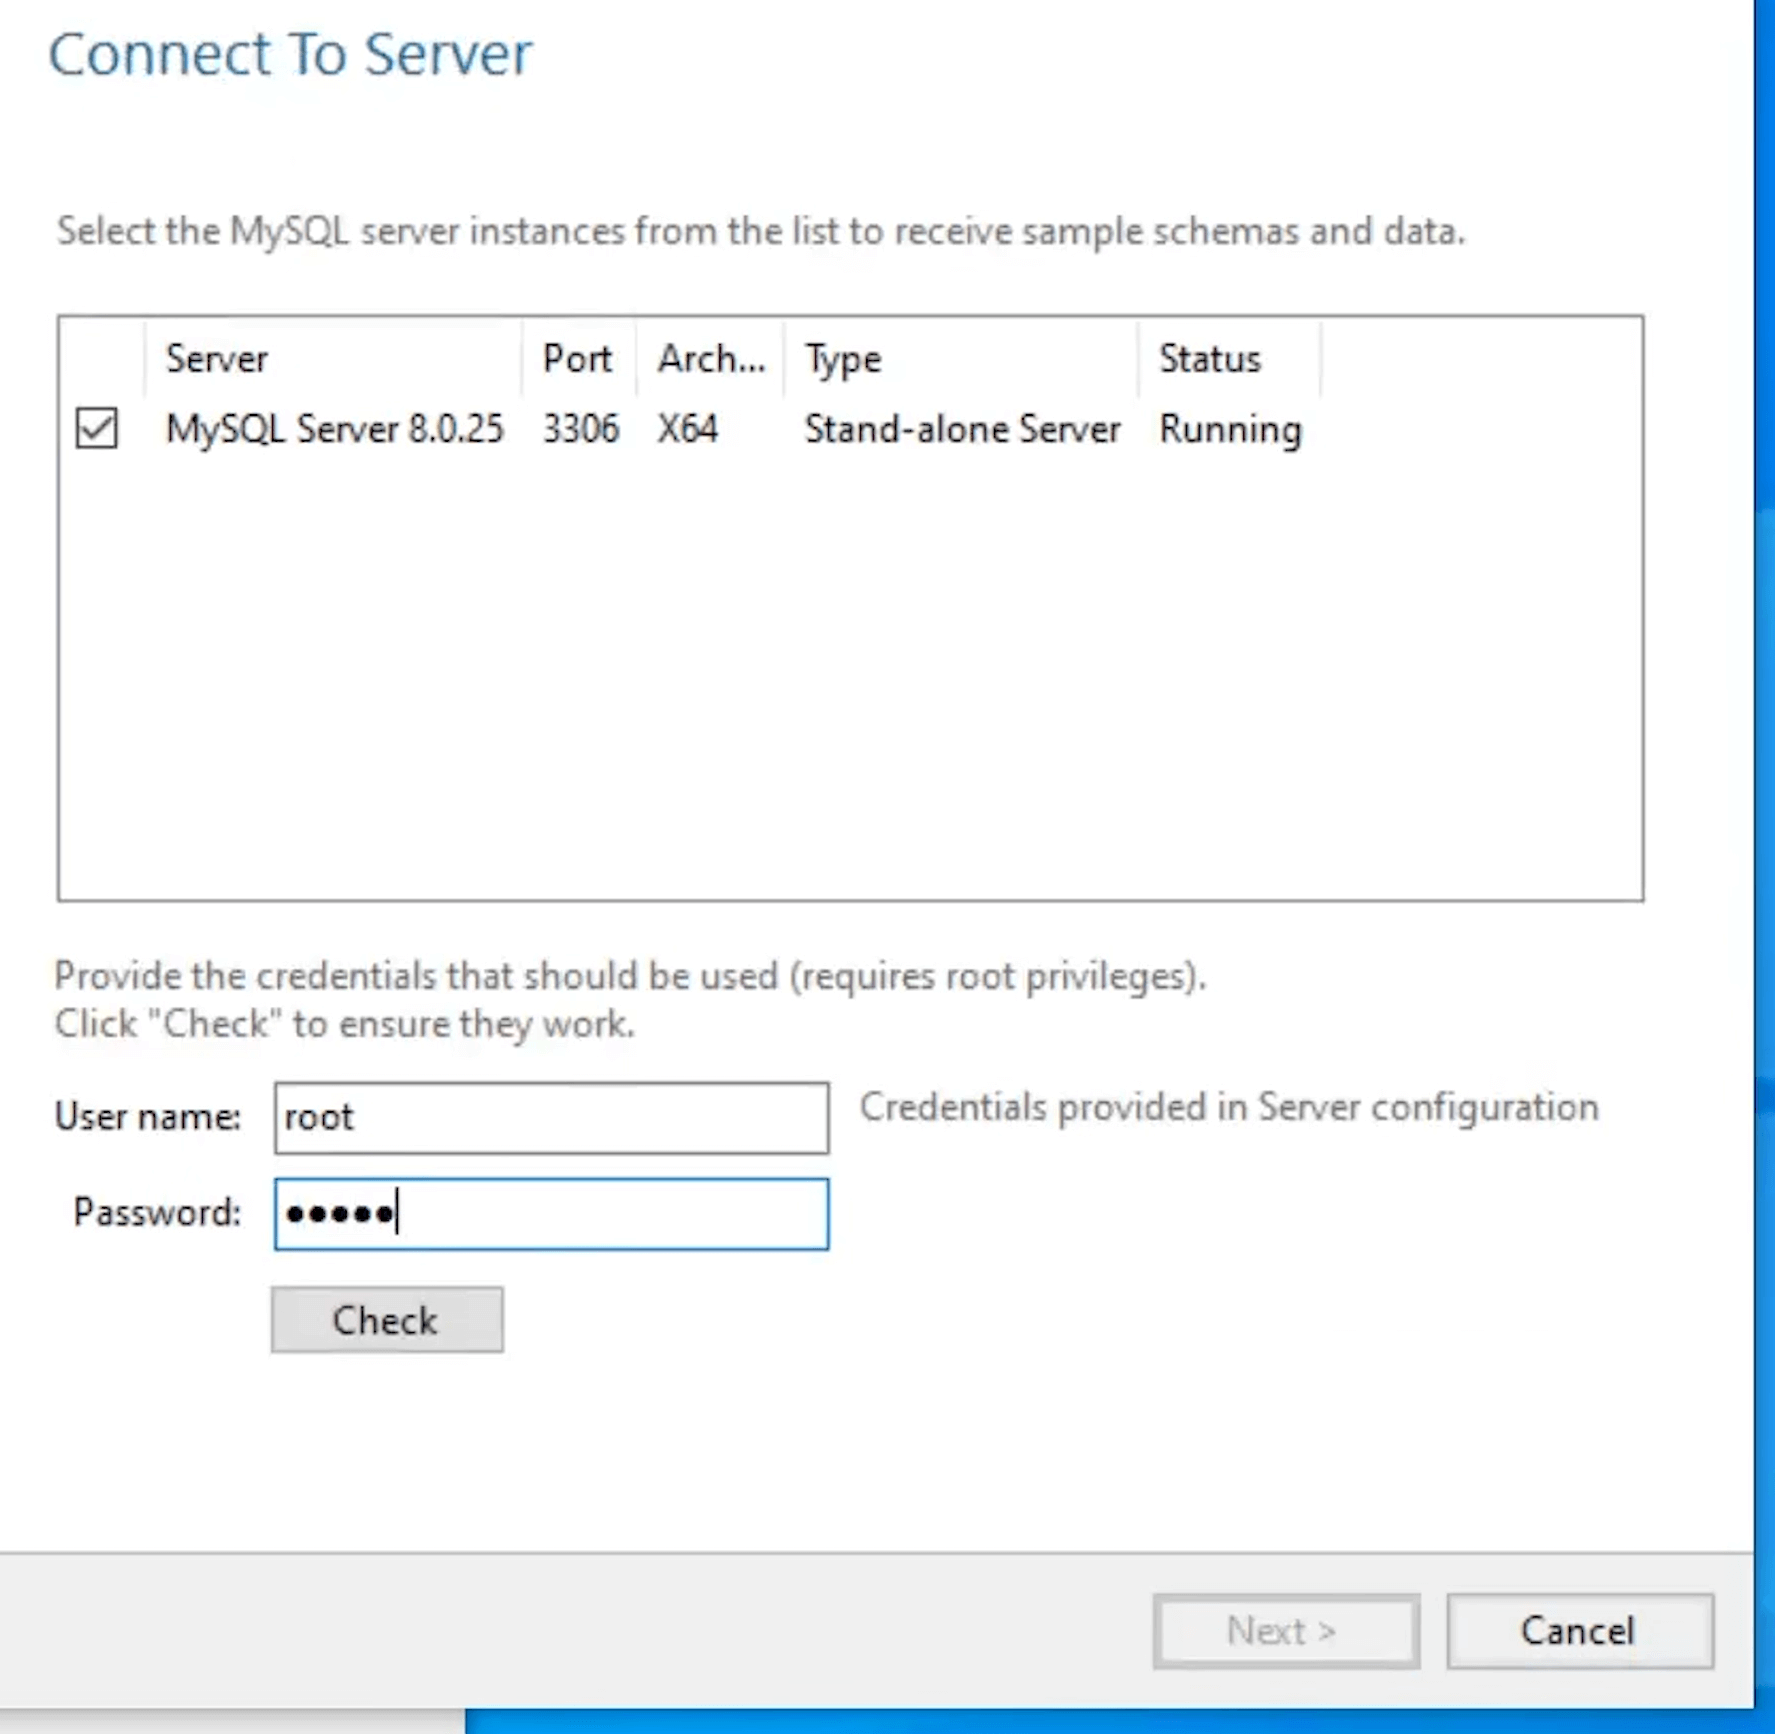
This "Root" Password step is one of the only two important steps in MySQL's installation process.
The Root user is the Administrator of your Database, meaning that it is the most important User with every possible access and right.
Therefore you need to set a good password while never forgetting it.

After setting the root password and proceeding with numerous next and executes there will be another window that demands that you re-type the root password in order to test a database connection.
Once this step is complete (and a couple more next) MySQL is correctly installed and ready to use.
One of the nicest things about installing MySQL nowadays is that it automatically installs MySQL Workbench. A program that will allow you to control your database, add, read, and modify your data by using a nice-looking GUI.
Of course, you will also be able to use your PHP-Code to access these functions, however, while creating a database and entering its first information, Workbench is a real relief.
*Please note that there will be no PHPMyAdmin installed as Workbench comes with the same and many more functions.

Apparently, you've made it to the end of the tutorial.
At this point you will have:
- A working Apache Webserver, which is available by using the localhost address.
- All of the files that are hosted to your browser are stored in C:/Apache24/htdocs
- A working copy of PHP will interpret all the .php files within your htdocs folder, before sending them out.
- A working MySQL Database Server, accessible by using your PHP code, or MySQL Workbench
And all of this leaves you with a ready-to-go developing machine, just waiting for your first Website-Project!
If there are any left-over questions, please have a look at our Video-Tutorial linked at the top of this page. If there are still any unanswered questions, please use the YouTube comment function underneath the video to get an answer from us.
Good Luck with your next project!
How to Install a Web Server on Windows 10
In this tutorial, we will learn how to install a Web Server with Apache, PHP 8.0, and MySQL on a Windows 10 machine.
Read More
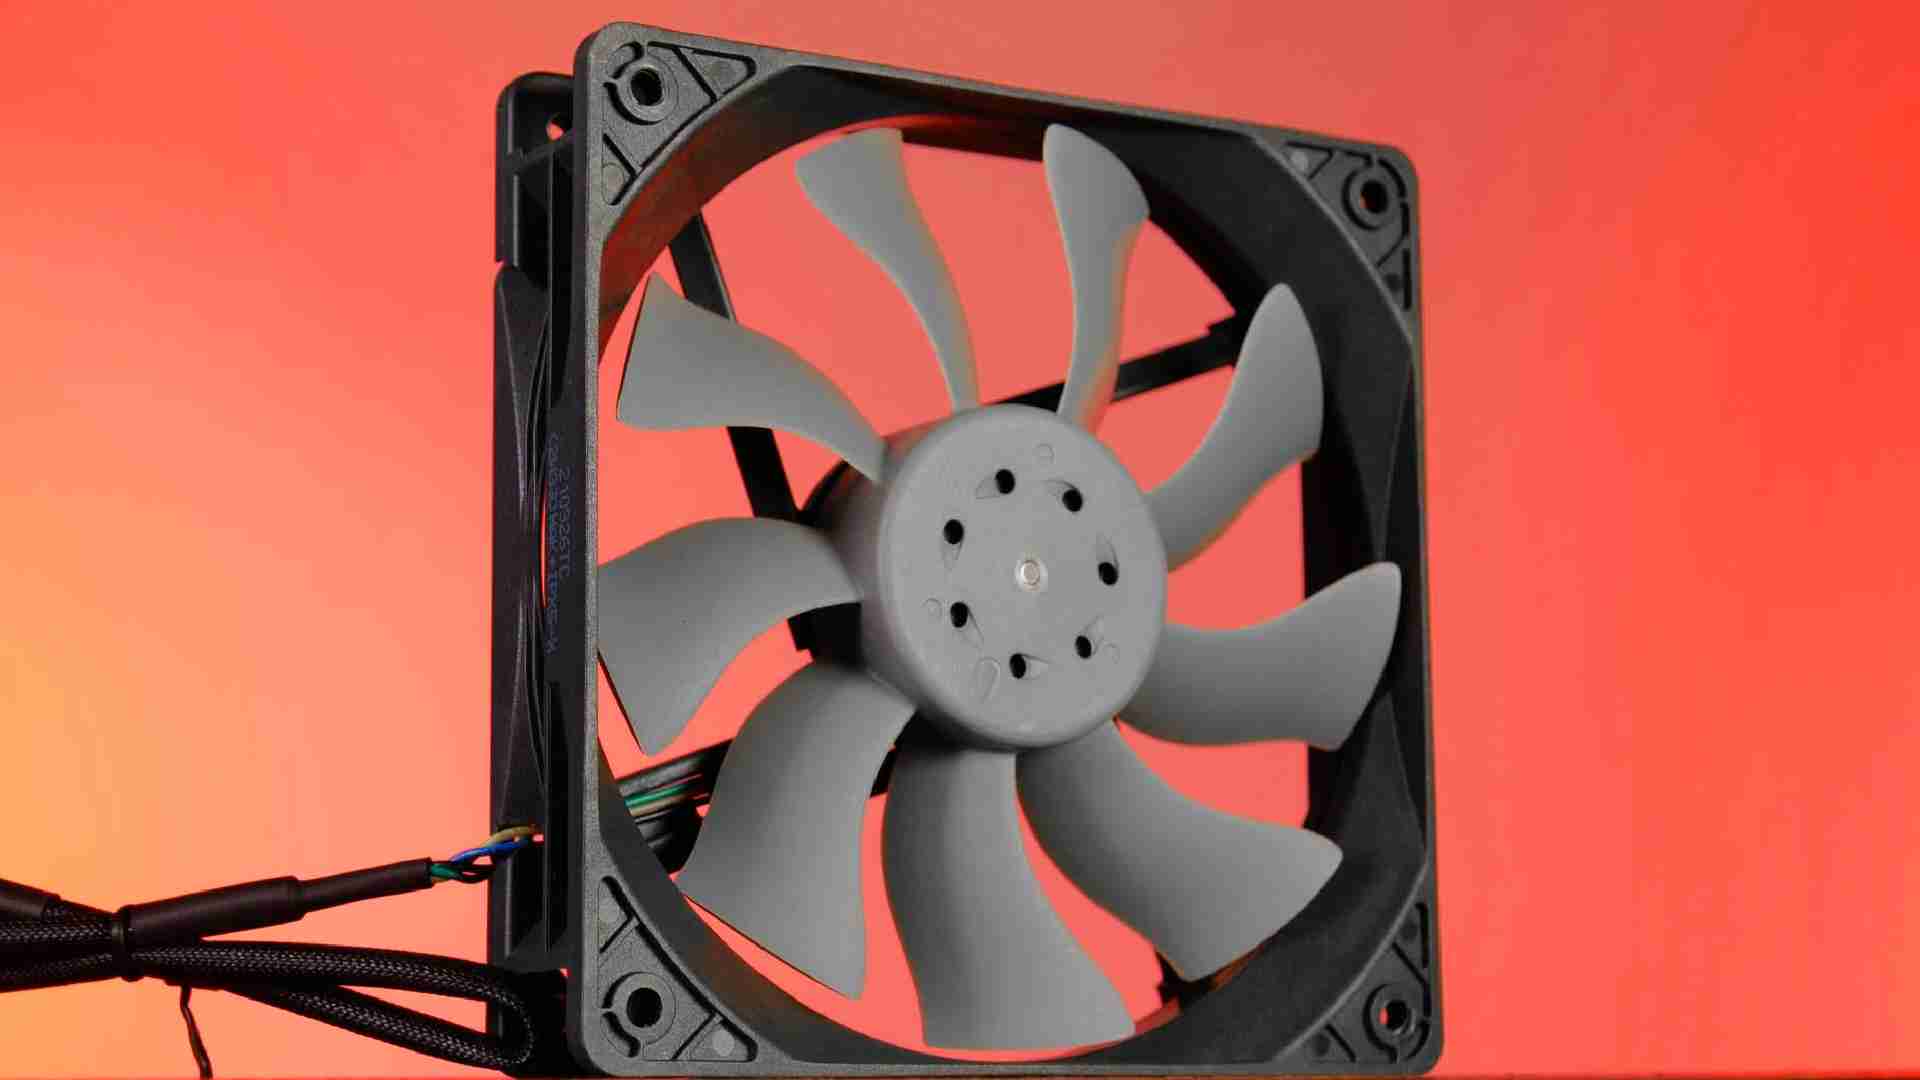
Akasa Otto SF12 Review
Akasas Otto SF12 is their Airflow focused version of their extreme performance Otto lineup. With ear-shattering performance a
Read More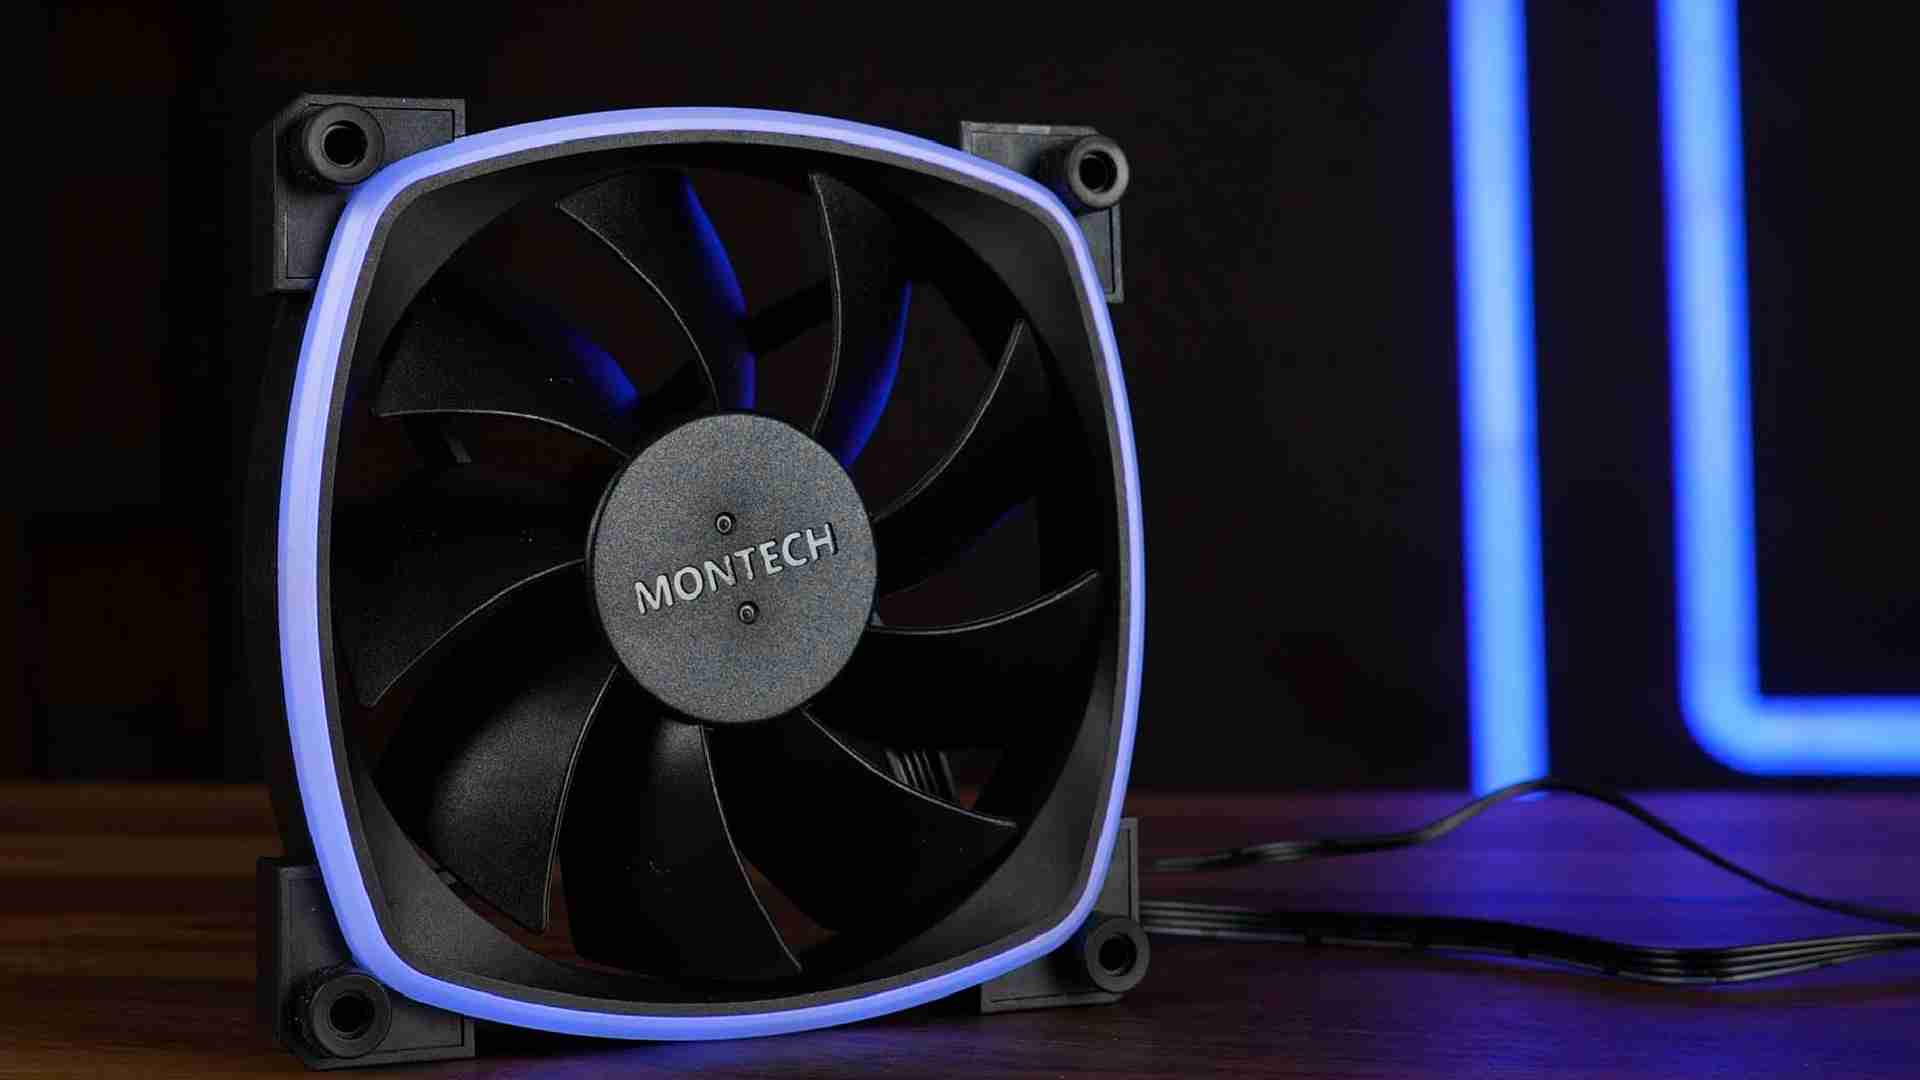
Montech AX120 Review
First introduced in Montechs Sky Two case, it is time to take a closer look at their AX120 ARGB fans! With an RGB ring going
Read More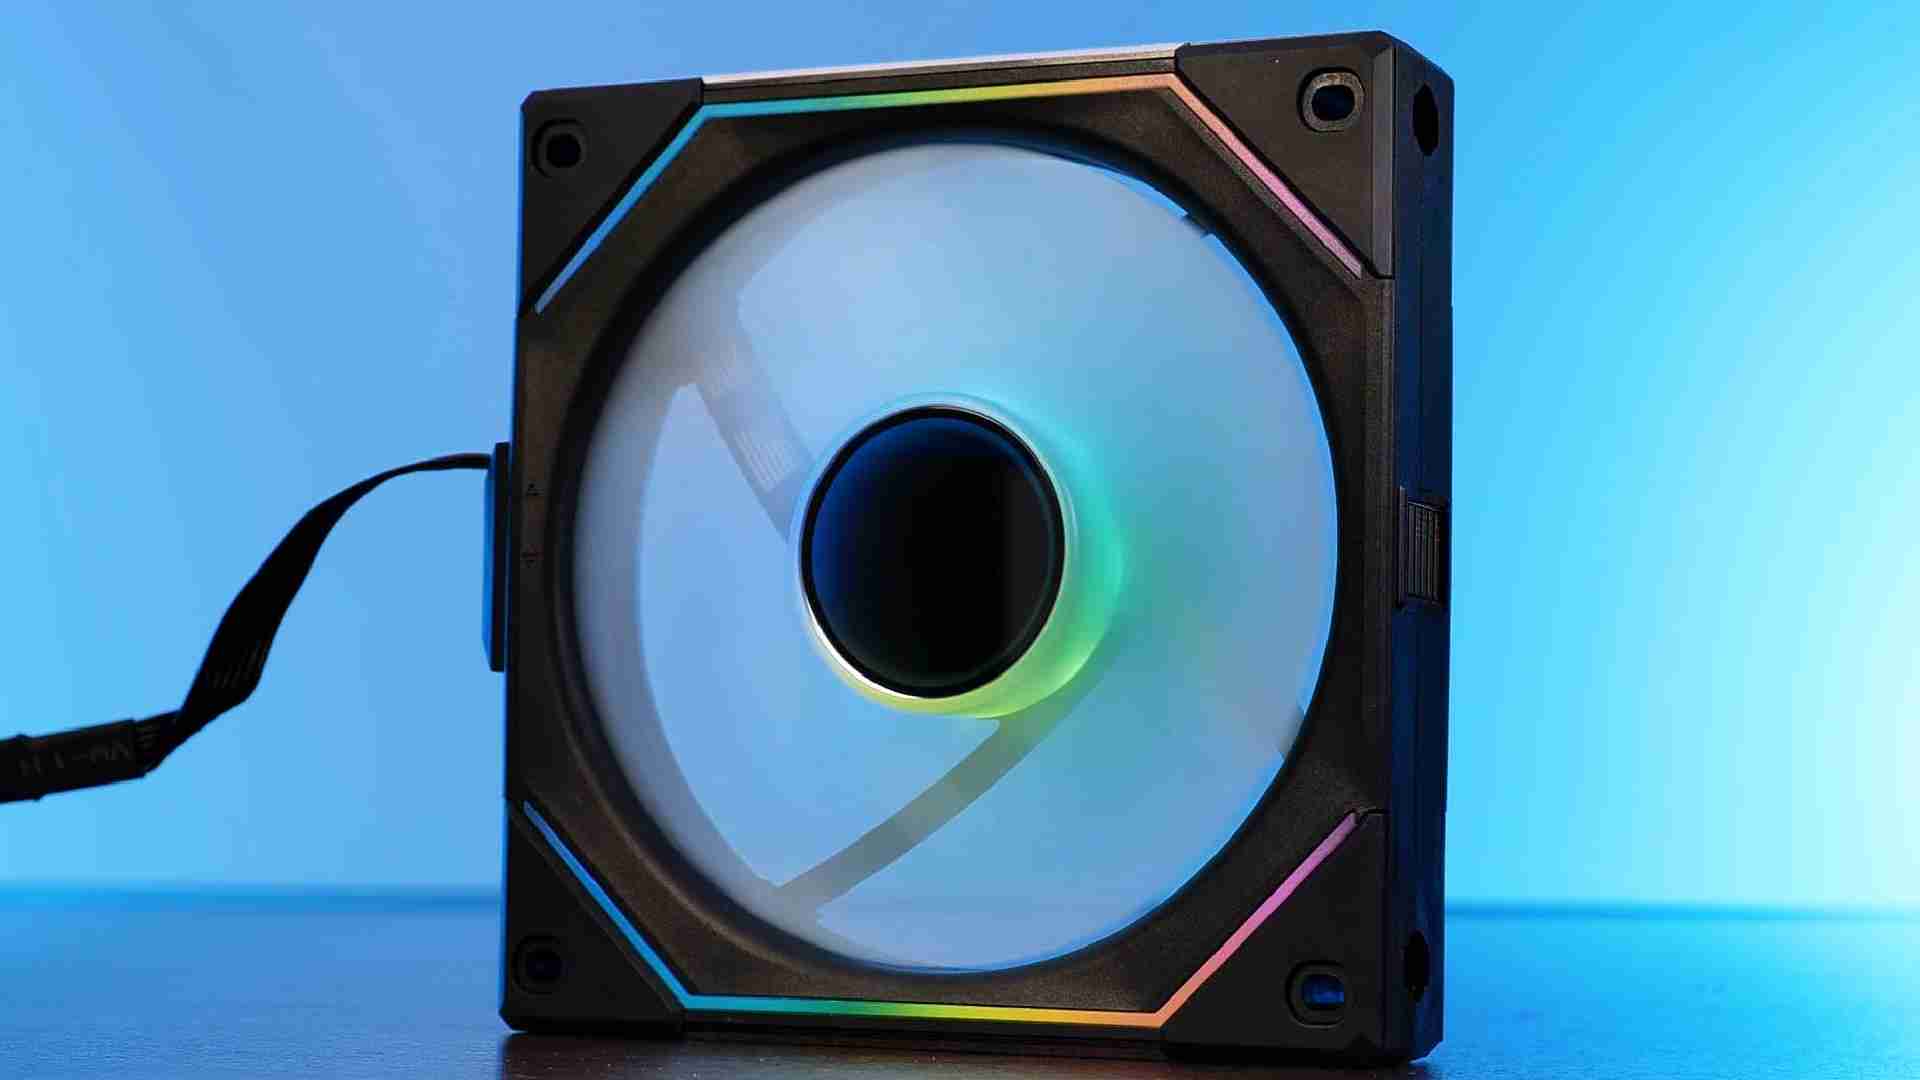
Lian Li Uni SL-Infinity 120 Fan Review
Every few years, a new piece of hardware appears which is able to outperform the last generation in every aspect. Performance
Read More