Lazer3D LZX-8 Review
Introduction
Buying a Lazer3D PC Case is a very different experience than we are all used to. Instead of choosing between a very limited amount of options, which are mostly just an ARGB Fan or Black Fan, Lazer3D opens up a wide range of possibilities.
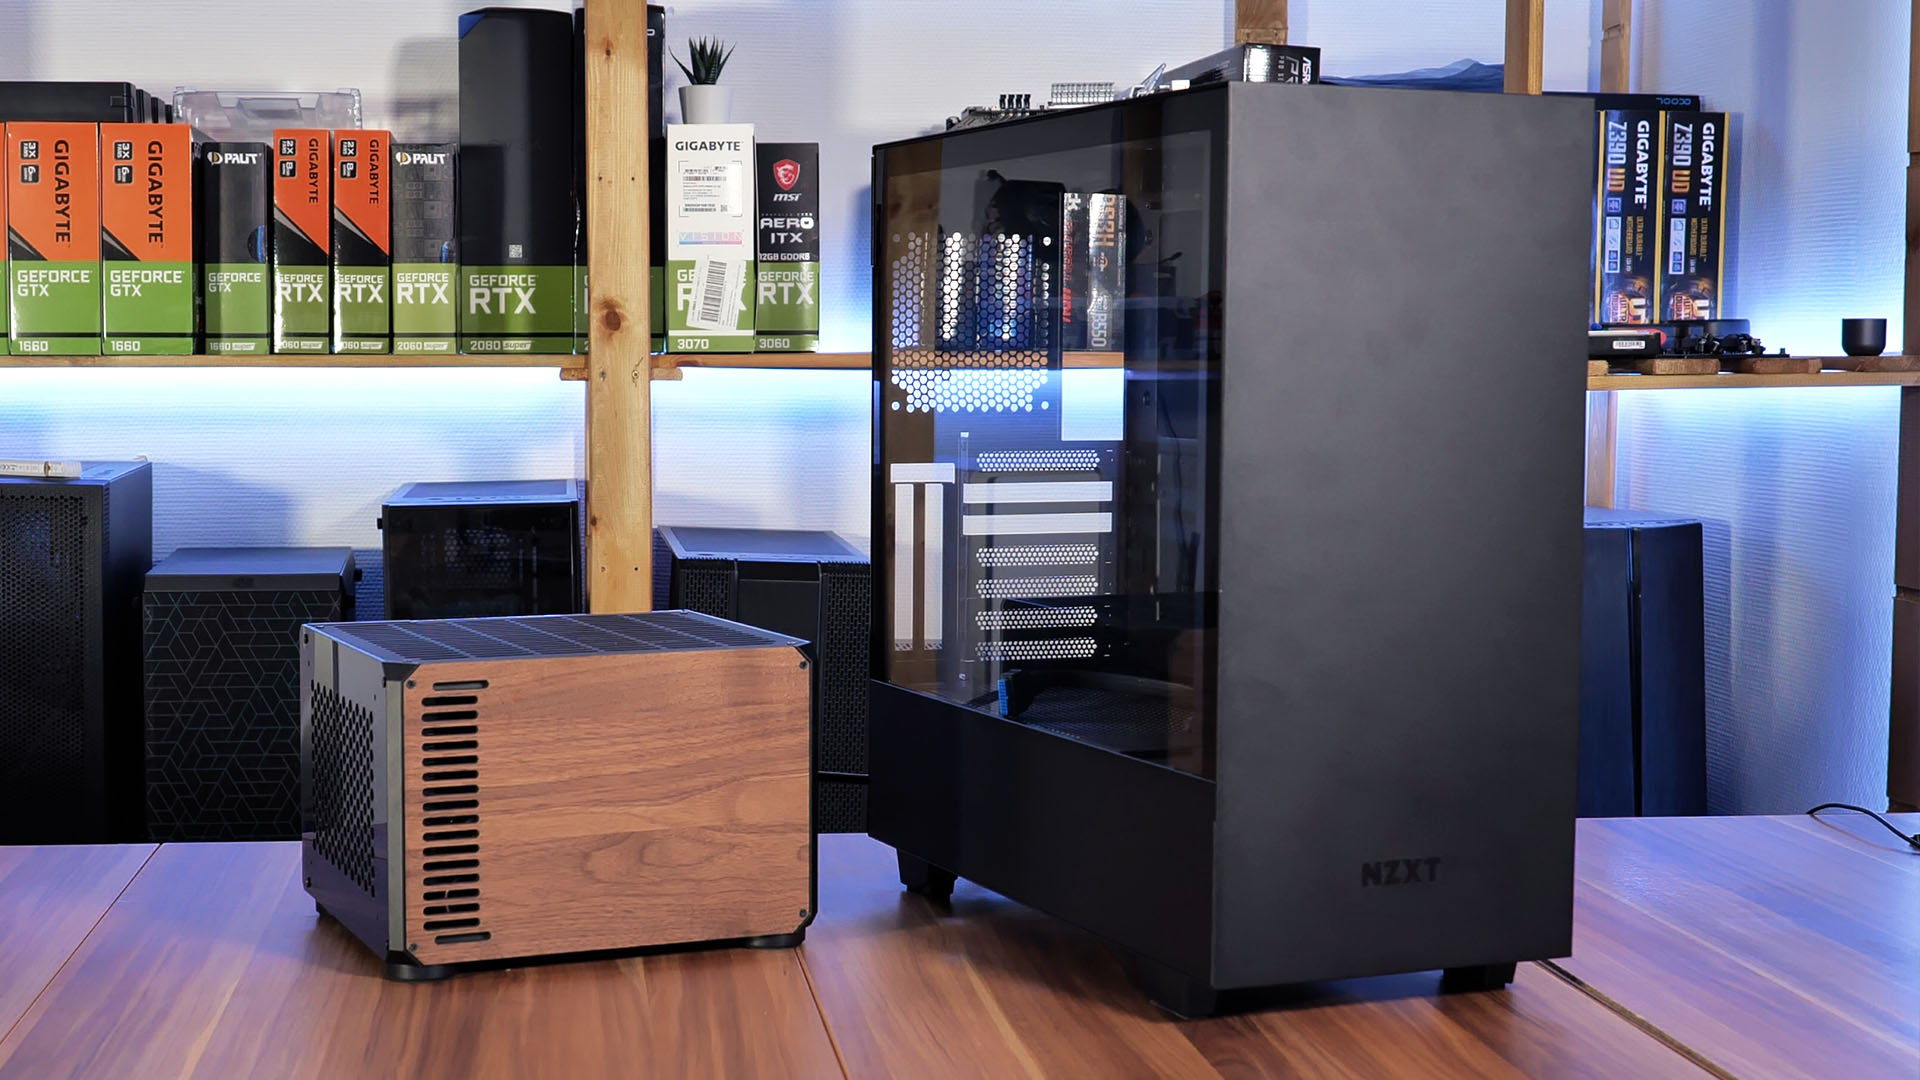
Lazer3D's newest LZX-8 Case combines two worlds that have never met before. Not only is their newest case one of the smallest that we've seen so far, filling a total of 8.6L. But before buying it, you can also choose from a huge amount of options like Color, Material, Air Vent Positioning, Air Vent Form, and many more. All of this while offering the maximum compatibility possible for such a small case.
This huge about of options make the LZX-8 one of the few existing Custom cases that a User can configure to his very liking using this simple configurator.
Let's dive deeper into the LZX-8 and see if the case performs as well as it looks!
Positive
- Extremely Small Size (8.6L)
- Customizable
- Wooden Side panel
- Fast Charge USB-C
- Surprisingly easy to build-in
- IKEA-Like Building experience
Neutral
- Can fit a 3060ti
- IO (almost Up-to-Date)
- 2x SSD
- 1x HDD
- Only ITX Support
Negative
- Price
What's in the Box?
Usually, this segment is reserved for the Unboxing Experience of a case. But with most cases being packaged exactly the same as any case before, this has become a Template-Segment in which we only switch out the words.
BUT NOT TODAY!
Unboxing a Lazer3D case is nothing like the usual Case-Unboxing experience.
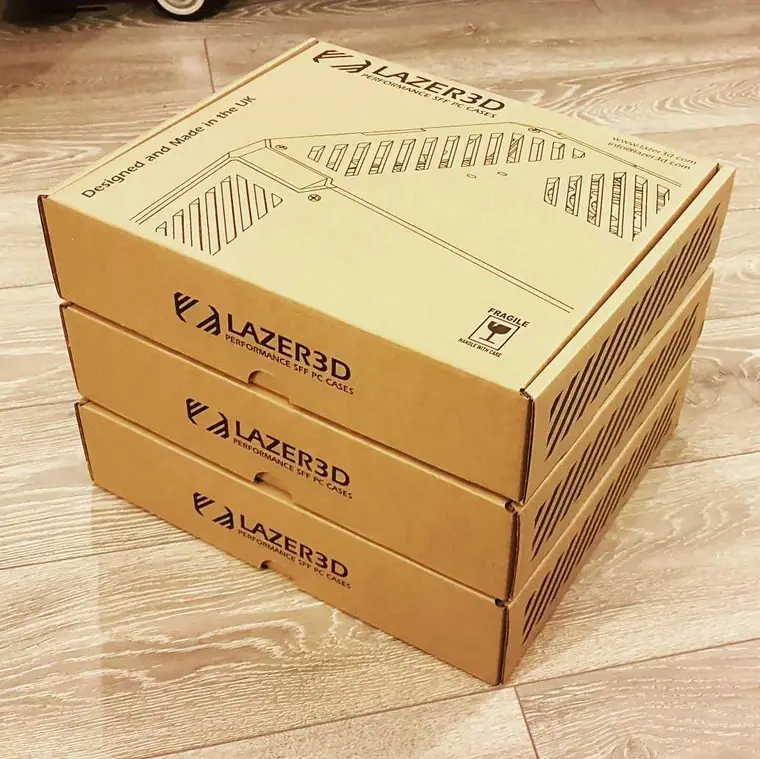
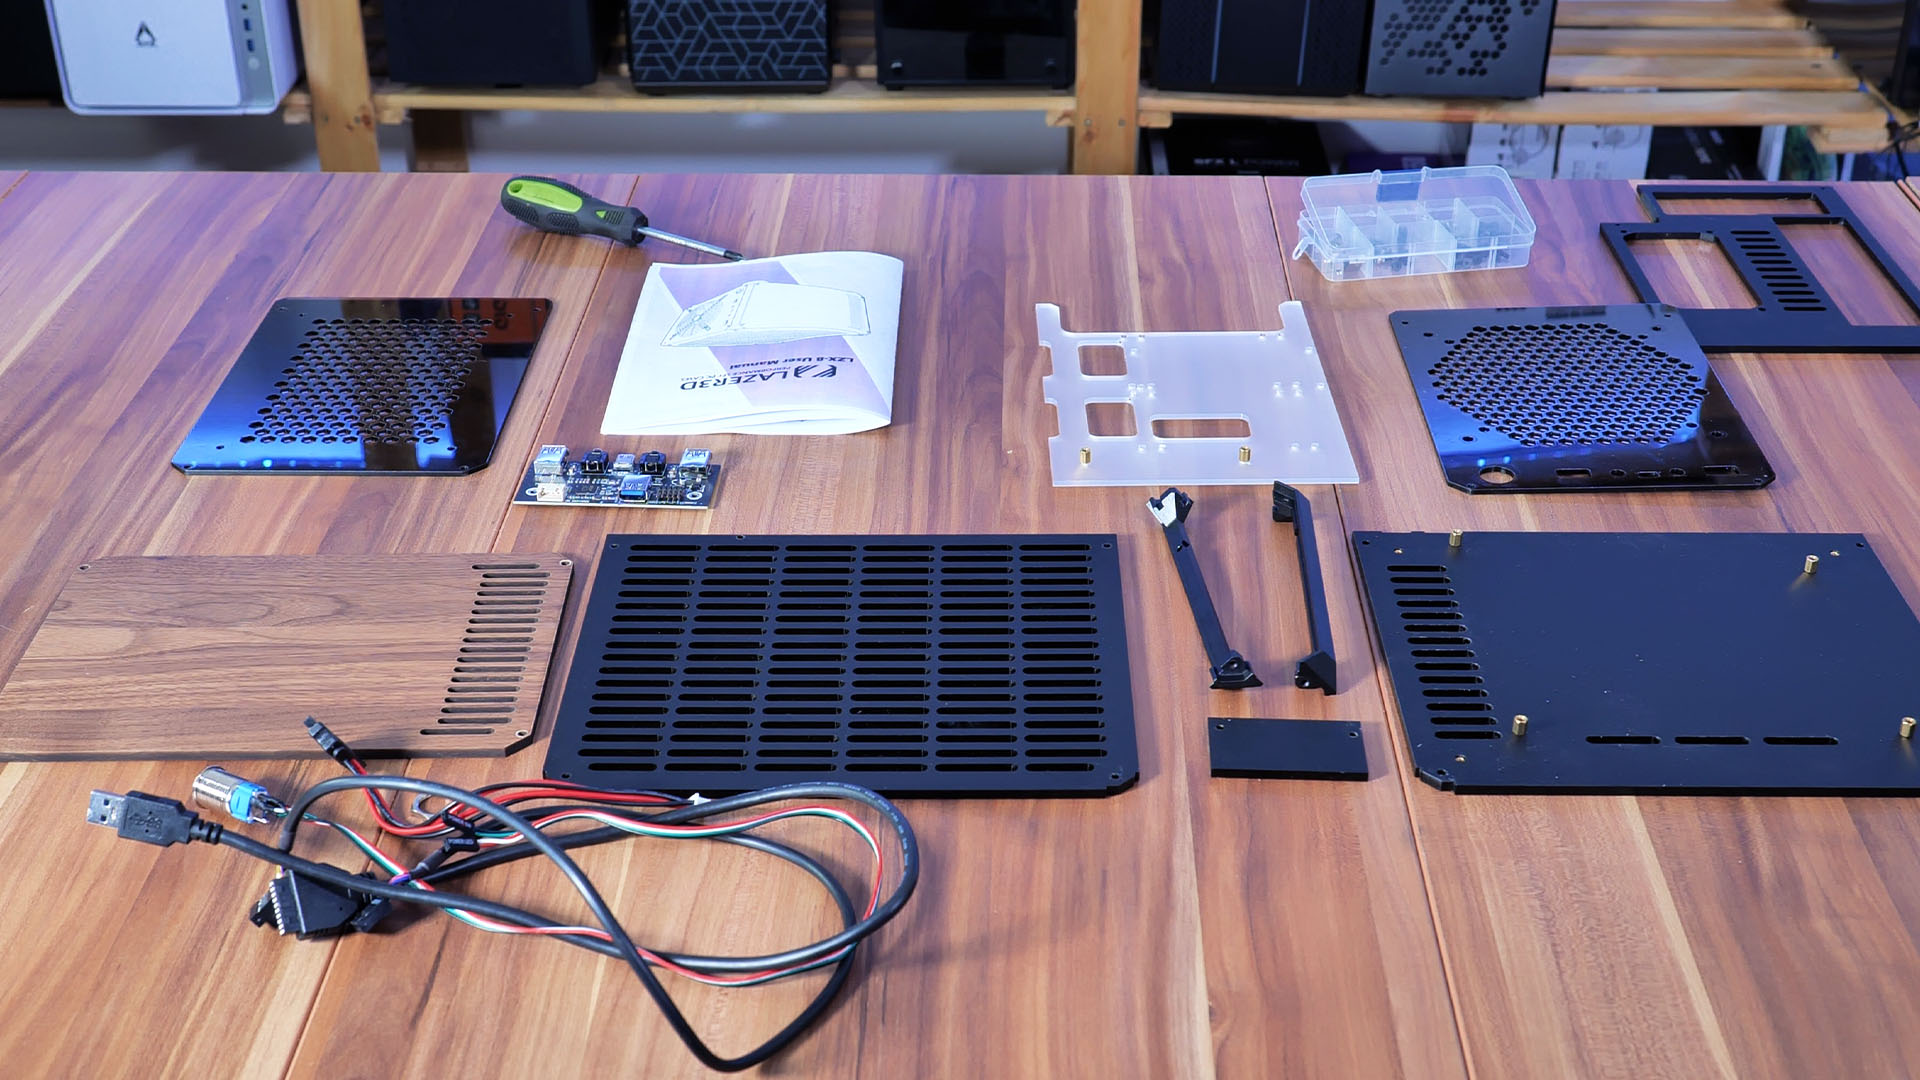
Instead of a huge carton box containing the ready-to-go PC Case, this time we get a smaller box containing each individual piece that is needed in order to assemble the case.
Inside that box, we will find a set of smaller boxes, each containing either one of the Panels the needed additional little pieces.
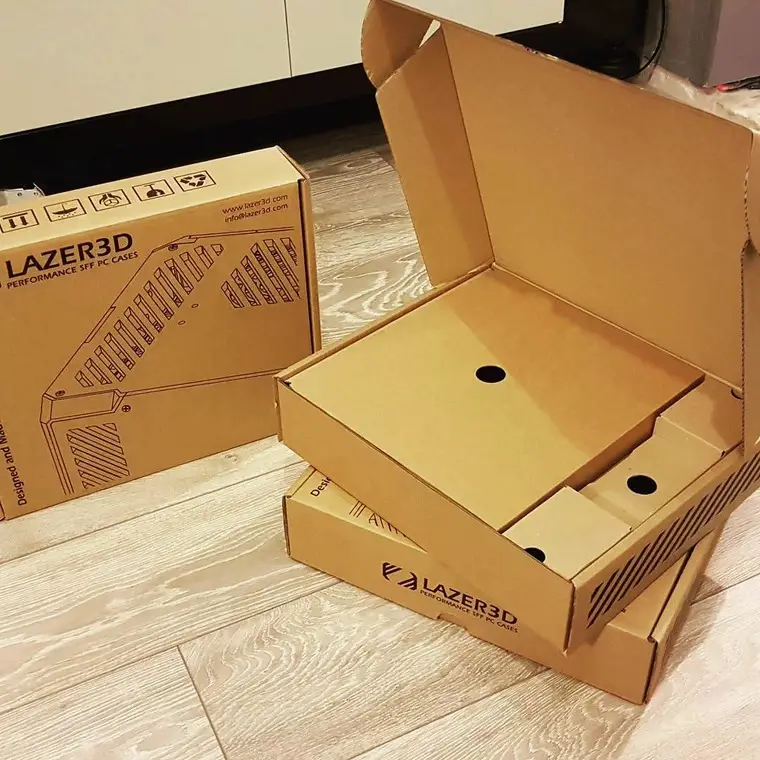
Once everything is unpacked and placed on a table you will find yourself swimming in little pieces that now need to be assembled.
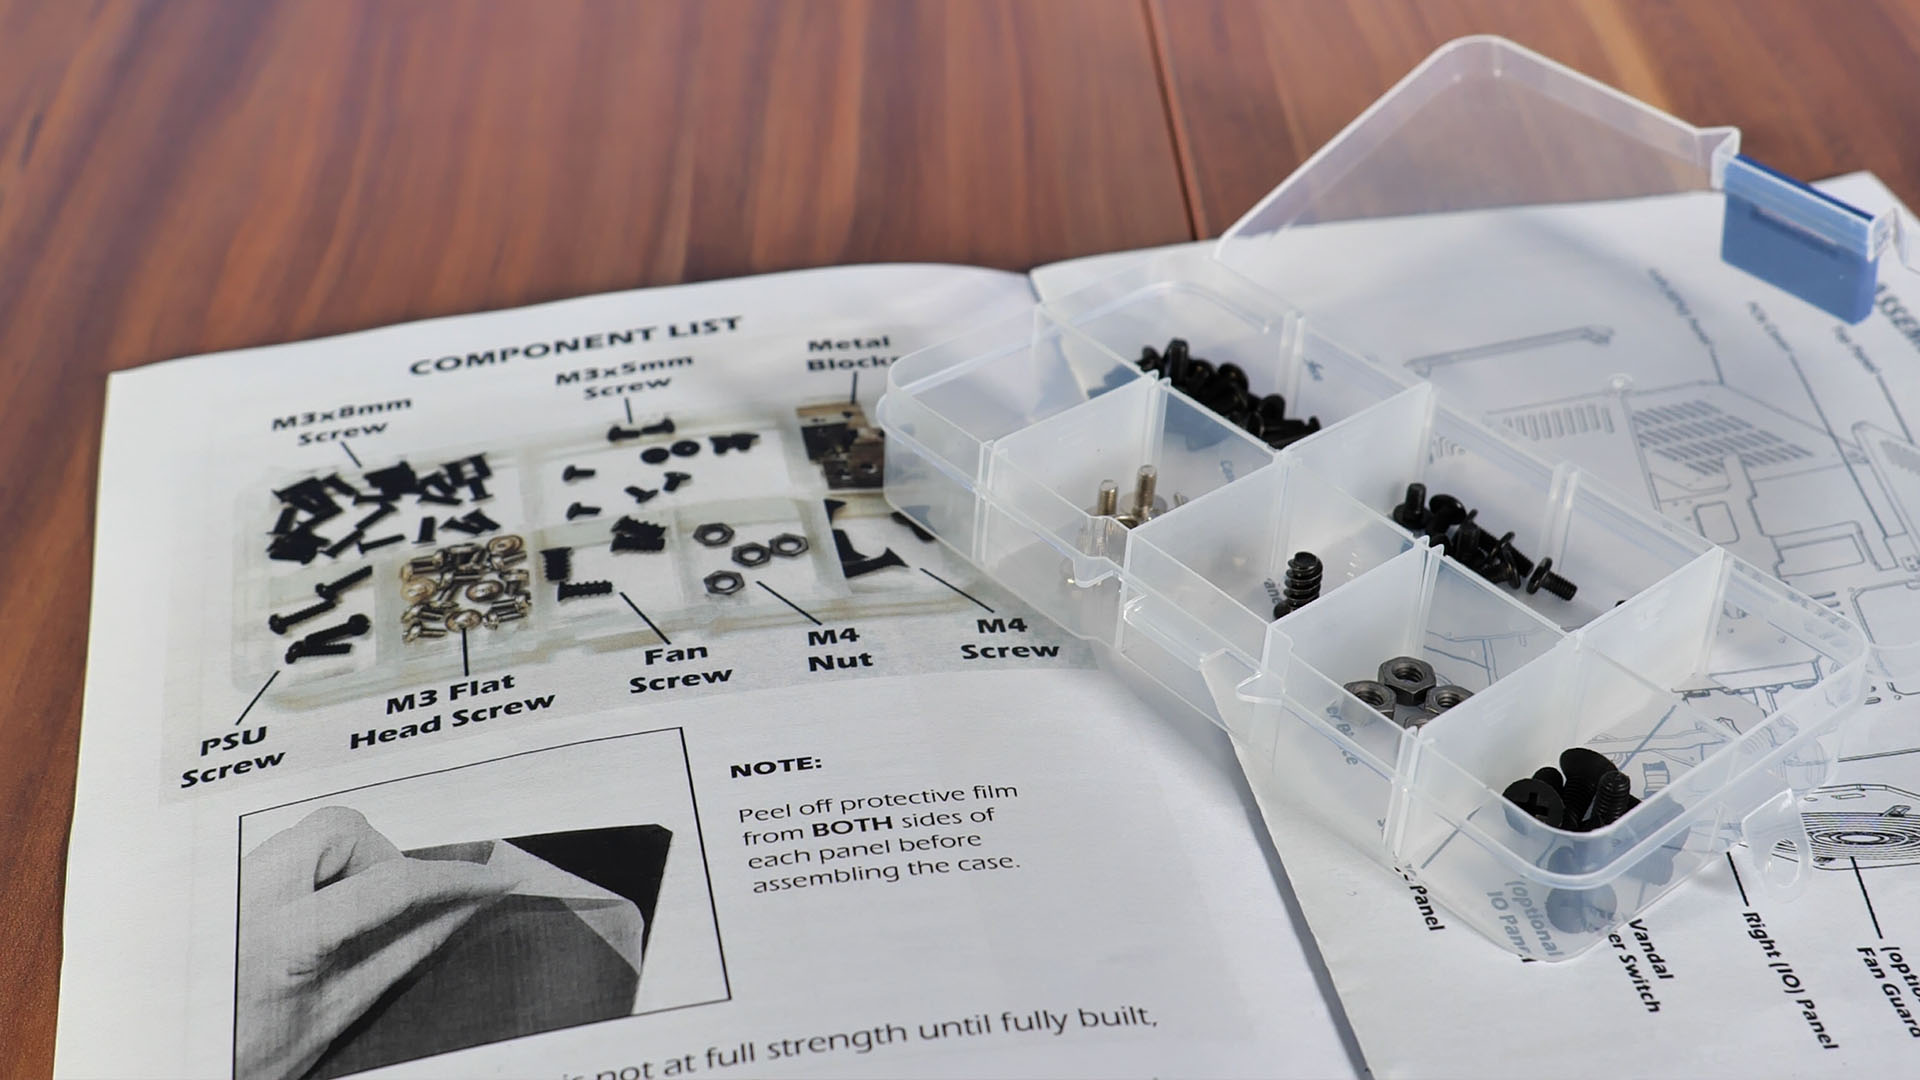
Luckily, Lazer3D includes an easy-to-understand Manual and a Screwbox that guides you through that whole process.
We will get a deeper look at the Build-Process in the Installation part of this review.

If there is one word, to sum up, the unboxing experience, it is IKEA. Not only is the LZX-8's packaging highly price, leaving no wasted space, but everything is thought through to the last screw and extremely well planned. Just like IKEA furniture.
Specs
Filling (only) a total of 8.6 Litres comes at a certain cost. Though Lazer3D made sure to make some adjustments at the right places in order to maximize the compatibility compared to the previous generations.
We summarized the most important points below:
| Name | Lazer3D LZX-8 |
| Type | Small Form Factor |
| Mainboard Size | Mini-ITX / D |
| PSU Size | SFX/SFX-L |
| Color | Depends on the configuration |
| Side Panel | (Wood/Perplex-Acrylic) Depends on the Configuration |
| CPU Cooler Height | Up to 72mm |
| GPU Length | Up to 205mm |
| 2.5" Drives | 2x |
| 3.5" Drives | 1x |
| IO | 2x USB 3.0 Type-A, 1x USB 3.0 Type-C |
| Dimensions | 245x160x220mm (8.6L) |
| RGB | No |
| Fan Spots | 1x 120/140mm Next to the IO |
| Watercooling | No |
| Extras | USB-C - 25W Fast charging SATA Adapter included |
Compatibility
If you are planning to build an (extremely) Small Form Factor Pc, you need to keep in mind that this requires compromises. In some cases, this means that there will be no dedicated GPU at all. Others are barely called "Small Form Factor" because they offer full RTX 3000 Support.
Lazer3D's approach is to deliver the best of both worlds while not limiting either category too much.
The biggest compromise that had to be made within the LZX-8 Case is ITX (only) support.
This means that the Mainboard in use needs to be built in the ITX standard.
The Power Supply is also affected by this compromise, meaning that only SFX and SFX-L PSU's can be used.
Compared to the previous generations, Lazer3D enhanced the GPU compatibility by allowing up to 205mm long Graphics Cards.
This means that Cards like the EVGA 3060ti XC or MSI AERO 3060 ITX are in fact compatible.
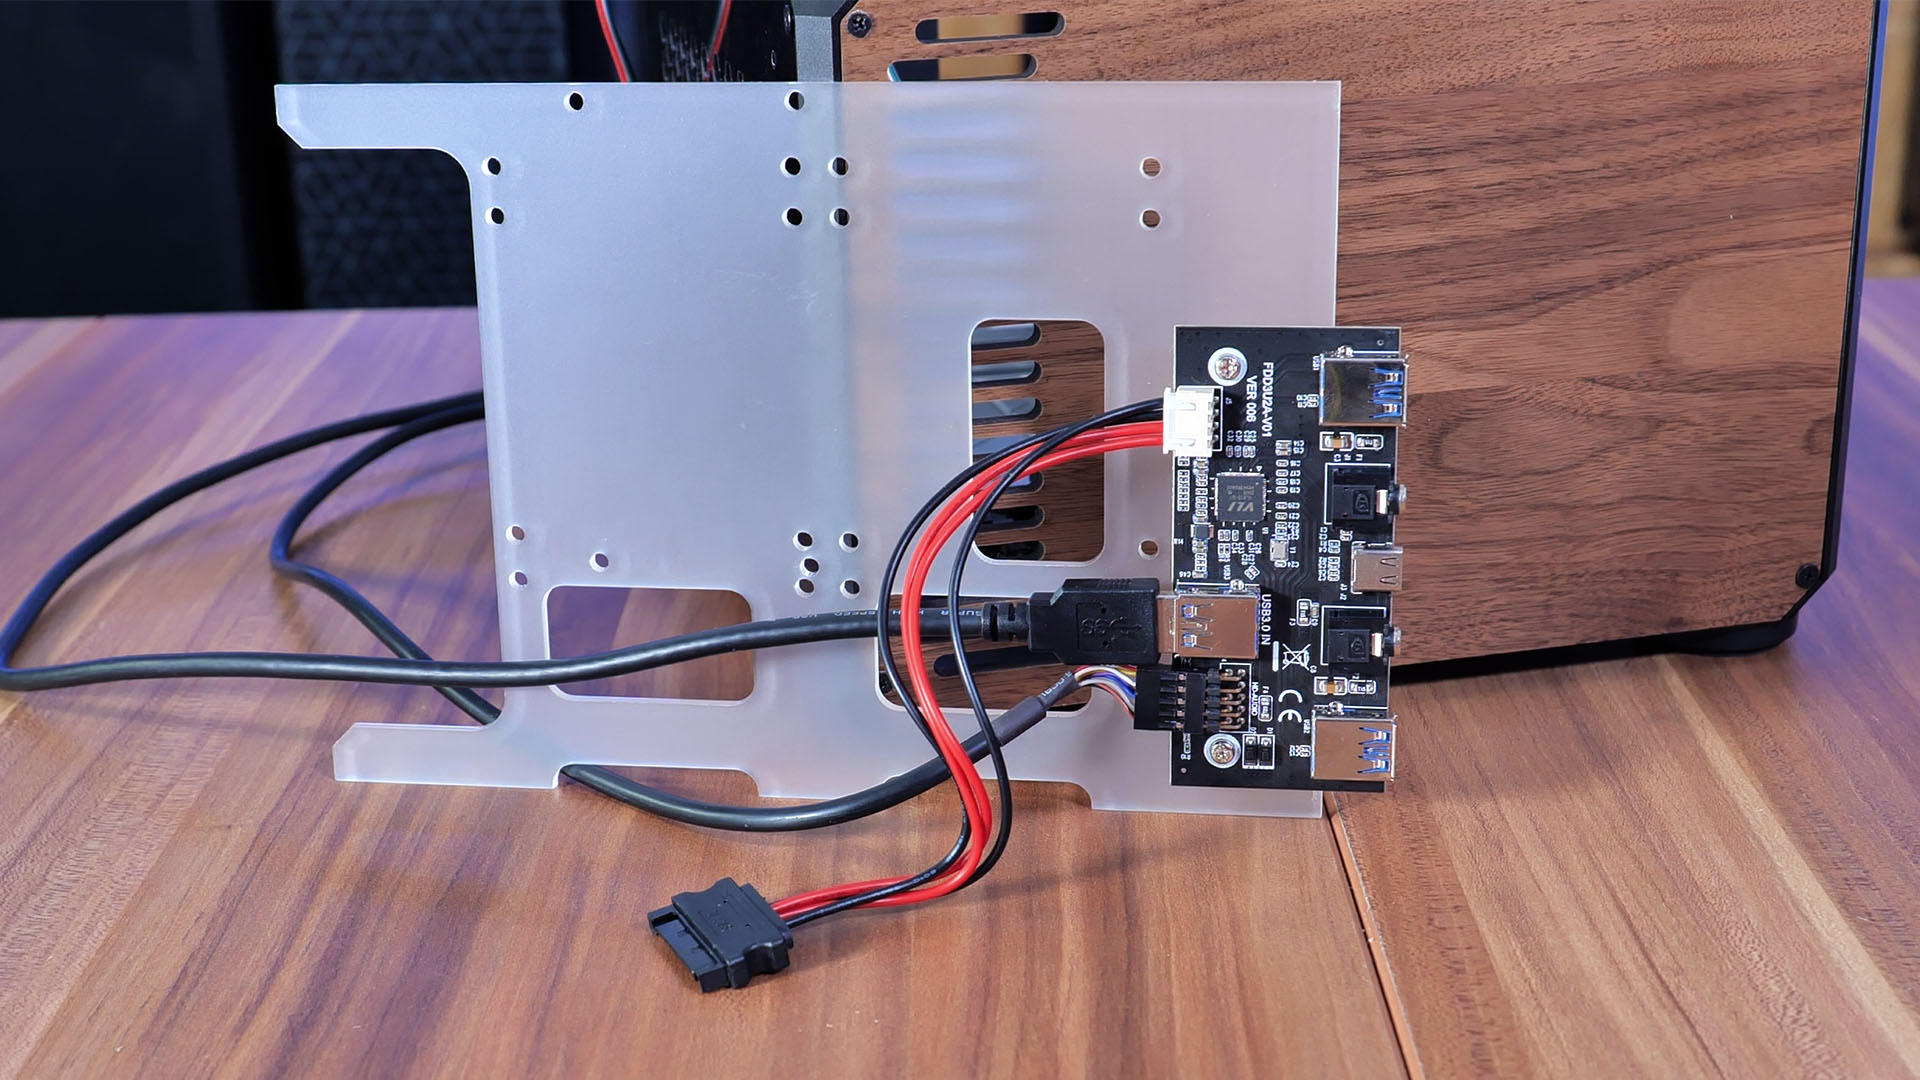
The Milky-Acrylic plate that is keeping the IO Panel in place doubles as a Drive Mount. On here, a total of 2x 2.5" or 1x 3.5" Drive can be installed.
Using the possibility to install a 3.5" does come at a drawback. Because the HDD ends up in front of the GPU, the LZX-8 maximum GPU length is being shortened to 172mm.
But, if you now have a couple of cm's missing for your GPU, you can rotate both Sides- and Front panels in order to reposition the IO in front of the GPU, enlarging the maximum GPU length to 178mm.
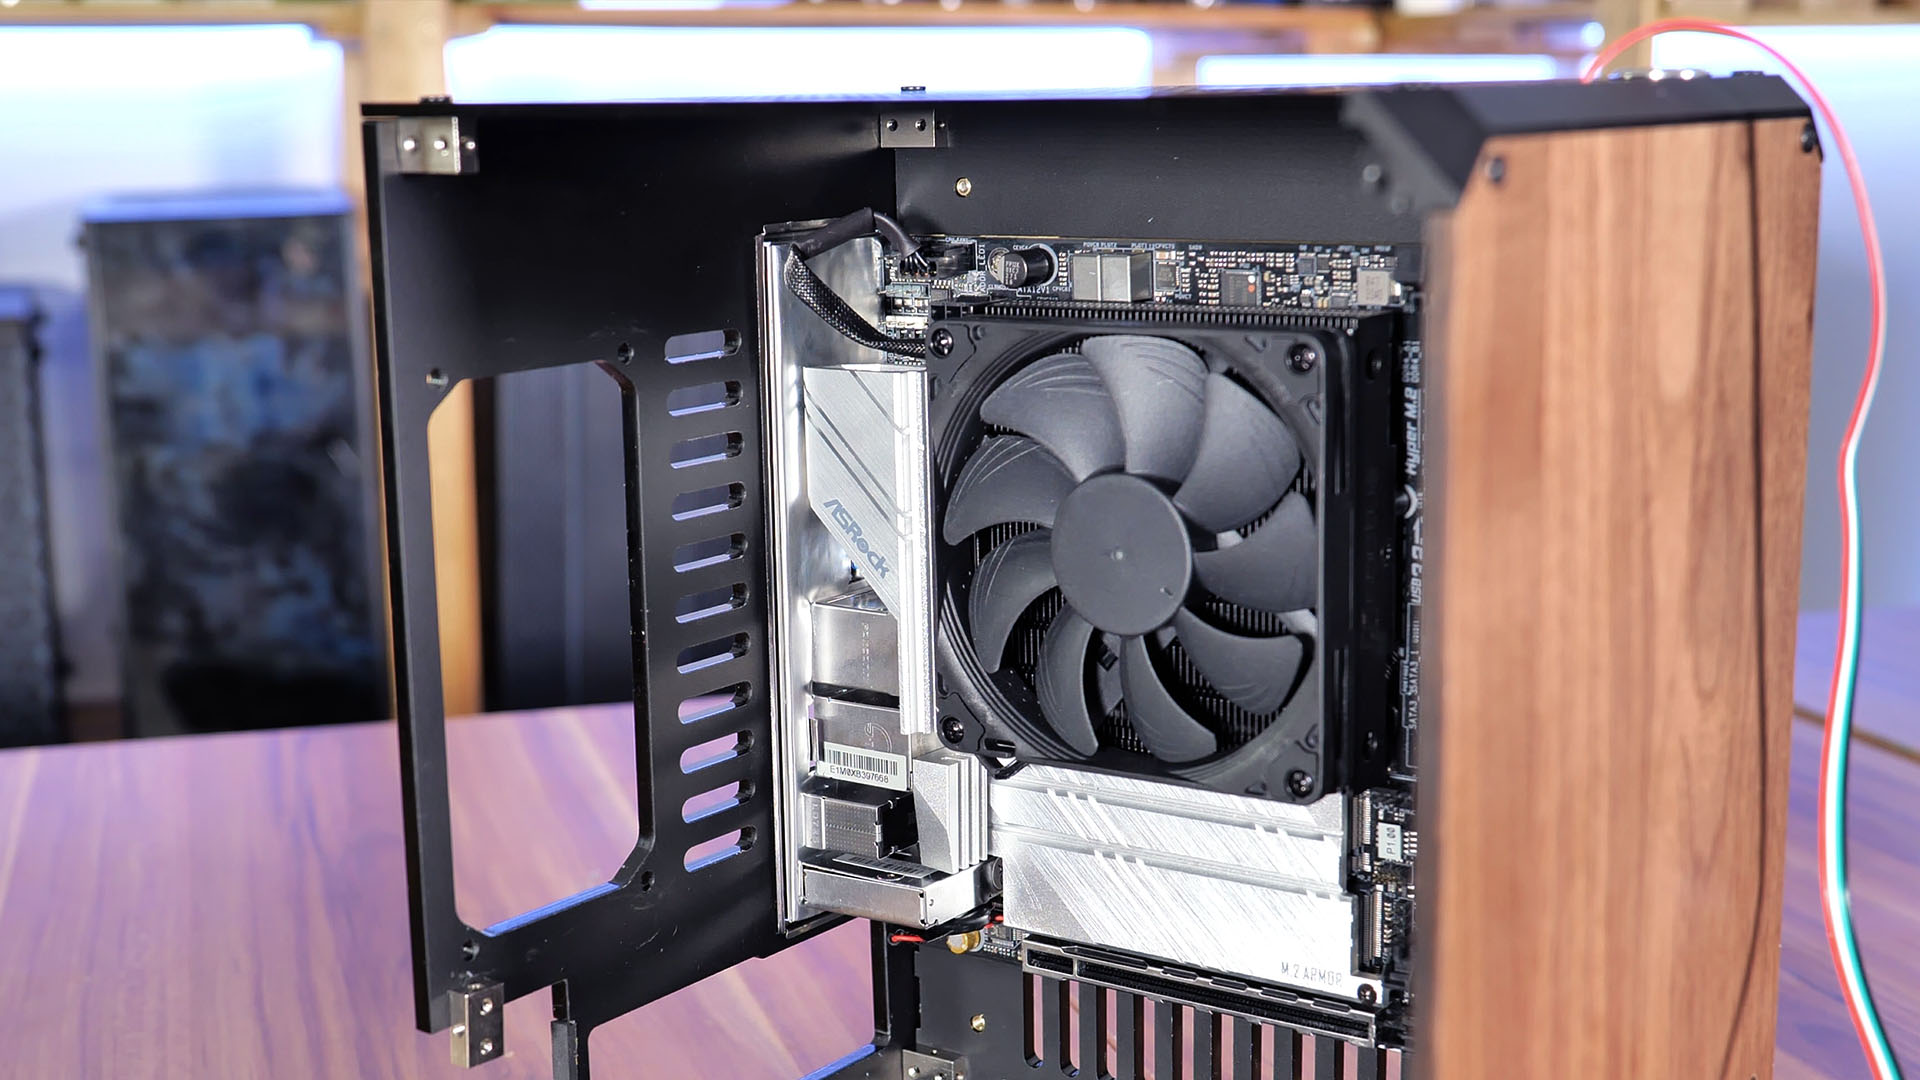
When it comes to CPU Cooling, you need to very carefully select your cooler as the PSU is placed directly above the CPU, limiting the maximum CPU Cooler Height to 78mm. Lazer3D specifically recommends the Noctua NH-L12s for maximum cooling performance.
Generally, the LZX-8 allows building a pretty good gaming PC. But as with most other Small Form Factor cases, the project needs to be well planned beforehand, as a short trip to the next PC Store may not provide you with the exceptional hardware that you may need.
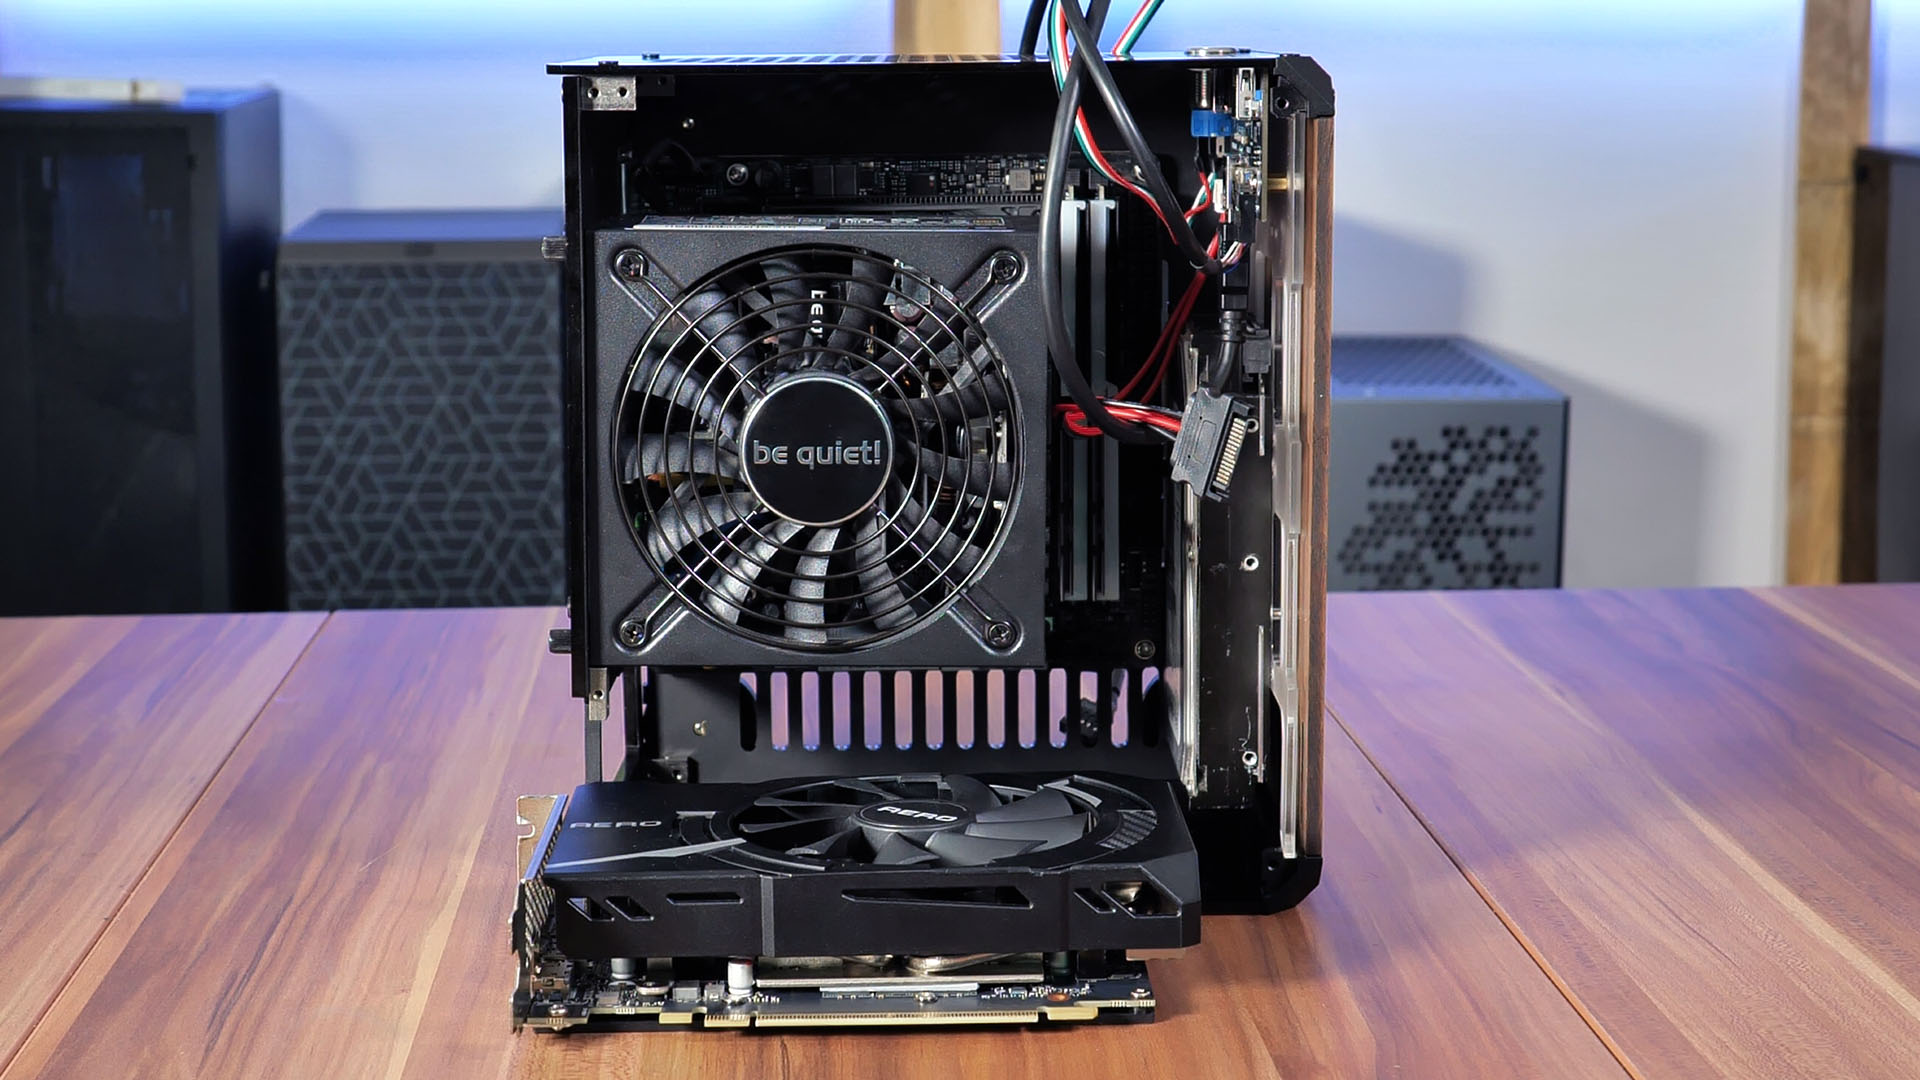
In order to build the best-possible performing pc (in regards to the ongoing shortage), we used an ASROCK Z590M-ITX/AC, Intel i7 10700k, and MSI AERO 3060 ITX, all of which, fitted in just perfectly.
IO
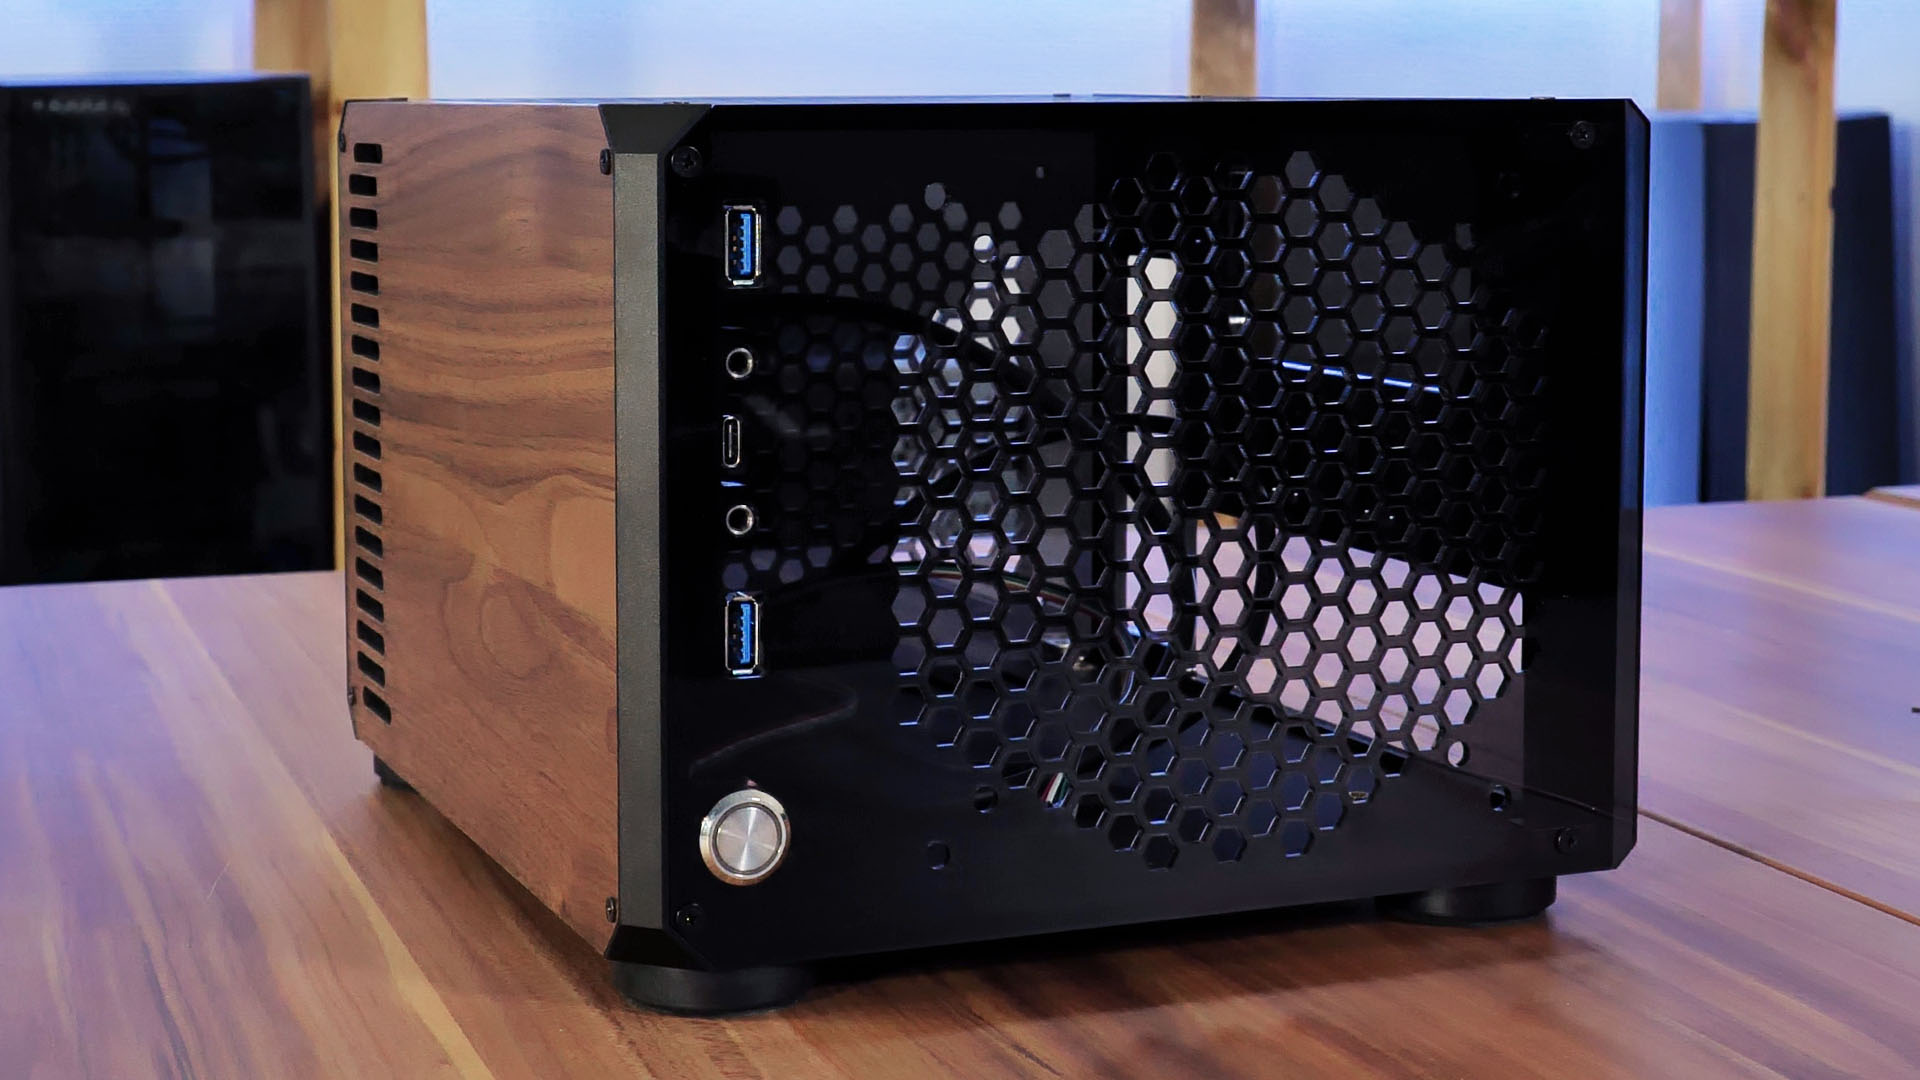
One of the most interesting aspects of a Lazer3D case is its customizability. Therefore, you have the option to (only) get a Start button, or get the same Start button accompanied by a complete IO Panel.
The LZX-8's optional IO Panel is (extremely) close to the best-case scenario for a 2021 PC Case. With 2x USB 3.0 Type-A and 1x USB 3.0 Type-C, the LZX-8 will be able to keep up with most existing scenarios.
Additionally, you are able to supercharge the USB-C port with 25W fast-charging by connecting the SATA-Power adapter for the IO PCB that is included in the box.
Cable Management
The cable management possibilities inside an LZX-8 Case are practically none. But before you might think that this is one aspect where Lazer3D tried to save some money, think the reason why you would need any.
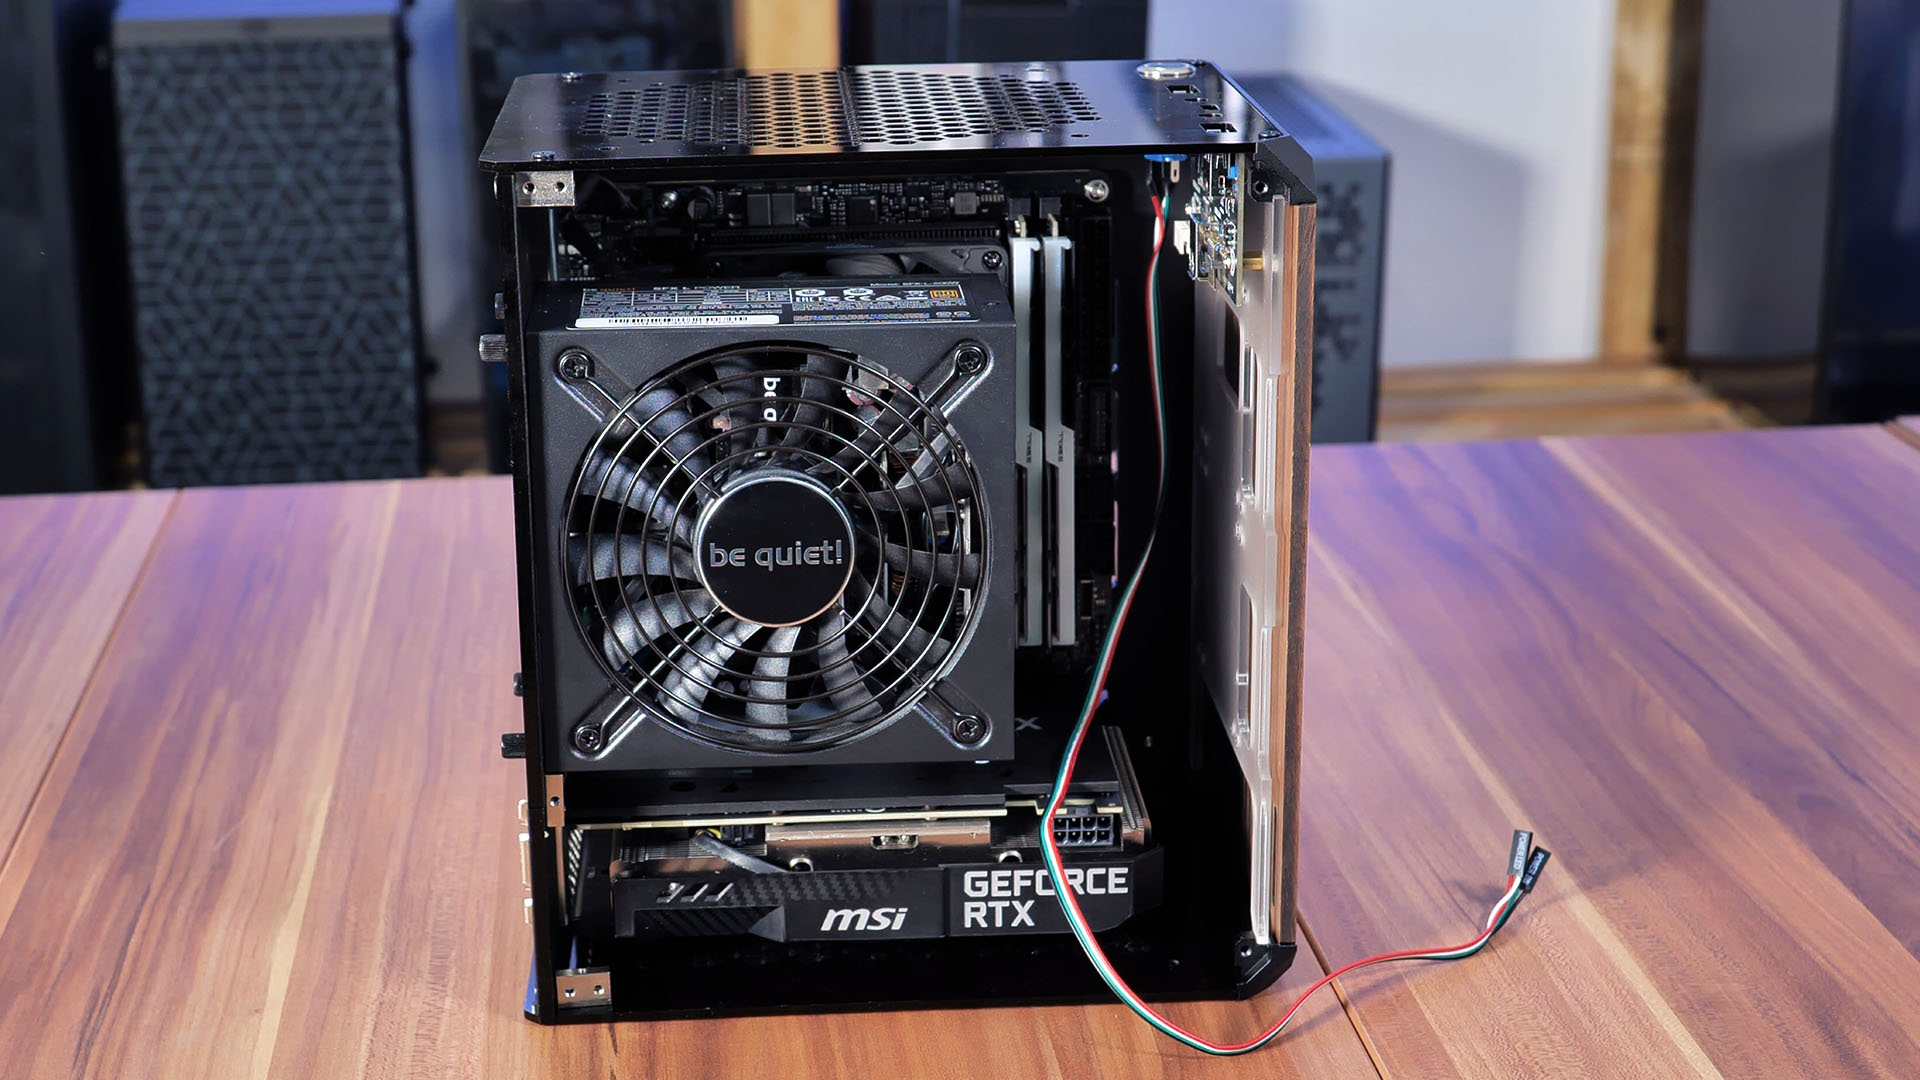
By having the PSU on top of the CPU, most of the cables that you would try to hide will be pointing behind the PSU anyway. Therefore, they will naturally be hidden once the Build is complete.
The only cables that need to be positioned properly are the GPU Power Cables. But while building in the Case, we found out that the pressure created by all of the other PSU Cables allowed us to reposition the cable just as we pleased.
Additionally, because most of the viewable area (in the case of the Vented Side-Panel) is covered by the PSU and GPU, cable management is not really something that you will have to think about with this case.
Cooling
Just like the IO, the cooling possibilities are another option that is completely controlled by the buyer's choice.
In total, there are 4 Spots that can be vented if the user desires so:
- Front Panel
- Top Panel
- Left Side Panel
- Right Side Panel
Each of these Panels can be configured with different ventilation types such as slogger slots or round holes.
Depending on the type of Panel, it can either be completely or just partially filled with slots.

The right panel, where the IO is located, doubles as a Fan holder.
Here, a 120 or 140mm Fan can be installed inside the case. Because of that, the configurator allows for additional options like Cyclone-like cutouts or Fan Guards.
In general, the Airflow situation within the LZX-8 Case is pretty impressive. Despite being such a small case, it allows both the PSU and GPU to get their air from outside the case ( if the vents are chosen as an option). Therefore providing an amount of air that even Full-Tower cases can struggle on.
To provide cool air to the CPU, Lazer3D includes the Fan option on the Side panel. The 120 or 140mm Fan as well as the (always present) vents in between the Motherboard IO and PSU are supposed to push fresh air in between the PSU and CPU, allowing the CPU Fan to perform perfectly fine.
In Summary, the amount of airflow that can be configured on the LZX-8 case is pretty impressive. The size of the case surely has a negative impact on the cooling performance, but if the Airflow is configured accordingly, every component is (almost) able to take its air from outside the case, which perfectly compensates for the small size.
Design
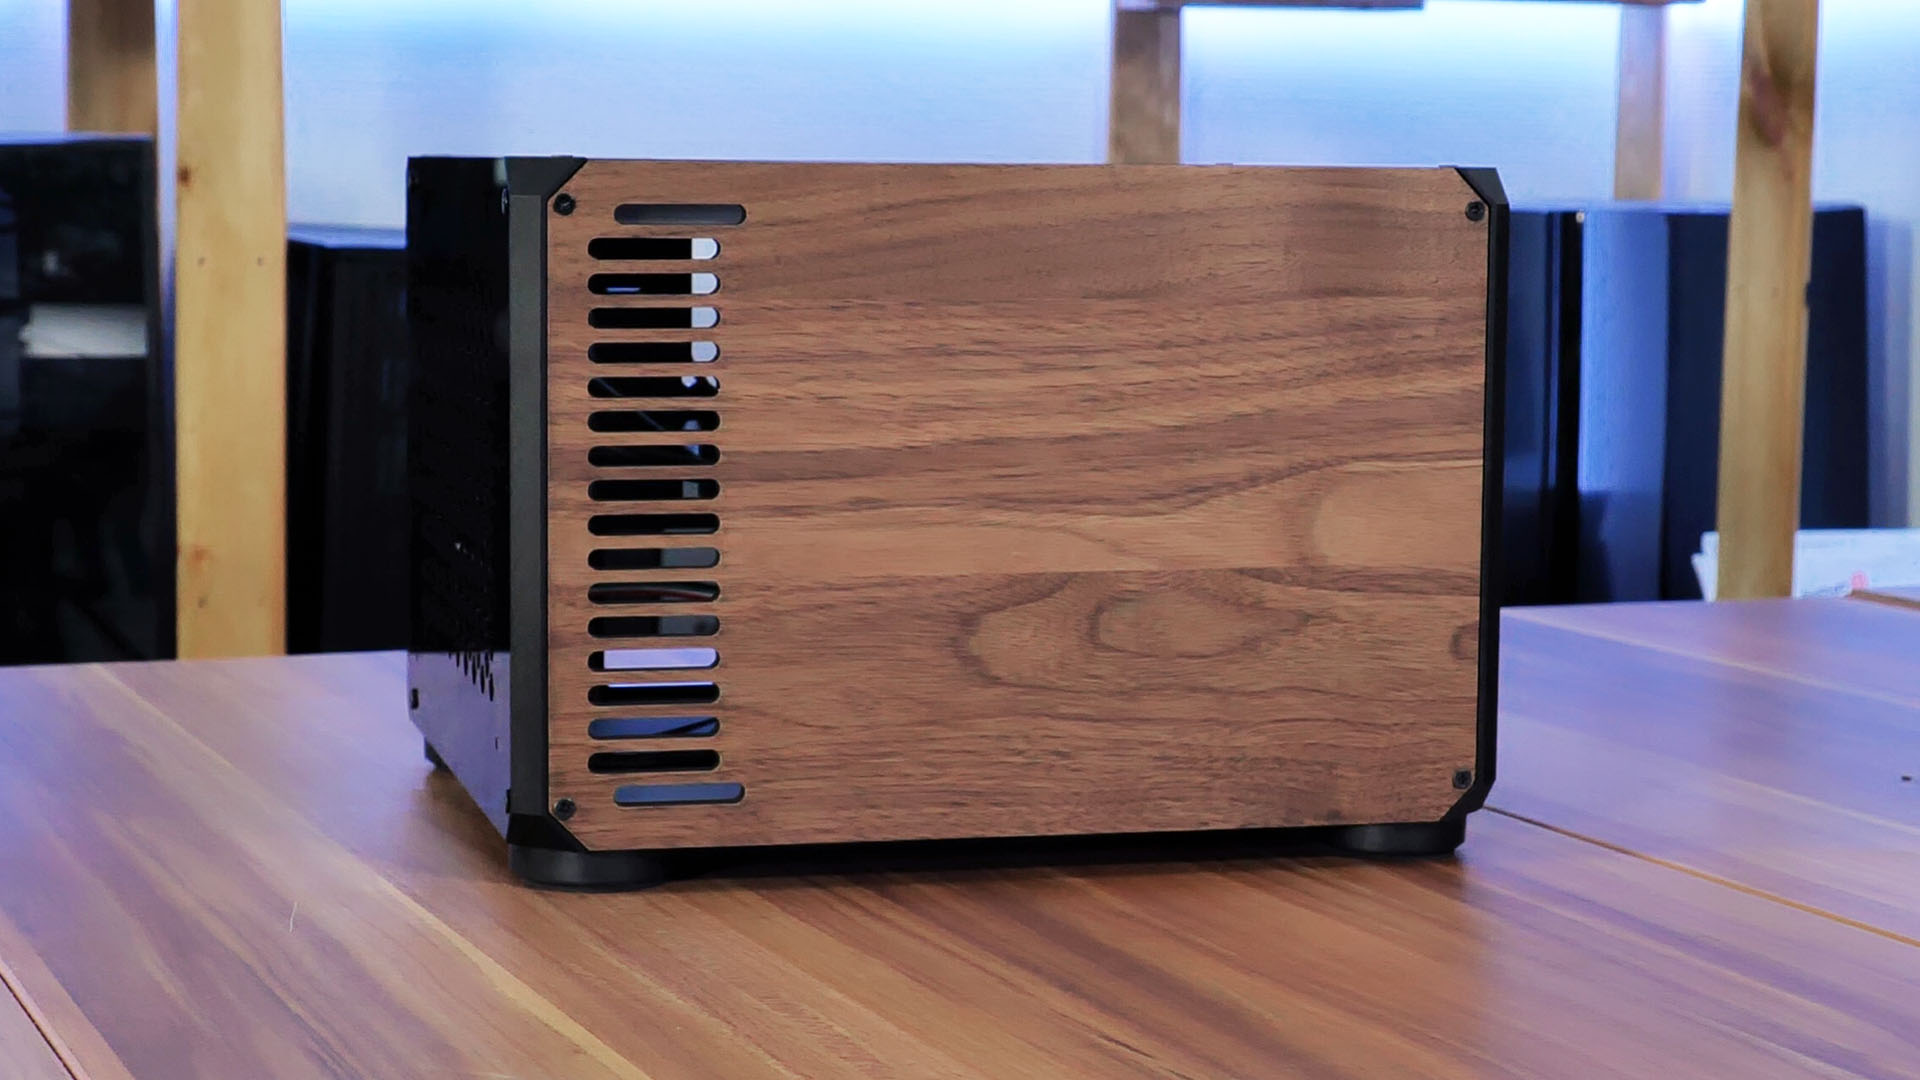
The most compelling reason to go for a Small Form Factor Case (for us), is design.
And that is the aspect on which Lazer3D managed to deliver the most with their newest LZX-8 Case.
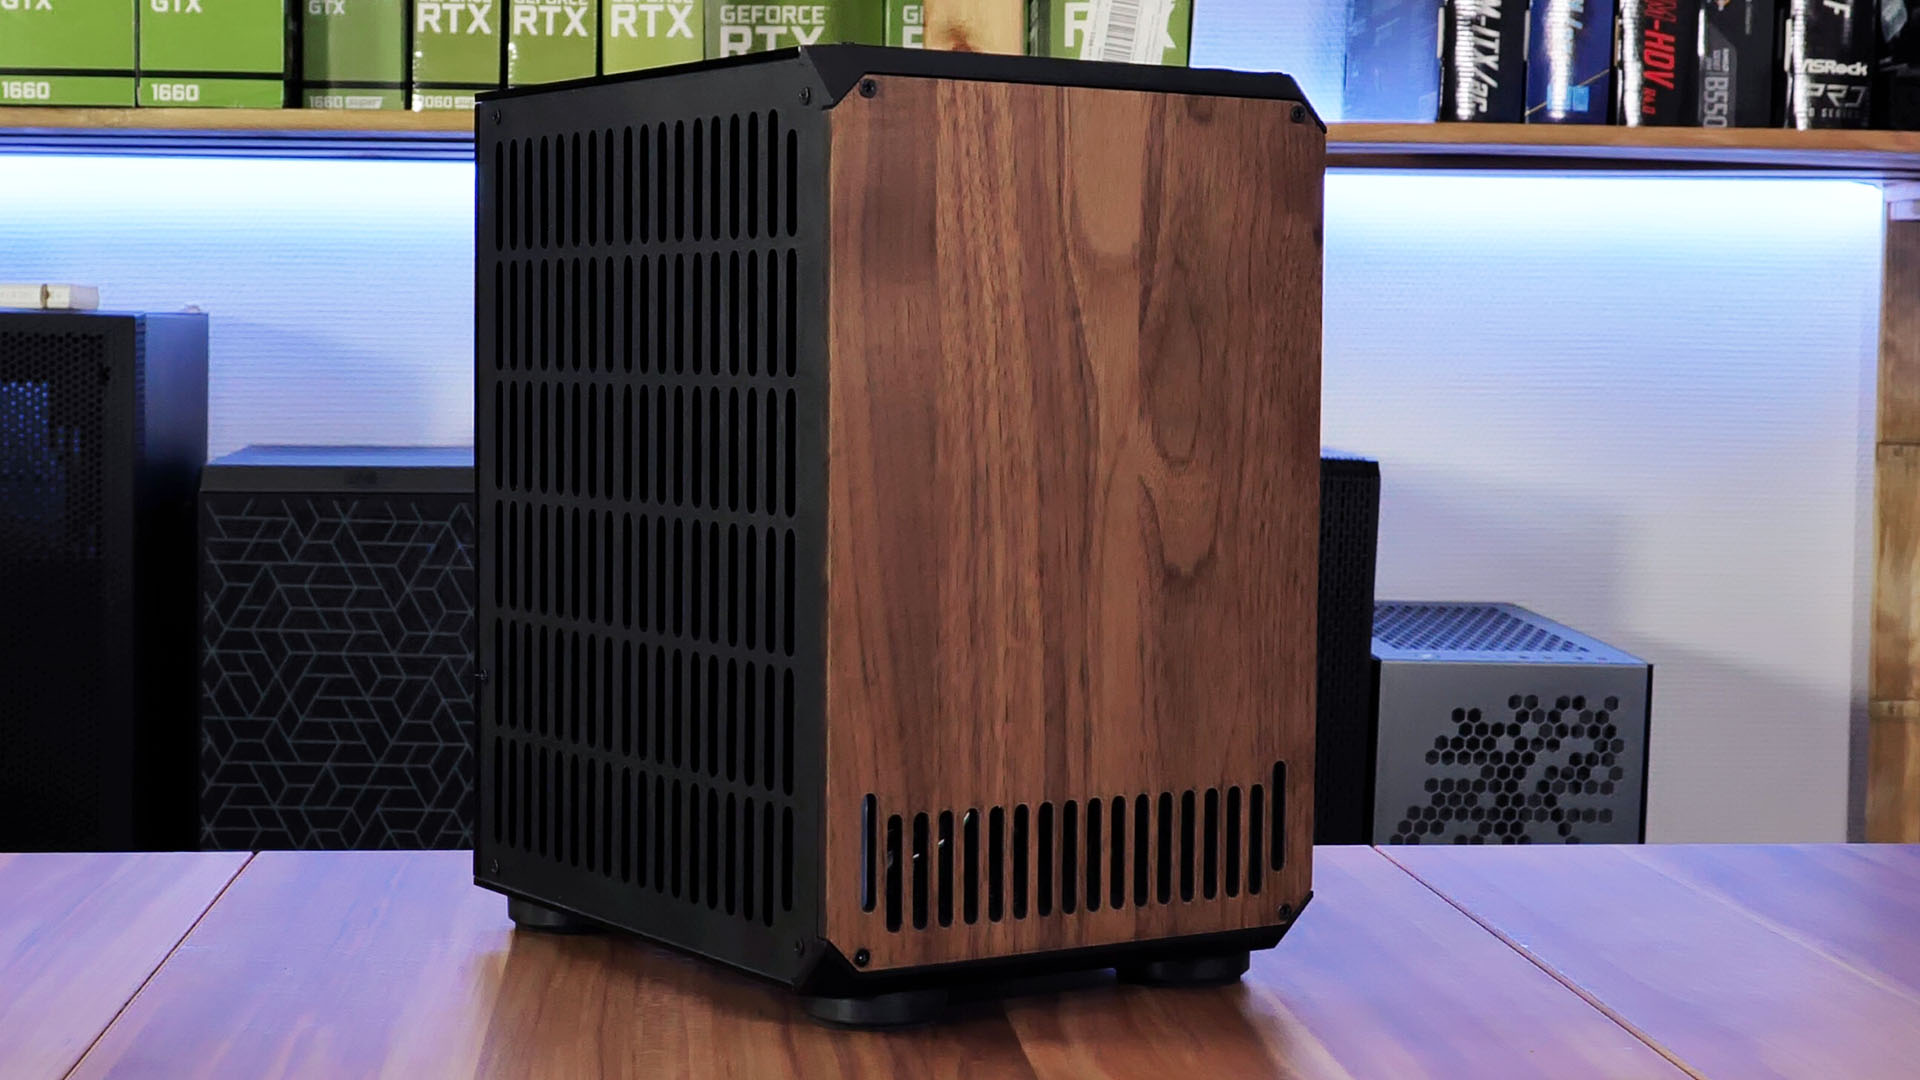
By choosing a huge amount of Color and Material combinations, there are numerous designs that can be created, tailor-made by the buyer.
A solid color, see-through, smokey window, everything is possible.
A few of these options include the usage of Oak, Cherry, and Walnut Wood as the Fron panel, which created a case that, until now, is the best-looking PC case we have ever seen.

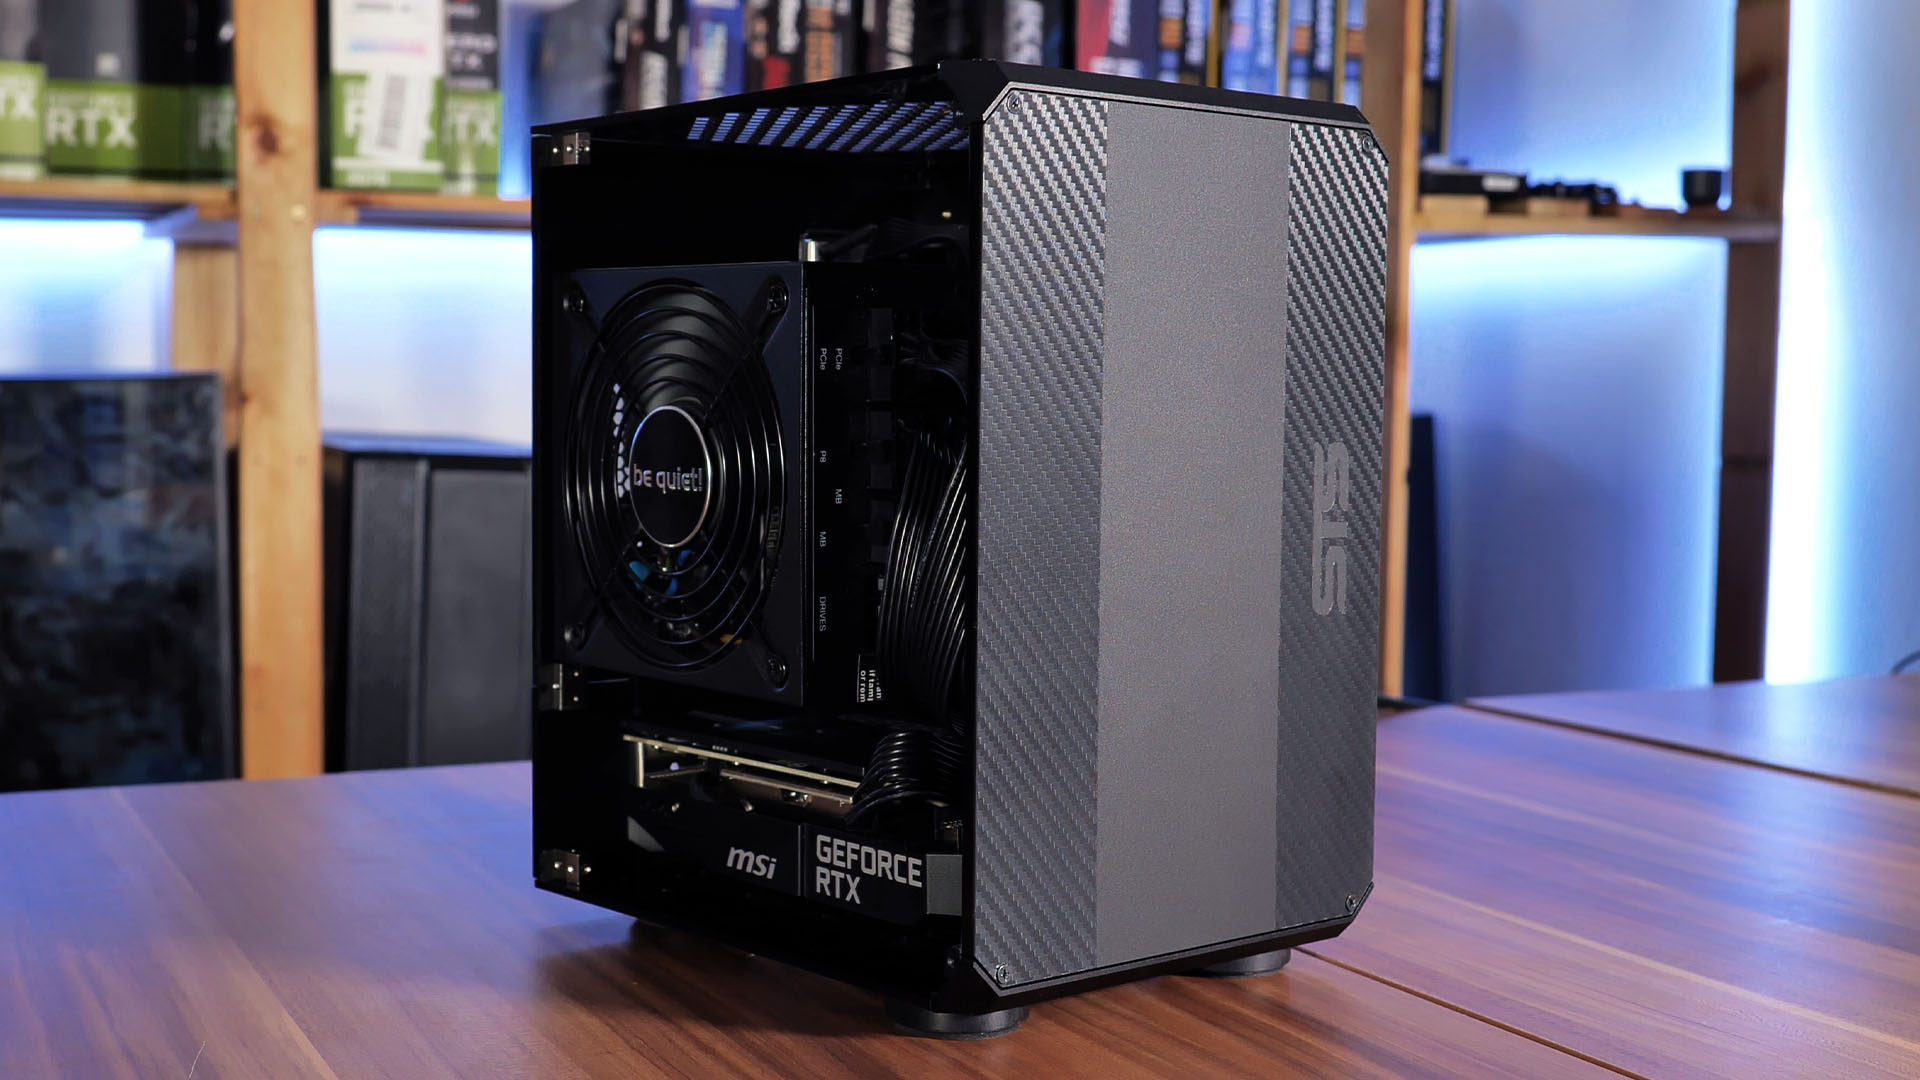
Additionally, the User can also let configure "extra" things, like an optional foil wrap of different potions (or almost all) of the case in Carbon-lookalike Vinyl.
Another extra option lets the User choose the exact type of feet, with the height and color being an option.
It would not be possible to include every possible design of an LZX-8 copy in this review. Therefore it might be best to try out the configurator yourself and see what fits best into your plans and expectations.
Assembly & Installation
As already mentioned during the "What's in the Box?" segment, once unpacked, the LZX-8 shared a lot with IKEA furniture.
Opening the Manual/Instructions makes this even clearer.
Just like any IKEA product, the LZX-8's Manual is basically a Step-by-Step instruction that guides you all the way until you have a fully assembled case.
As we found this procedure to be just as easy to understand as building an IKEA Kalax drawer, we do not think that this needs to be further detailed.
But we have a couple of hints that may save you some hassle.
When following the manual precisely, you would install the Motherboard and PSU while assembling the case around them.
As we build the case multiple times, we found it easier to ignore the components and just assemble the complete case while leaving the Top Panel open.
At this point, you will have the possibility to connect the Front-IO and PSU cables on the Motherboard before mounting it in its spot.
As the last step, the PSU can be installed, with the needed wires already hanging out of the case, making it really easy to connect them.
This installation method avoids connecting any cables to the motherboard once it's installed, which makes the whole process was easier.
Performance
Creating a standardized test for Small Form Factor Pc Cases is almost impossible as the setup may vary heavily depending on the compatibility of the case.
Therefore we abstained from any "general" testing and only benchmarked the LZX-8's real-world Performance.
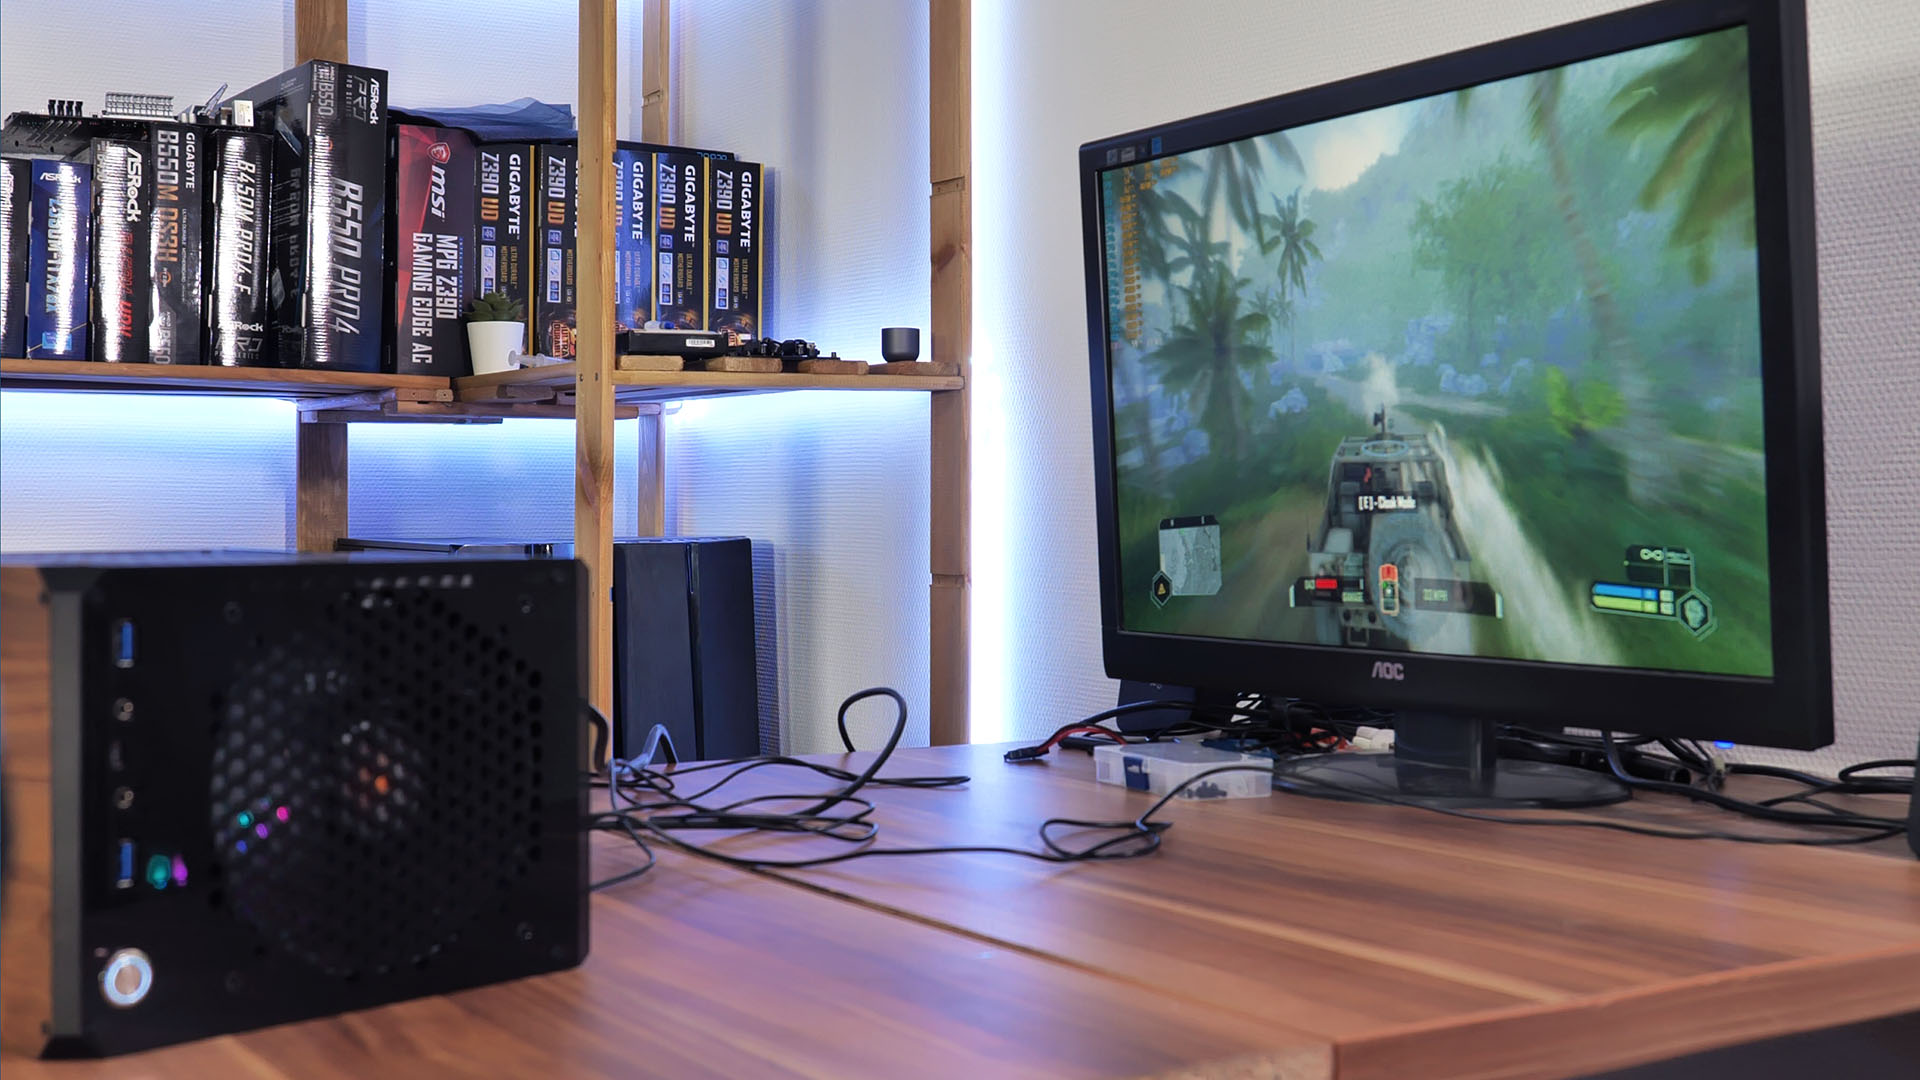
In this scenario, we used our I7 10700k paired with an MSI AERO 3060 ITX. In order to keep the system cooled we used a Noctua NH-L9i and a Be Quiet Silent Wing 3.
Then we played Crysis Remastered for about half an hour and found that:
- The CPU fluctuated between 70-80°C
- The GPU stayed at 75°C
Considering the size of the Case and the used Cooling Hardware, these temps more than acceptable.
** Do note that Lazer3D specifically recommends the Noctua NH-L12s. Using this (bigger/better) CPU Cooler will surely get the CPU temps down even more. We just didn't have one **
In general, the LZX-8's cooling performance is acceptable for long-term gaming, light, and heavy short-period Workloads.
Conclusion
If it wasn't already obvious by the underlying tone of this review, we are huge fans of Lazer3D and their LZX-8 Case.
It looks just stunning while allowing to build really good performing gaming PCs.

Until now, the only option to have a customized PC Case implied the usage of a Dremel. But Lazer3D created a possibility for every User to have its own Tailer-Made PC Case. Airflow, Material, Color, almost everything inside this case is an option... Even real WOOD.
And to top it all off, they managed to make a Small Form Factor case filling only 8.6L, which is a challenge on its own.
With all of that being said, the LZX-8 is also really easy to build in. If the Manual and an intelligent order are being followed while building the case and the actual system, the whole process becomes really easy.
When it comes to the Cooling Performance, the LZX-8 can deliver (partially) again. Sure, compared to a Full-Tower Case with 9 Fans and 2 Radiators, it can't keep up. But considering the 8.6L size and incredible denseness of the components inside, it is pretty impressive. Additionally, as our Gaming Test reassured us, with an average setup, there will be no thermal-throttling issues whatsoever, even during long gaming sessions.
Even though we are very happy with the case as it is, there are minor things that we would love to see corrected for the next generation.
Having a USB 3.0 Type-C port is already a good start. But we would love to see that PCB behind it replaced with one that has USB-C 3.2 Support. Even if the use cases are still rather rare, having the latest standard will never hurt.
As we found the Case to be way better looking while standing, we would appreciate it if there were a 4-pair of M3 Nuts included in the Box of screws. We think that many other users may enjoy this Orientation, and making this possible without a trip to the Hardware store would make it easier. Alternatively, this could also be an option in the configurator.
This is not a "could have been better" opinion, but an option to add an RGB strip to the Milky-Acrylic piece that is keeping the SSDs/HDD in place would (possibly) make a great addition.
When it comes to the Price, the "standard" edition of the LZX-8 can be bought for around 130€, while the customizable version starts at 140€. Depending on the options that you choose, this price can increase.
Comparing the price to an average ITX case may seem excessive, but considering that this is a customized case changes this quite quickly. For most PC Cases on the market, you do not get to choose anything. Sometimes you may choose to get the pair of crappy RGB Fans, but that's about it. WIth the LZX-8 you can choose almost everything including real wood.
Because of its customizability and not-mass-produced nature, we think that the price is absolutely justified.
To sum up the Lazer3D LZX-8 Mini ITX PC case, we love it.
It looks amazing and considering the size, it can deliver on both compatibility and performance.
Therefore, we can absolutely recommend it to anybody that is interested in going down the Small Form Factor PC road.
Lazer3D LZX-8 Website: Lazer3D LZX-8

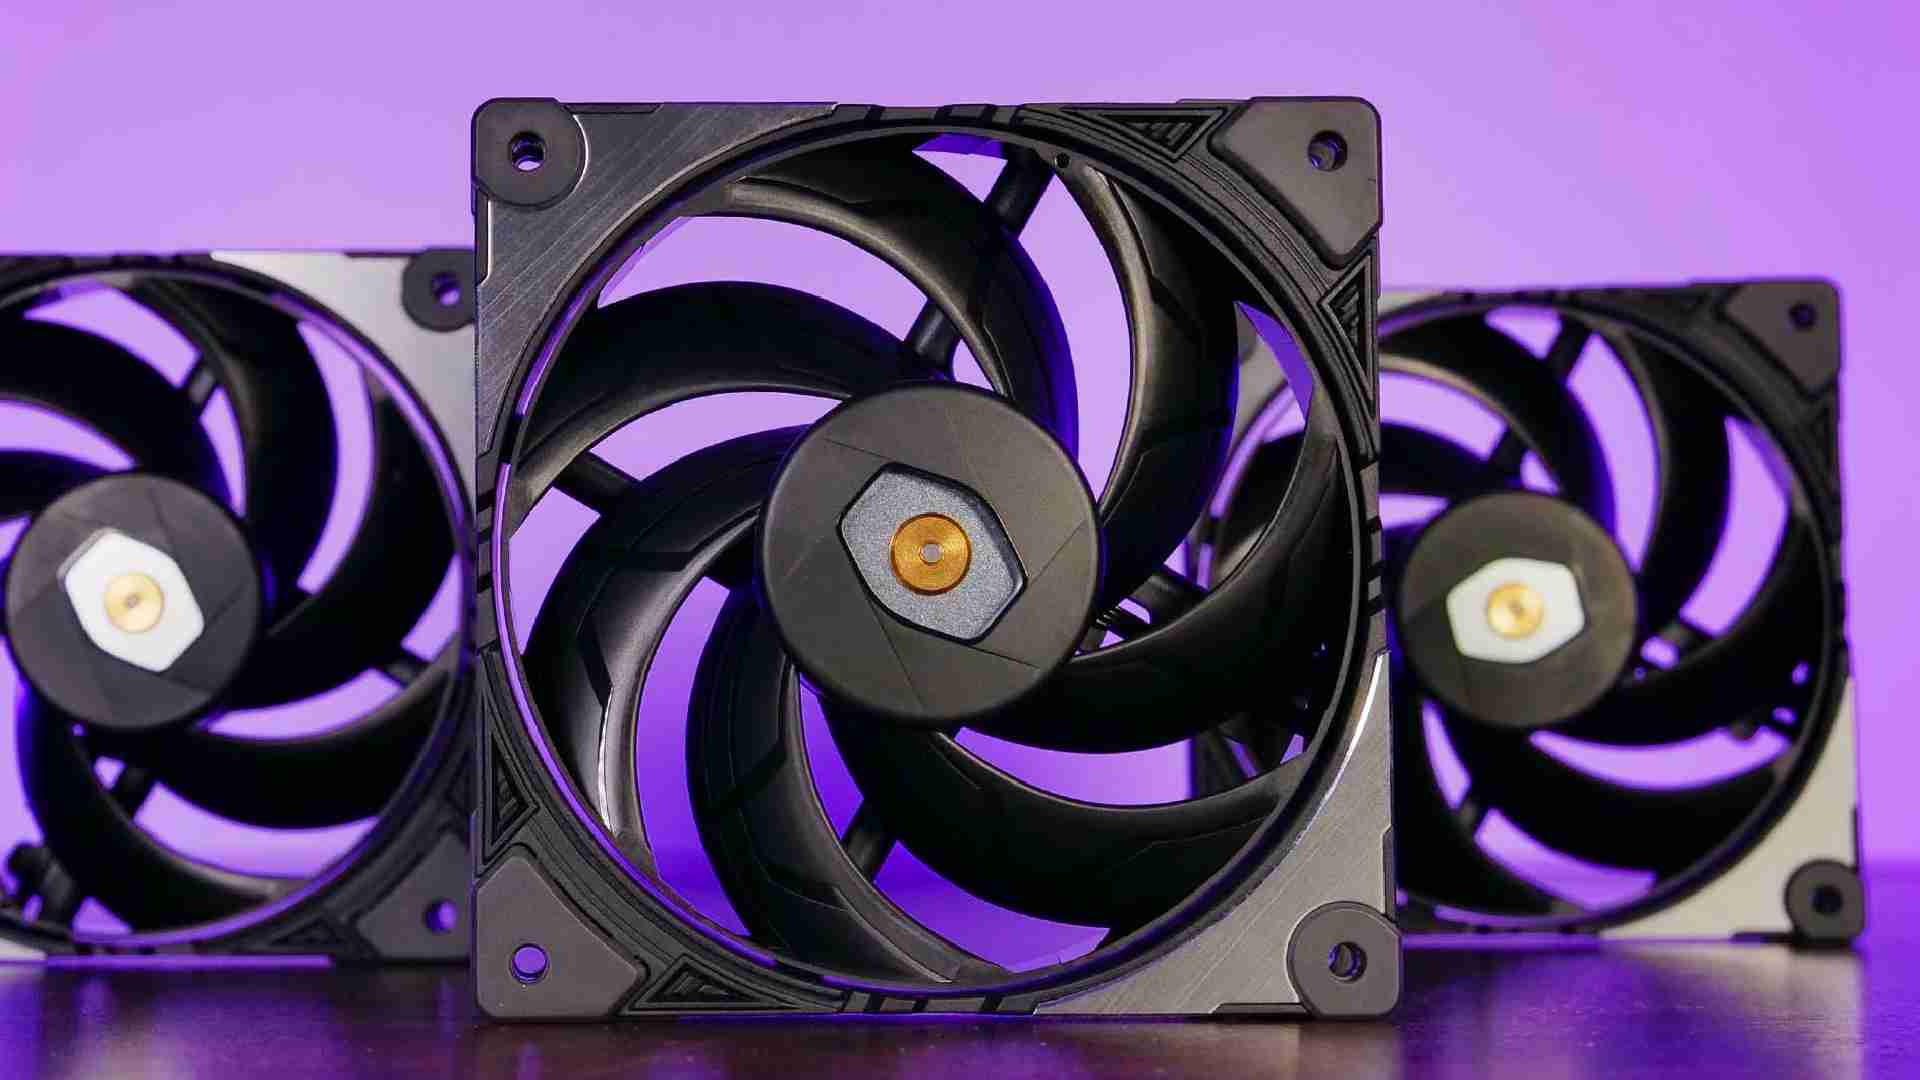
Cooler Master Masterfan SF120M
With the SF120M, Cooler Master tried everything imaginable to create the strongest, fastest, most air pushing, and overall be
Read More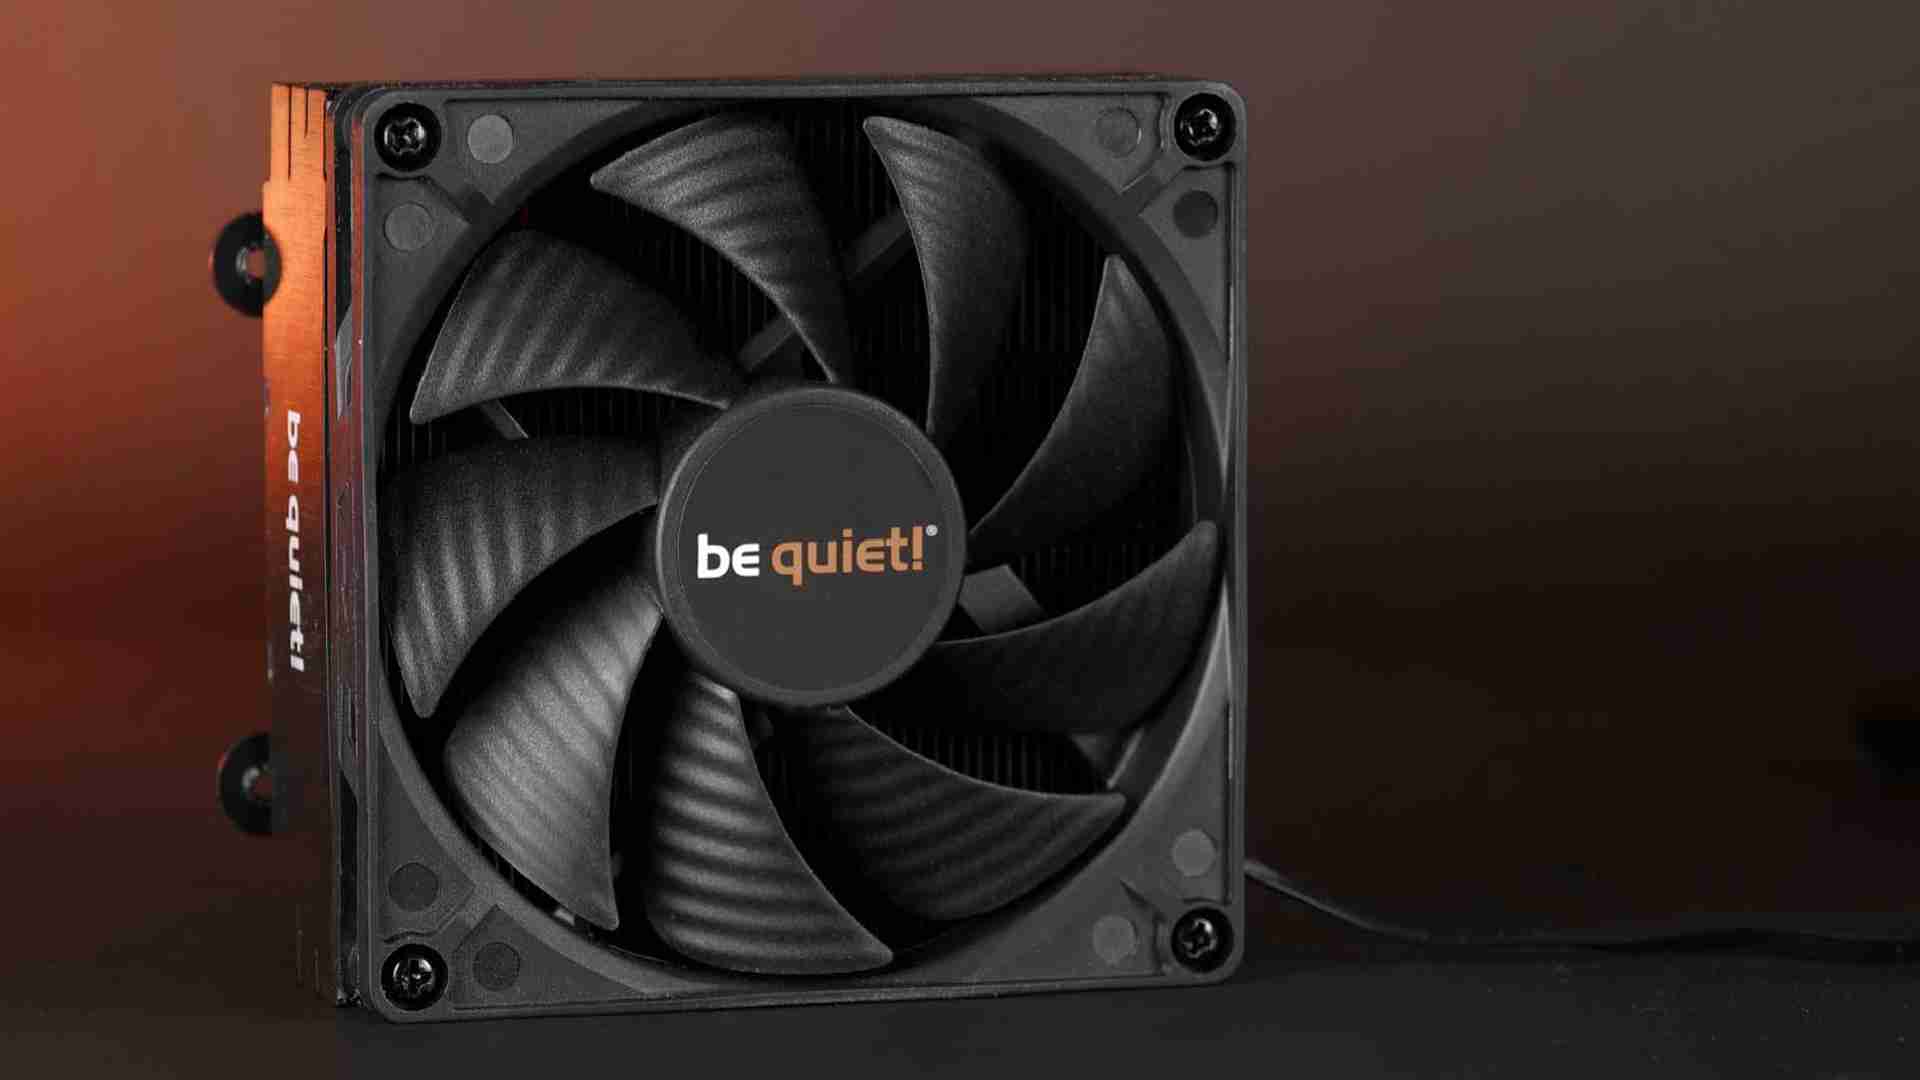
be quiet! Pure Rock LP
The ultra small SFF CPU cooler market is really hard. Not only do you have very limited space to work with, but condensing al
Read More
Akasa Otto SF12 Review
Akasas Otto SF12 is their Airflow focused version of their extreme performance Otto lineup. With ear-shattering performance a
Read More
Scythe Mugen 5 Rev. C Review
The Scythe Mugen 5 seems to be the ultimate cooler! Dual-tower-like performance in a surprisingly low build height. Added to
Read More