Cubeor Vault 2 Review
Introduction
If Wood and PCs sound like a Mix that you may like, then the Cubeor Vault 2 may be the perfect fit for you! Let's take a closer look at this miniITX PC Case and see if there's more to it than just its fantastic design!
Positive
- Beautiful
- Panel Mounting Mechanic
- Build Quality
- GPU / CPU Cooler compatibility
- Radiator Support
- Cable Management Pilar
Neutral
- Relatively complicated cooling setup
Negative
- Highly prone to dust
- Included (sticker) feet could be bigger (and less sticky)
What's in the Box?
Cubeor's newest Vault 2 case comes in an easy-to-start-off package. The case is pre-assembled and protected by a carton box and 8x styrofoam pieces protecting each of the corners of the case.
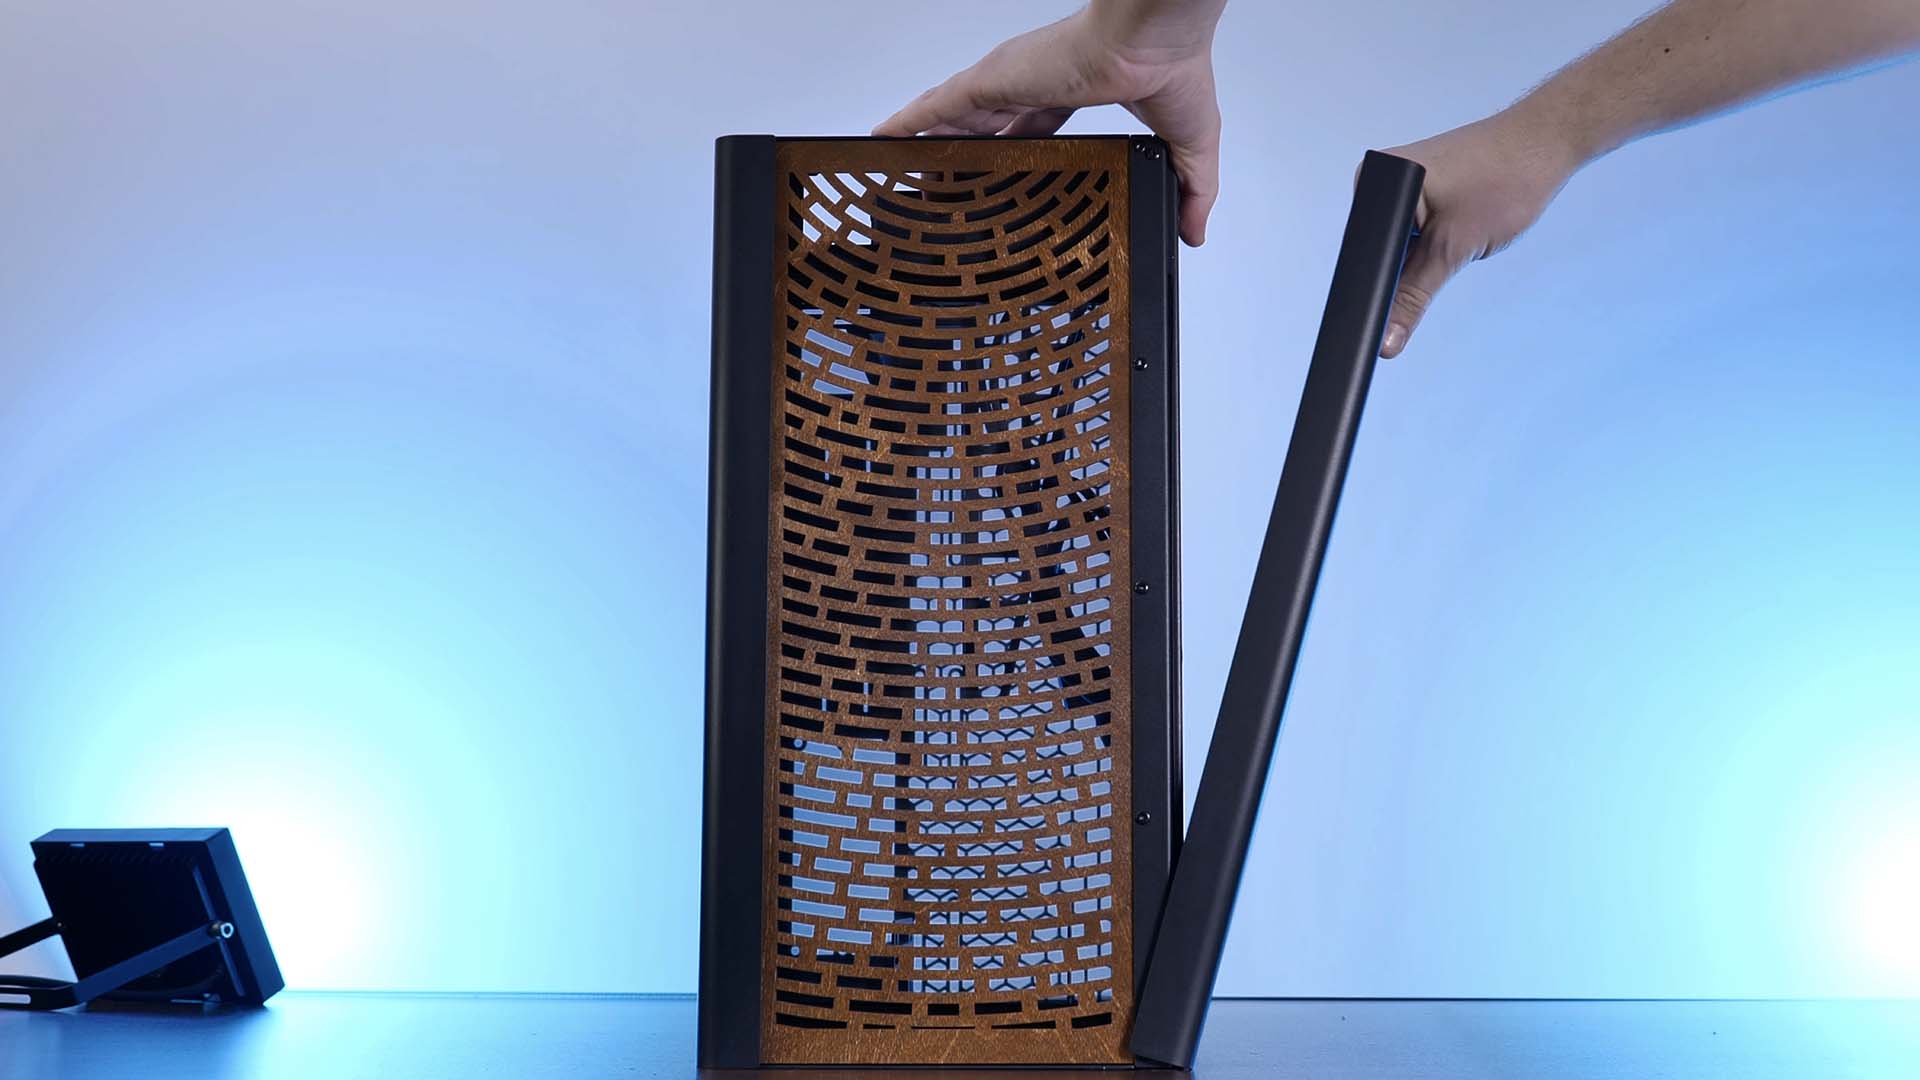
Once each side panel of the Vault 2 is opened by simply pulling on it thanks to its pop-off mechanic, we will find another box of goodies:
- Screws
- Rubber Glue-on Feet
- Cable Management Panel
- (if purchased) HDD Kit
- (if purchased) Dust Filter -> pressed in-between wooden panel and GPU location
- 100x Zip ties

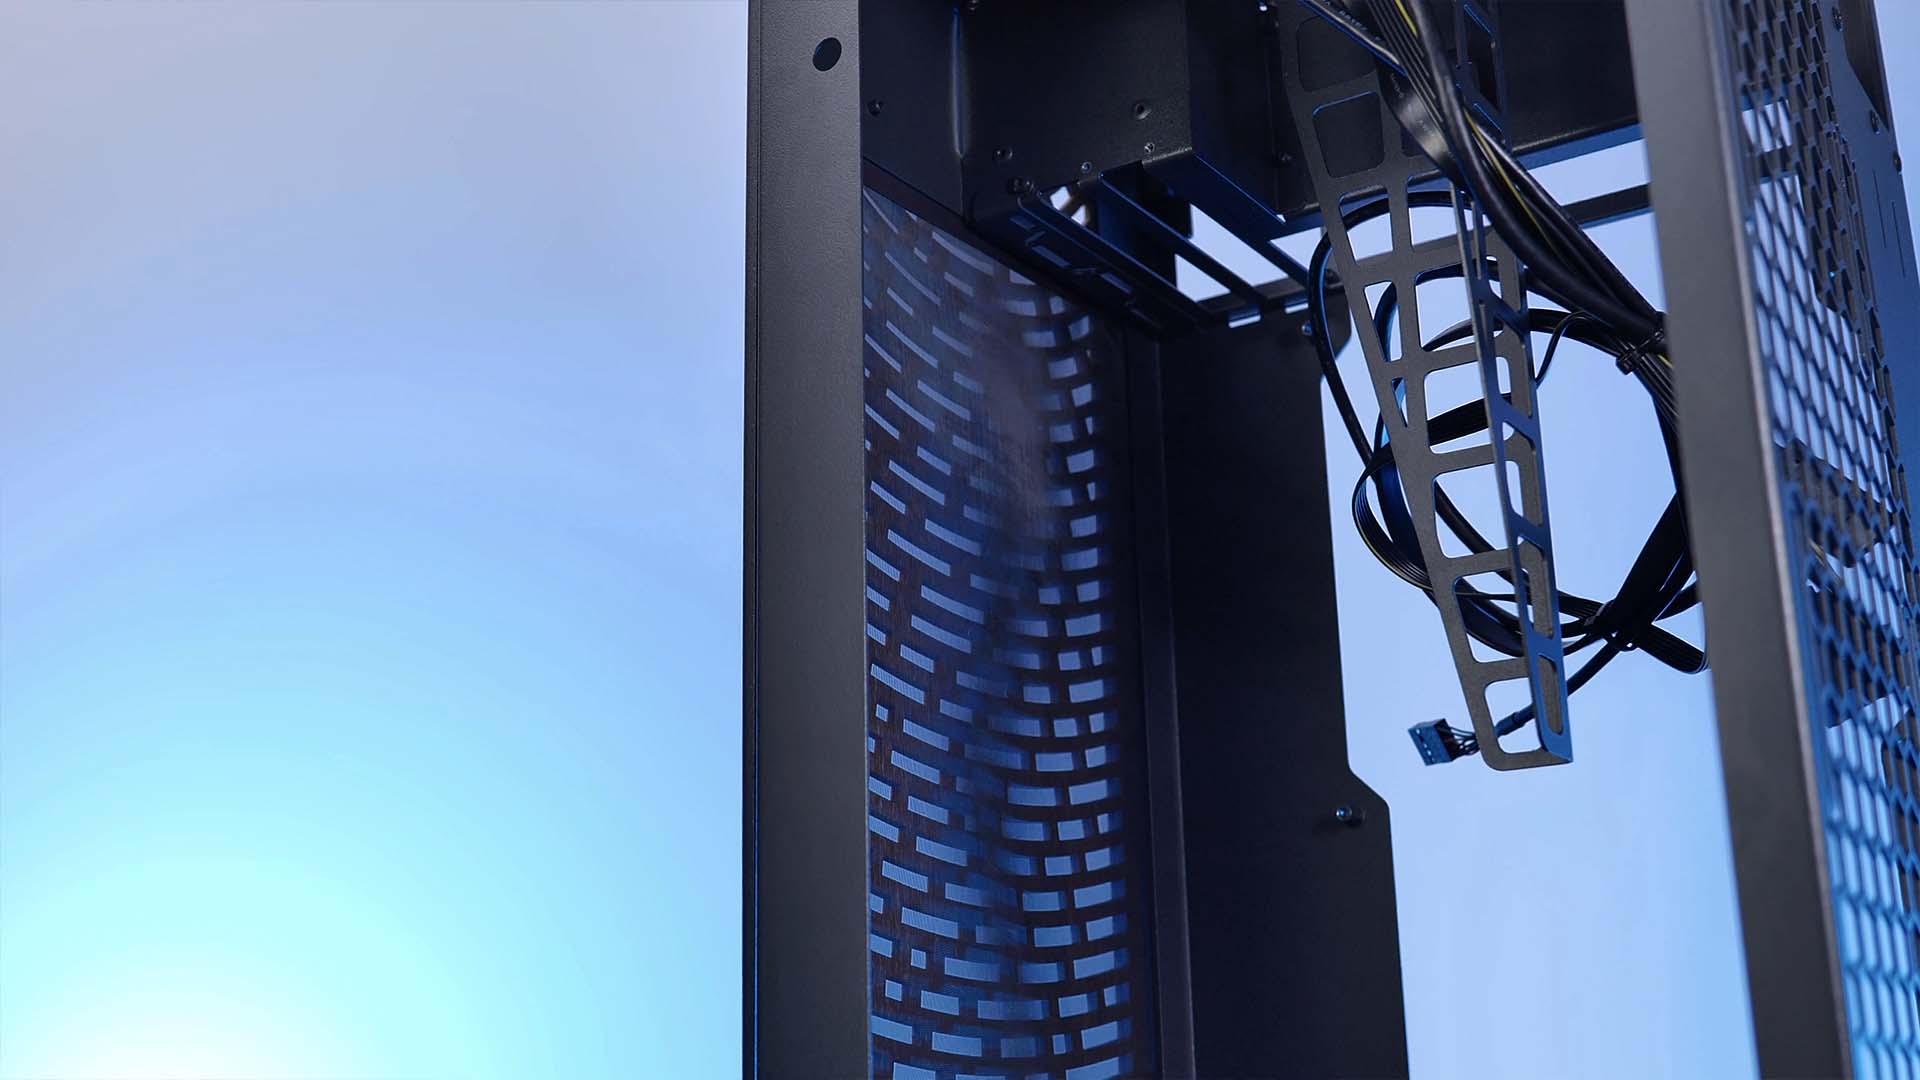
An already pre-installed accessory of the case is its cable management Pilar. By default, this pillar is pre-installed in a somewhat central position and can help you guide your cables by using its holes in combination with some of those 100! Zip-Ties.
Specs
Although the Vault 2 can be counted as a Small Form Factor case, its CPU cooler and GPU compatibility surely suggest otherwise. Down below you will find a short summary of the spec sheet:
| Name | Cubeor Vault 2 |
| Color |
Cherry Birch Cognac |
| Type | Small Form Factor |
| Mainboard Size | miniITX |
| PSU Size |
SFX SFX-L |
| PSU Position | Bottom of the Case |
| Side Panel | Aluminum Panel |
| Front Panel | Wood |
| CPU Cooler Height | up to 195mm |
| GPU Length | Up to 350mm |
| GPU Width | Up to 70.5mm |
| 3.5" Drives | Up to 2x (separate bracket required) |
| 2.5" Drives | Up to 3x (separate bracket required) |
| IO |
1x USB 3.1 10Gb Type-C 1x USB 3.0 Type-A Combo-Audio Start Button |
| Dimensions | 220x256x429mm (DxWxH) |
| Fan Spots |
3x 120 / 2x 140mm in the Back |
| Watercooling | Up to 280/360mm in the Back |
| Extras |
Cable management Pilar Pre-installed Cable holder for rear-IO included Separate Dust-Filter for GPU available |
Compatibility
Mainboard
Even if some things that fit into the Vault 2 may be massive, the Mainboard is not one of them. Mini-ITX only, plain and simple.
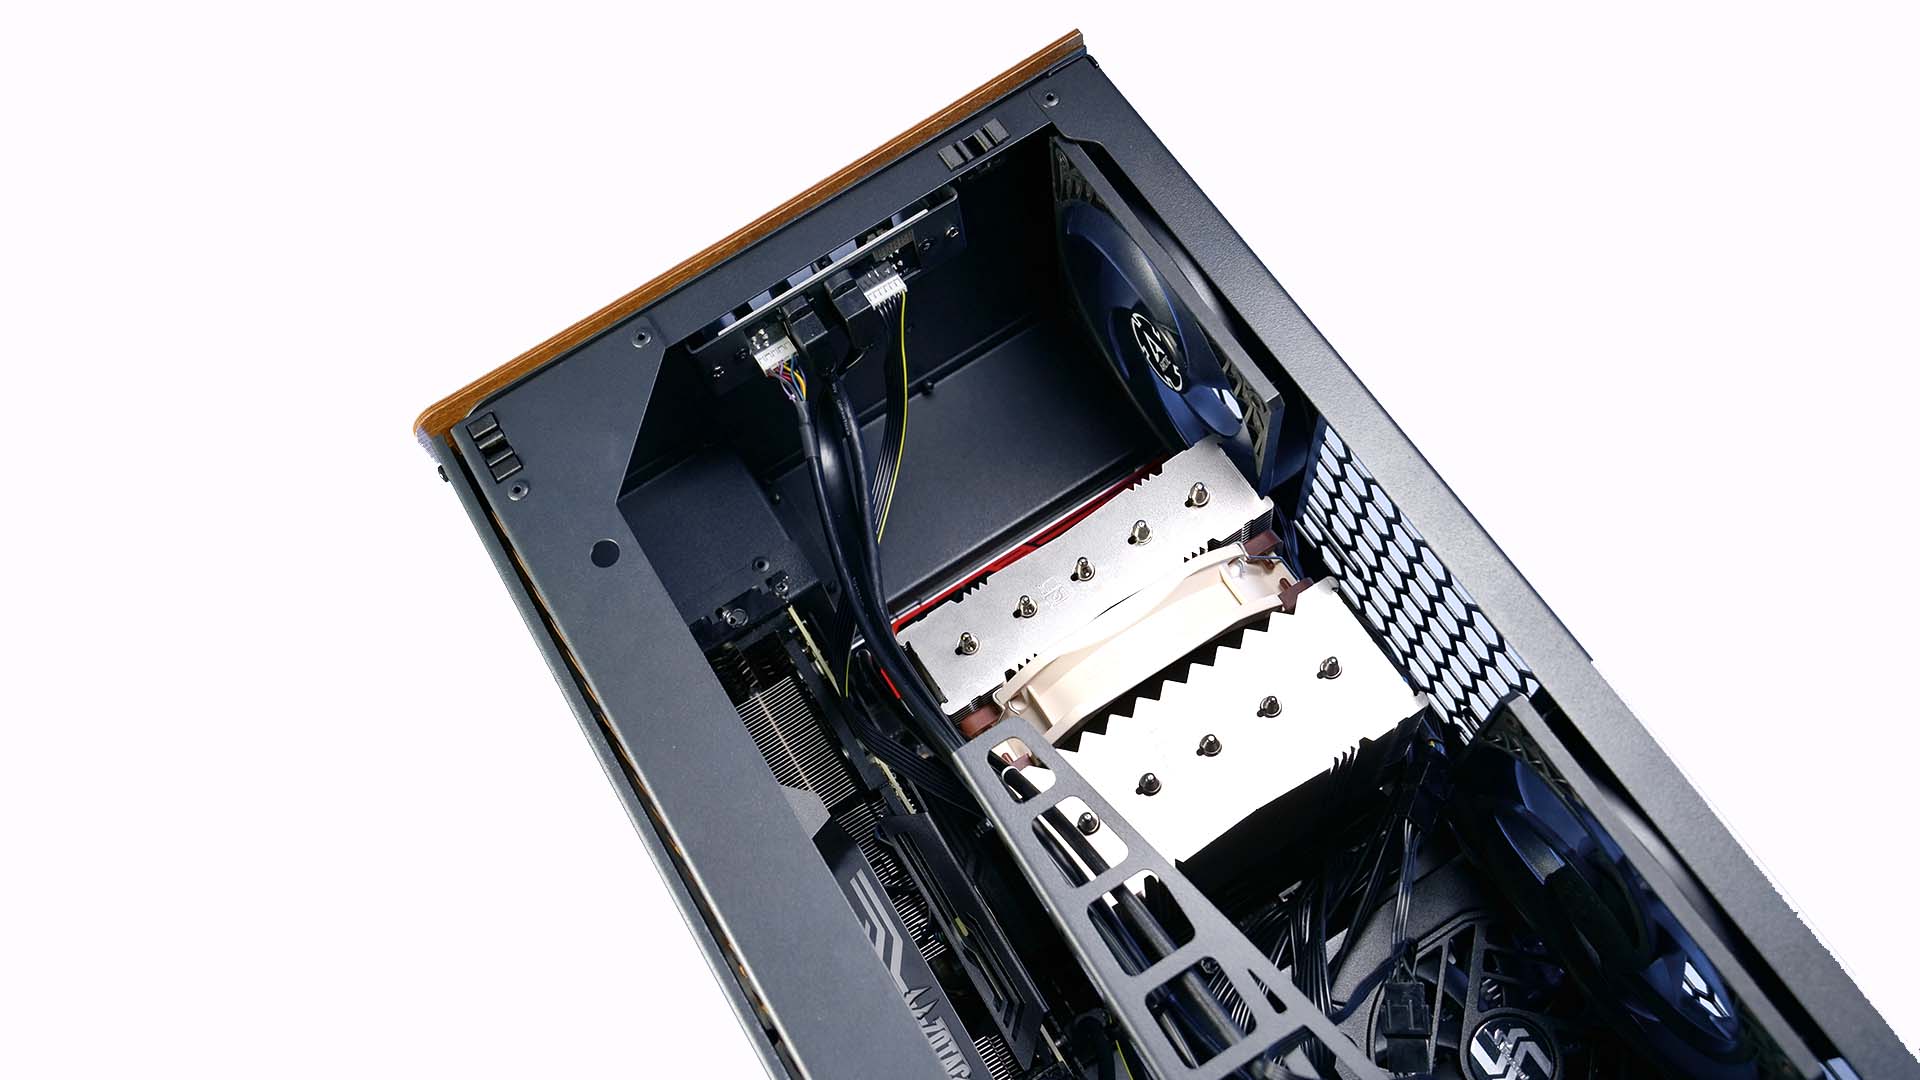
The Mainboard is supposed to be installed at the top of the case with the IO facing upwards. The Top side of the Vault 2 is also made out of your chosen wood and installed using the already seen pop-off mechanic. Once this panel is removed we can see where the cables from the GPU and rear-Motherboard IO are coming out. Using the hole in the back of the case we can route all of the cables out and into the devices that they need to be connected to.
PSU

The PSU suffers the same kind of fate. SFX and SFX-L power supplies or nothing else. Though we highly recommend going for the shorter SFX standard due to the cables not protruding as closely to the GPU.
GPU
At this point, the minimalization streak is finally over. Inside the Vault 2, we have 3 PCIe slots at our disposal (3.5s = 70.5mm). The GPUs that fit into these can be up to 350mm long.

However, GPUs that are wider than 3 Slots may run into a piece of metal in the bottom of the case which is responsible for keeping the dust filter in place. Thankfully, we can remove said piece of metal by unscrewing the front wooden panel as well as the bracket itself as it is not crucial in any way.
CPU Cooler
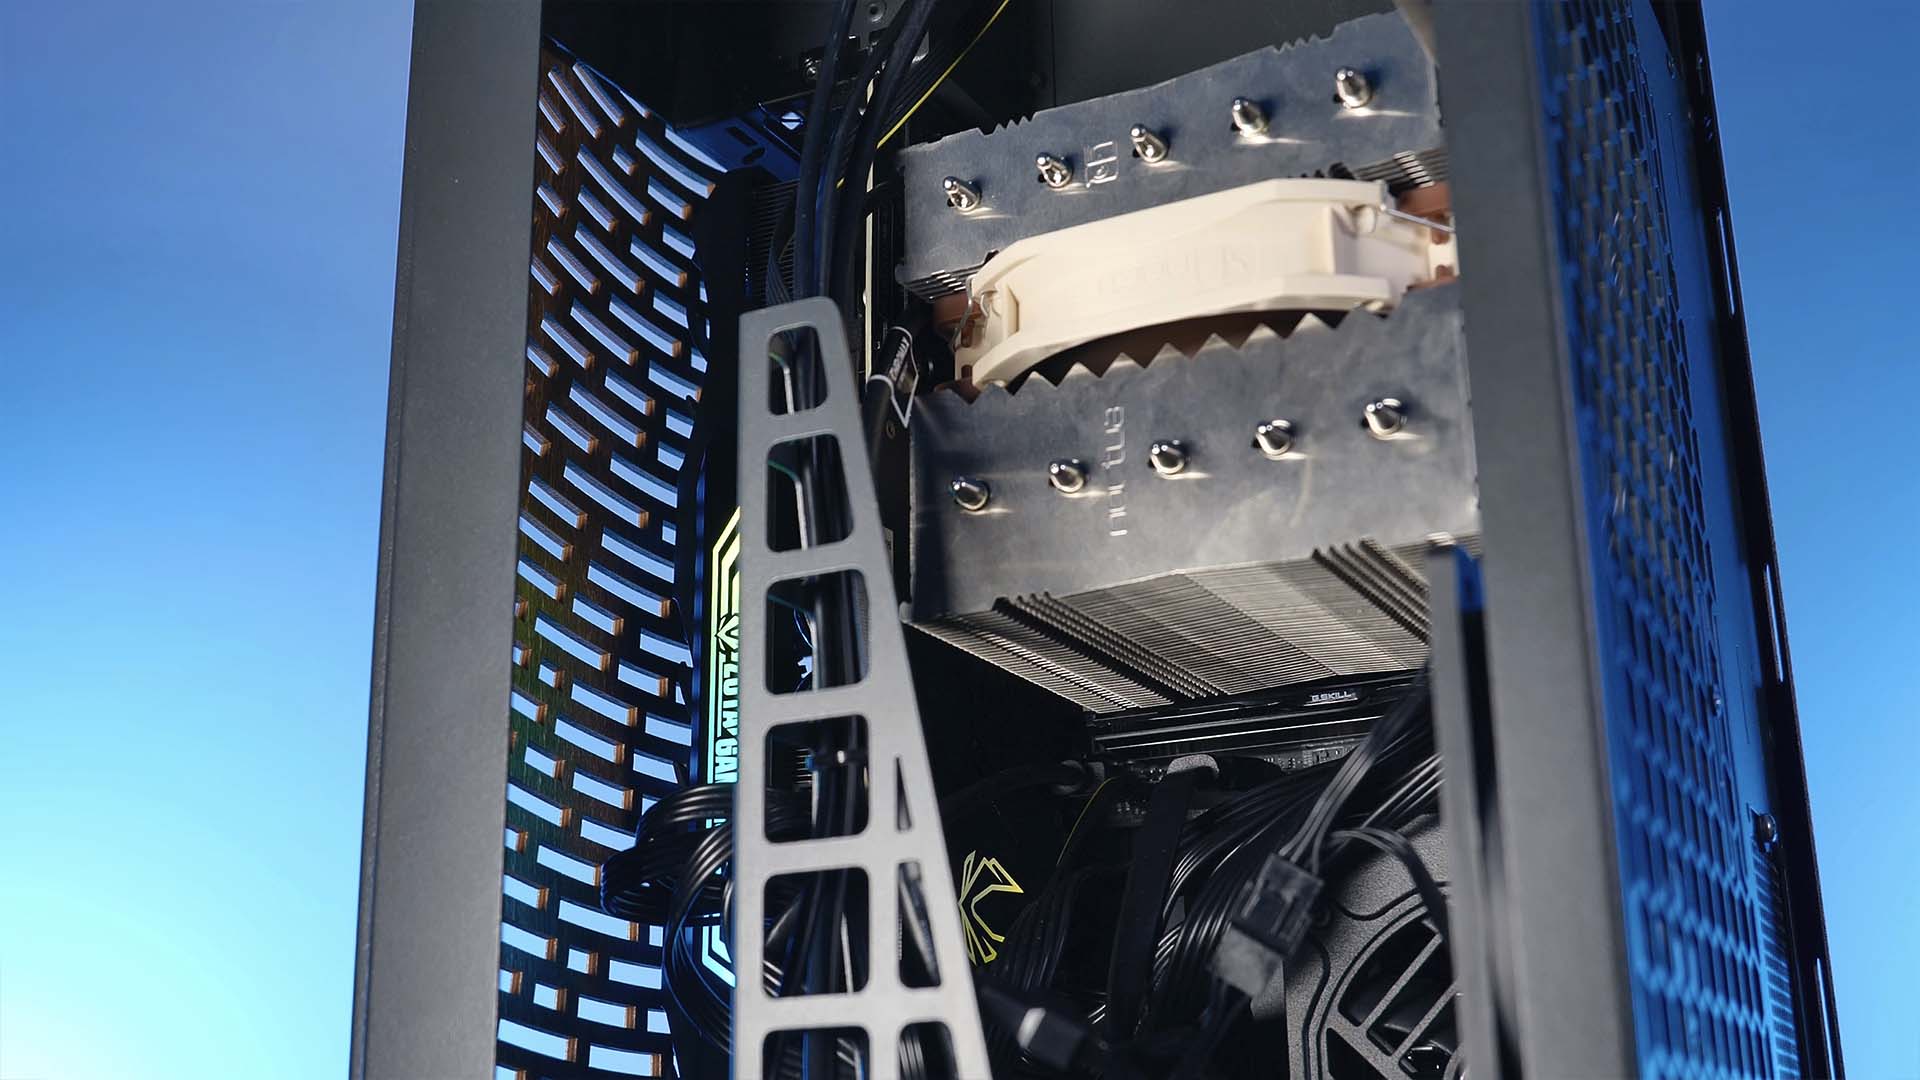
The CPU Cooler support is just as impressive. With up to 195mm high coolers, there is just little that cannot be cooled inside the Vault 2.
You may run into the issue of the Cable management Pilar being in the way of the cooler. If this happens to be the case, we can solve it by either just rotating it, or repositioning it to the spot in front of the GPU, or at the bottom of the case.
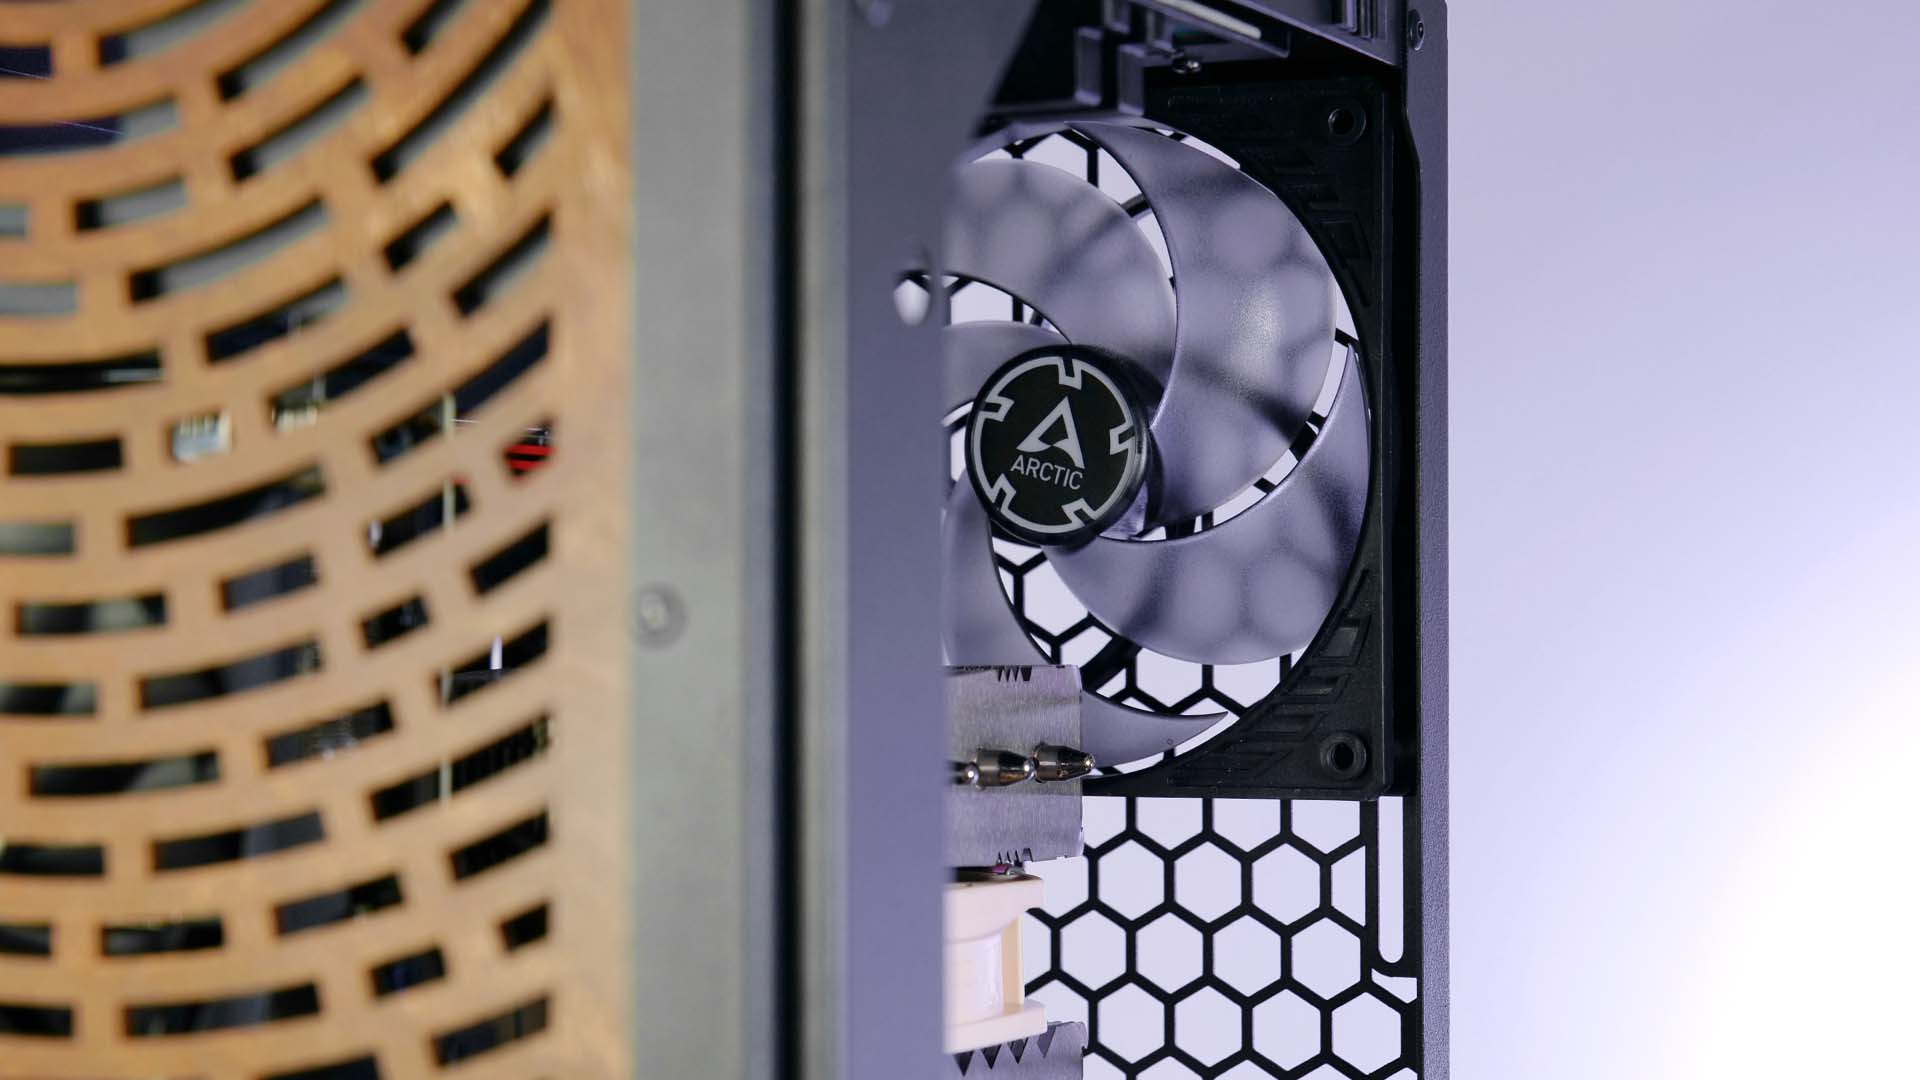
Fans

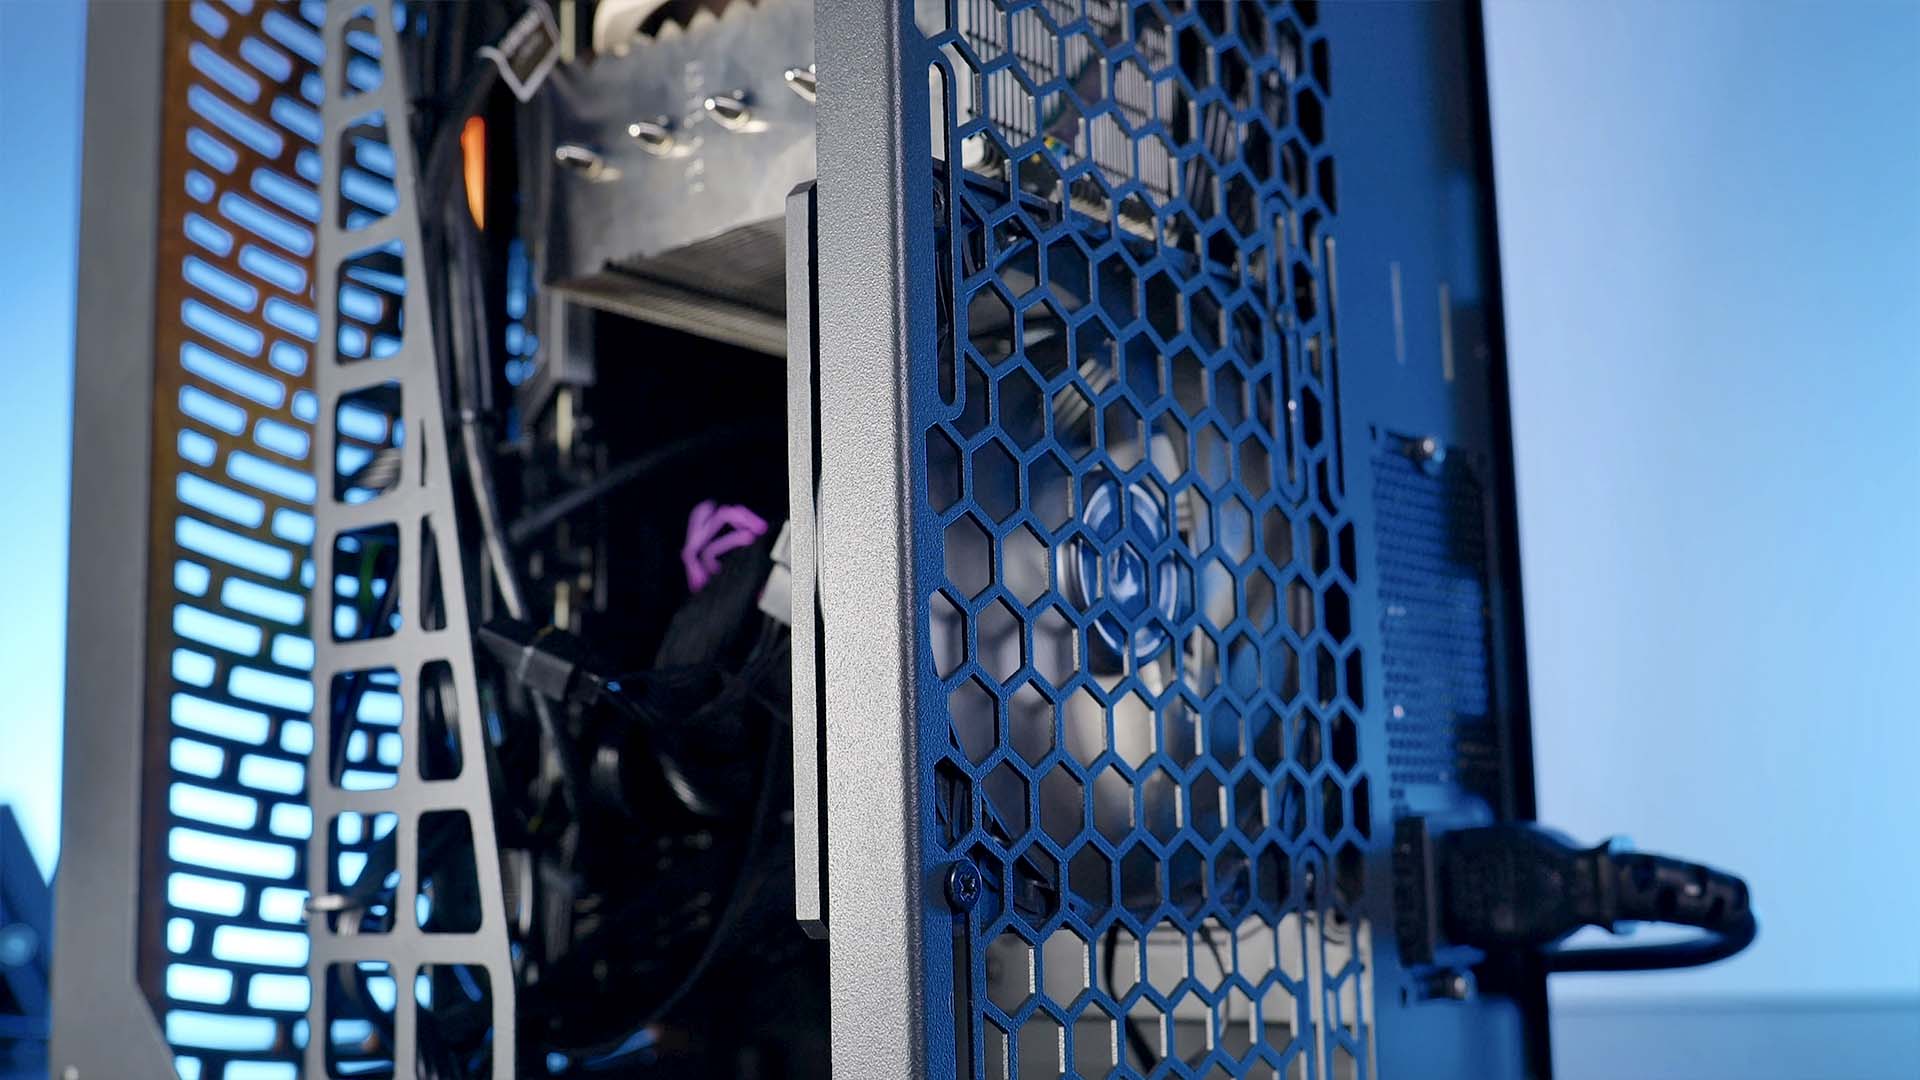
The back side of the Vault 2 consists of a highly Meshy Filter. (Although mesh may be too much said, there is significantly more hole than metal).
On said bracket, we can install either 3x 120mm or 2x 140mm Fans.
Watercooling
As the Fan compatibility list already suggested, the back side of the case can be used to mount an up to 360mm or 280mm radiator.
However, keep in mind that due to the Mainboards orientation, the radiator and its fans cannot be too thick as they will at some point be above the Ram slots.
Cable Management
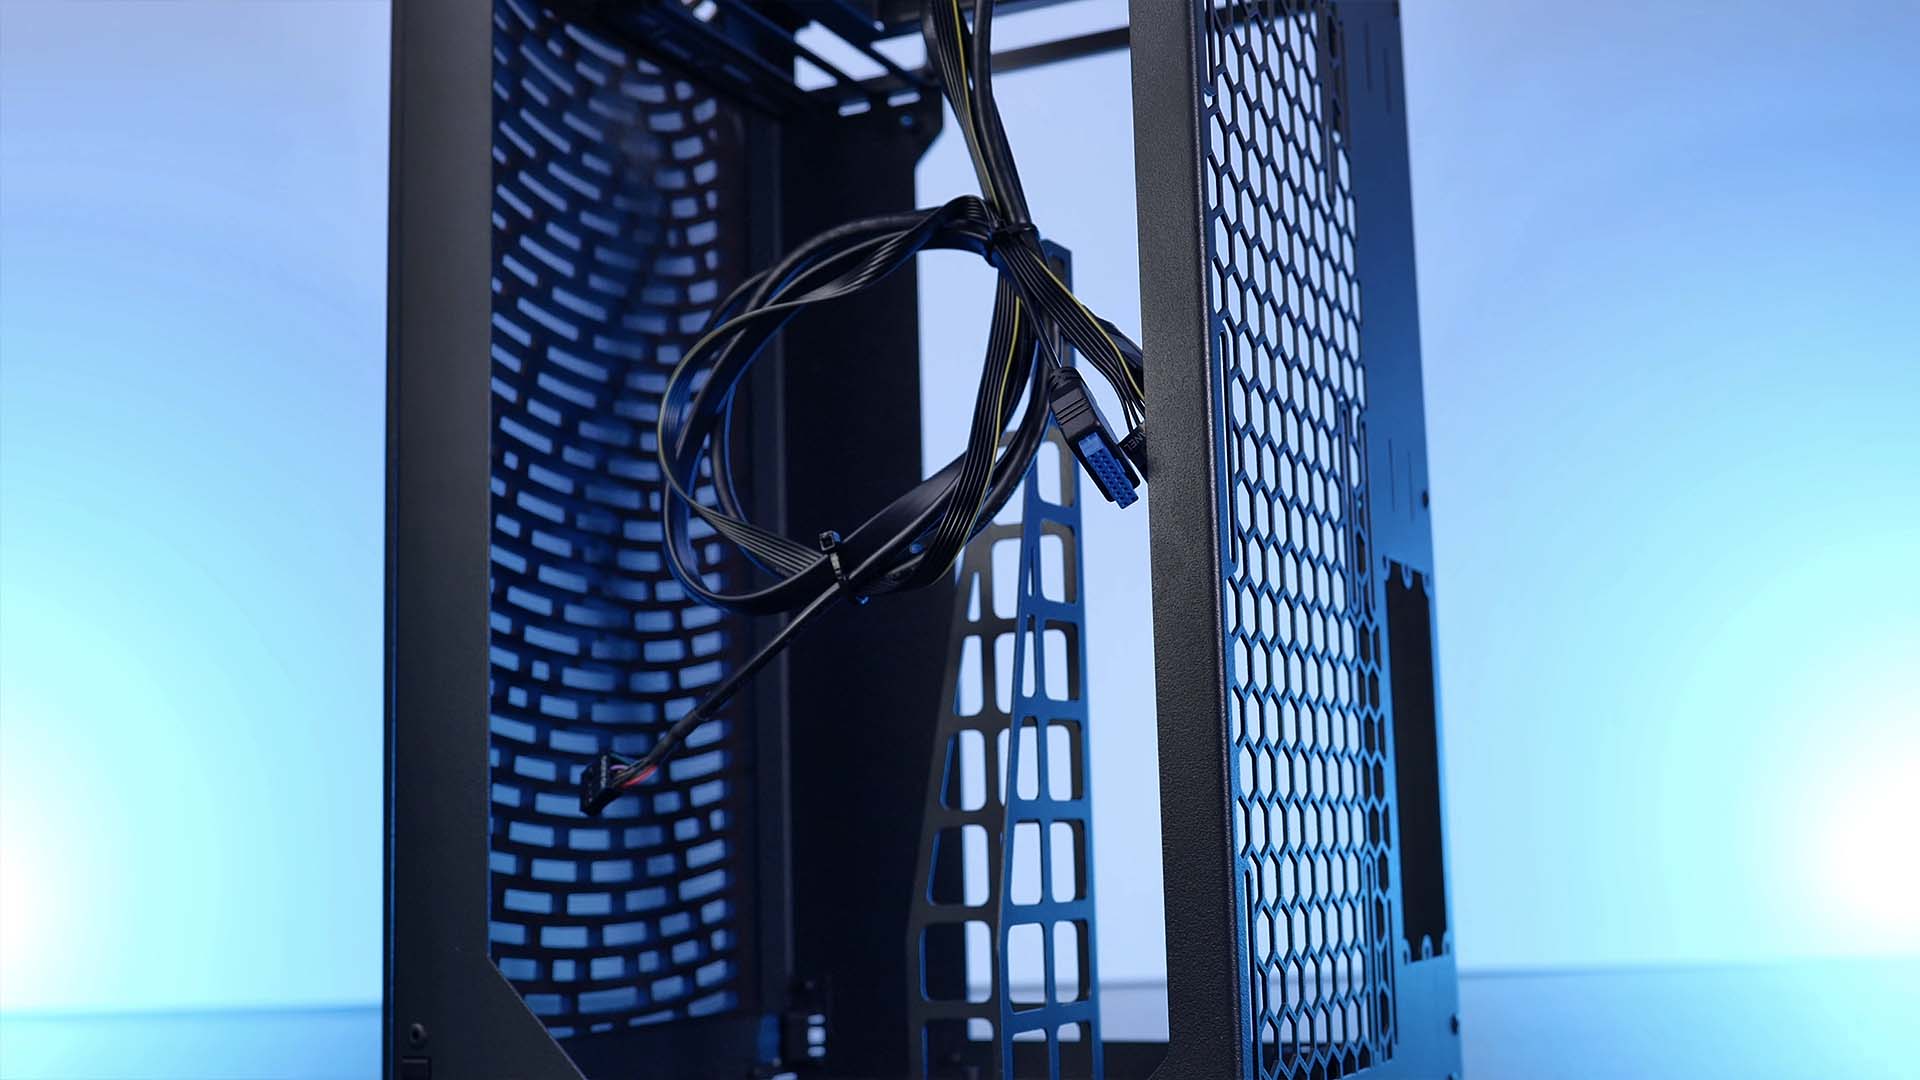
When looking at an empty Vault case, we quickly realize that it's actually just a 1-compartment box.
Due to this design, there is a very limited amount of Cable management that can be done. However, Cubeor noticeably tried its best to include little tweaks and helpers to make this job easier.
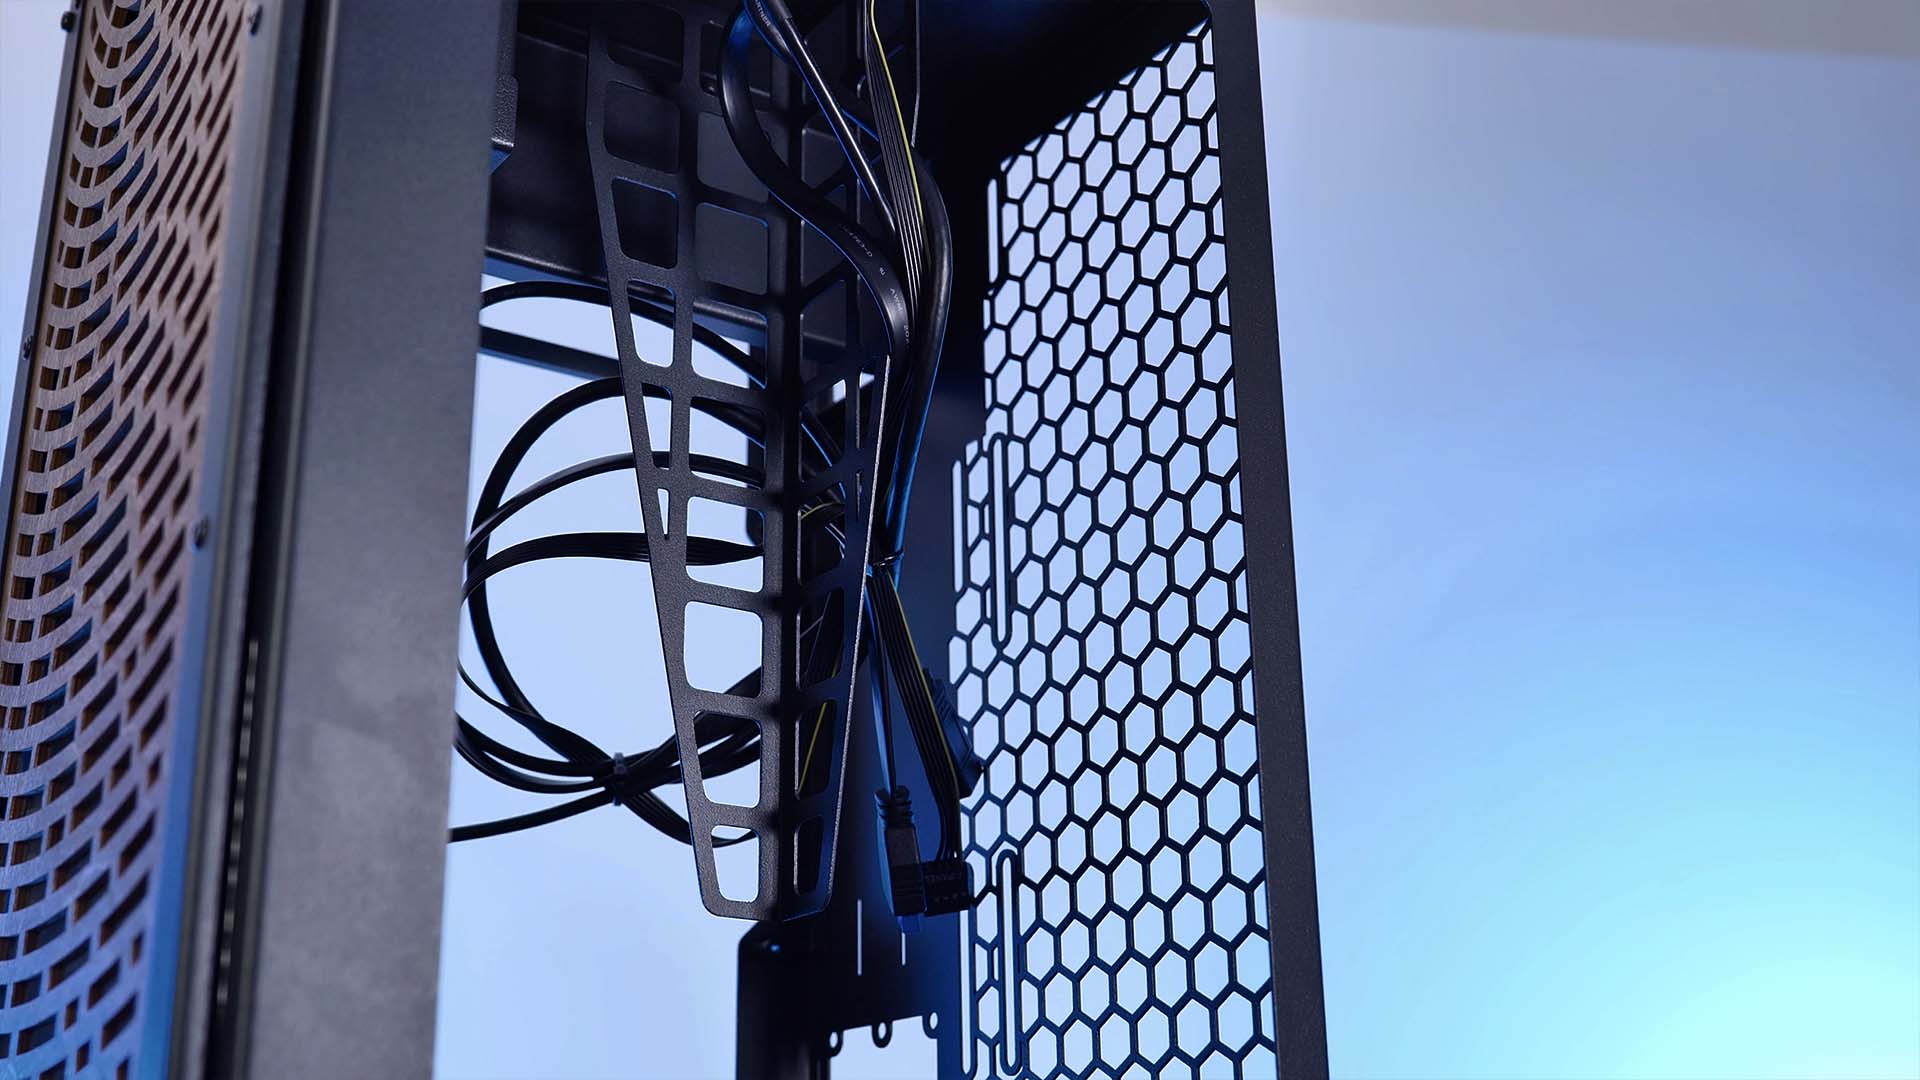
The most important Cable management feature the Vault 2 has to offer is its Cable Pilar. The metallic structure is roughly half as high as the case itself and can be installed in 3 different positions in various orientations.
Depending on where it is needed the most, this Pilar can be used to strap your cables to it using some of the 100x! zip-ties included.
Another slightly helpful tool is the cable holder included in the box of goodies. By installing it behind the exit hole for the Mainboard and GPU cables, we can keep said cables in place making it impossible for them to dangle around and create another mess behind the PC.
Unfortunately, as this is still a single-compartment design without any "hidden" areas, there is not much to be done. Due to the PSU cables coming out in plain sight, there are not "hidable" in any way. The best you can do is properly strap them to the pillar making as little mess as possible.
IO
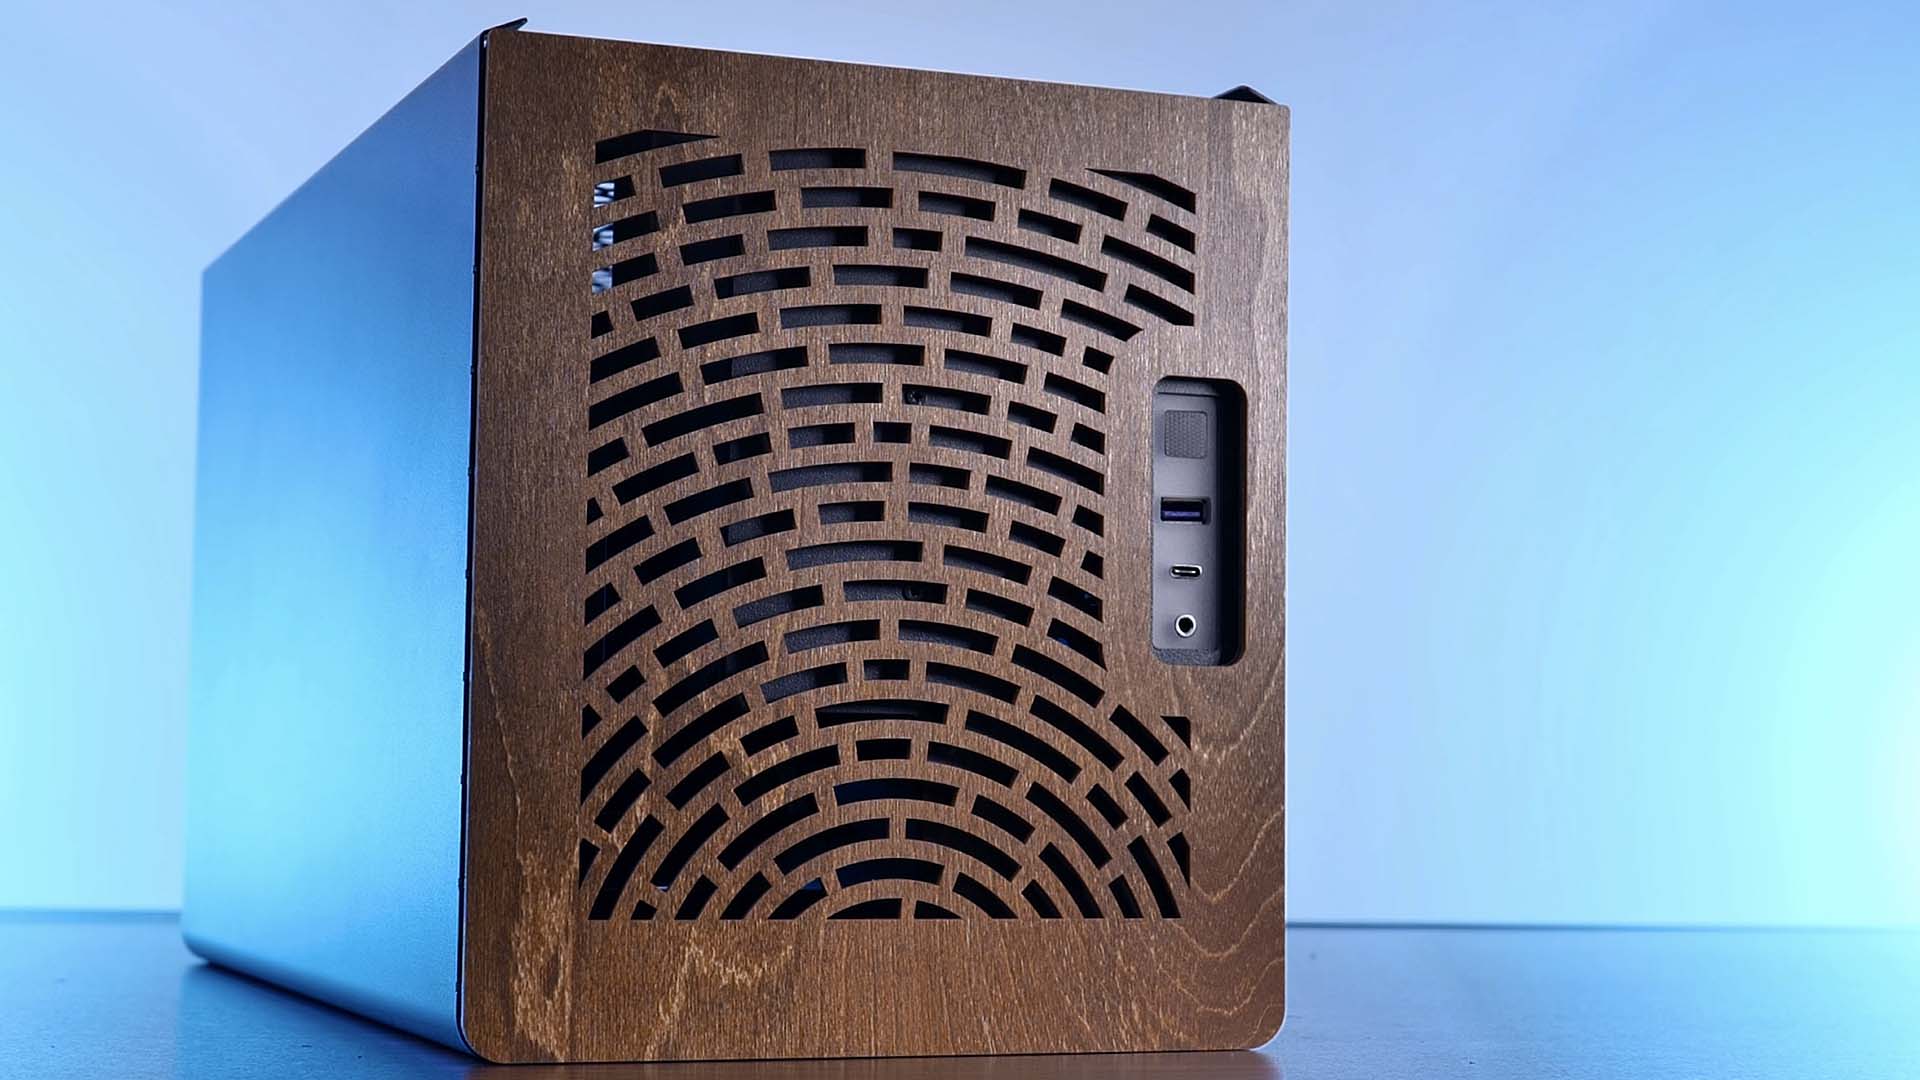
The IO is located on the top side of the case. This features a black start button, a combined Audio jack, a USB 3.0 Type-A, and a 10Gb USB-C Header.
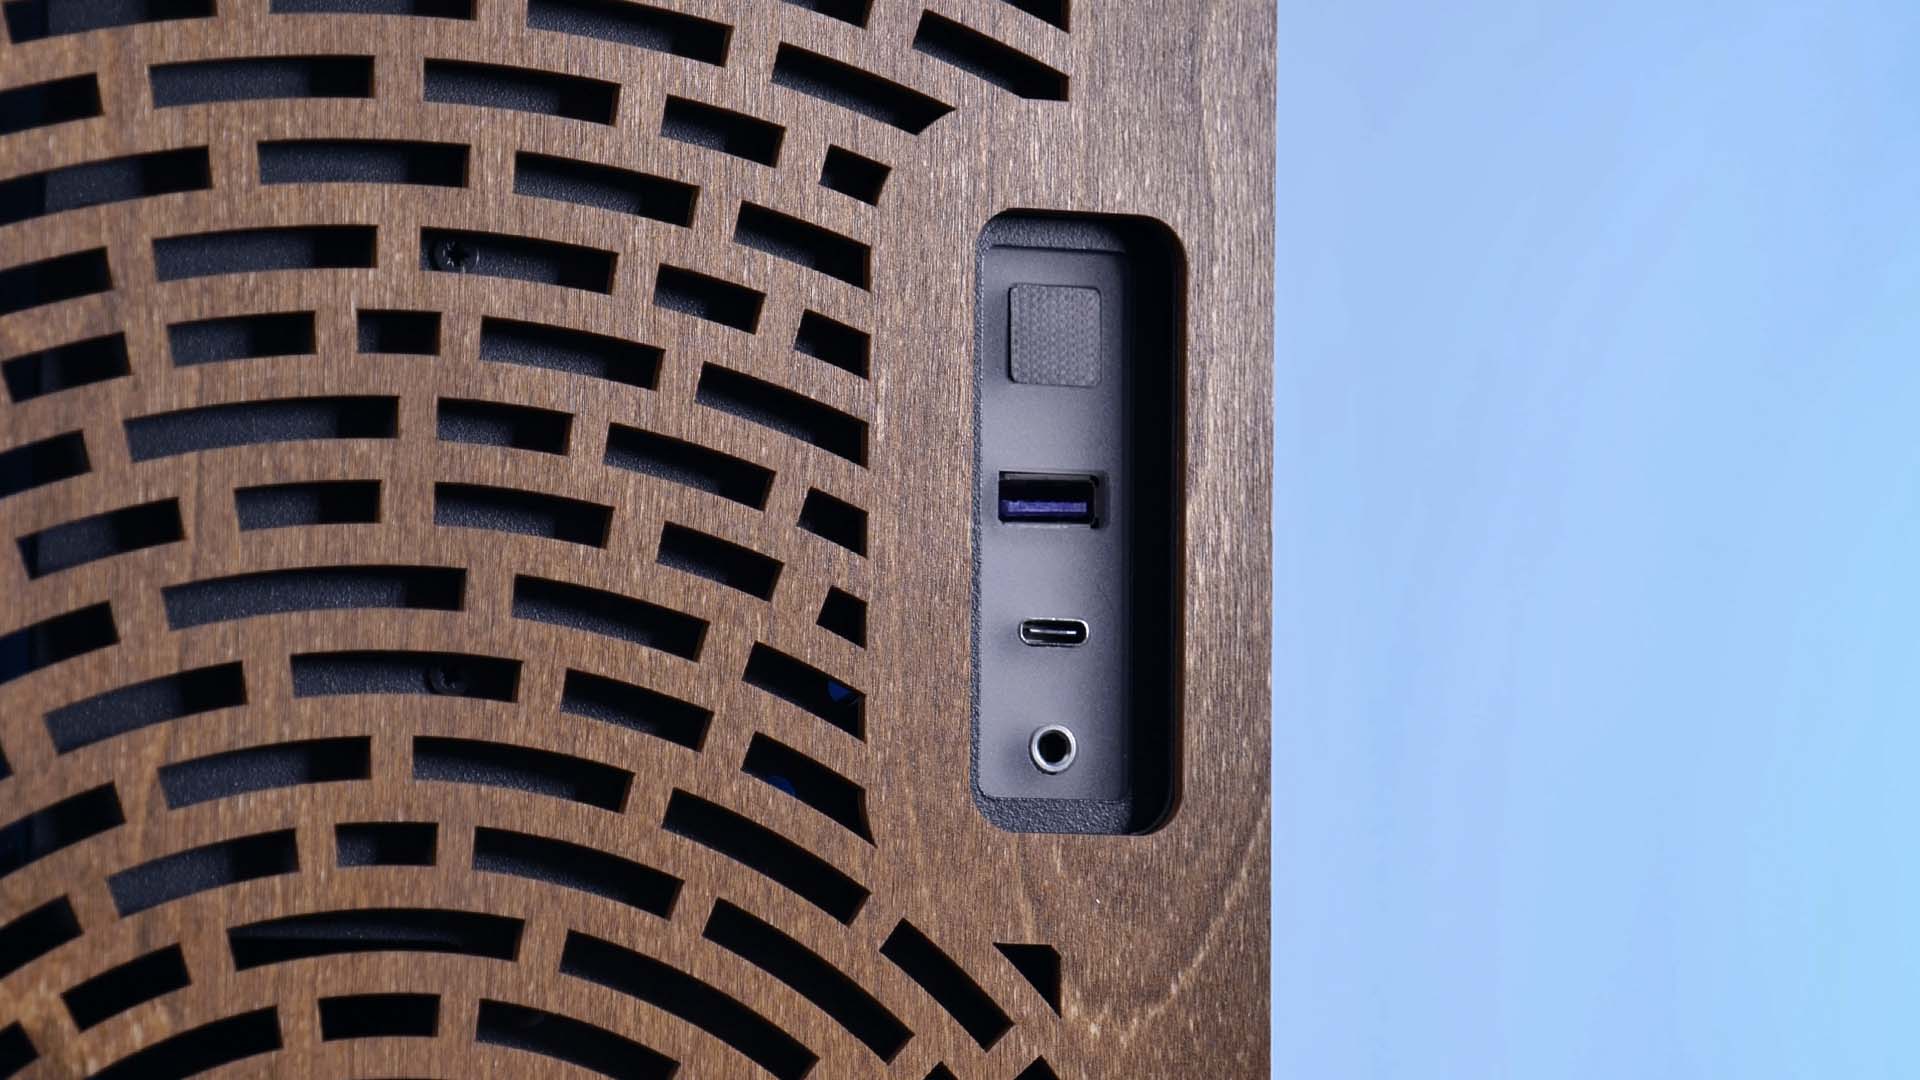
Although we are fairly happy with this setup for a case released in 2022, we would have liked to see the complete IO build into something different than the Milky-Acrylic material that is present right now.
Cooling
Cooling inside the Vault 2 is definitely the biggest challenge if you were to go for an Air cooler.
In the case of an AIO or a Custom Water cooling loop, it is clearly simpler. All fans set to exhaust. This will work perfectly fine as there are enough air gaps to suck the air in around the potential GPU or other panels.
For Air coolers, however, the question turns out to be a bit more complicated.
According to Cubeor's Build Guide, the Vault 2 is designed with negative air pressure in mind.
Therefore, Cubeor recommends setting all 3x 120 or 2x 140mm fans as intakes. This tends to produce the best results in their opinion.
During one of our test runs, however, we found a different design to be more efficient under some circumstances.
In the case of a Tower cooler whose orientation can be freely chosen, we found it to be more efficient to rotate the cooler with its fan facing downwards and pulling from the bottom of the case. For the back fan spots, we created a circle by installing 2 fans, one at the very bottom as intake, and another at the very top as exhaust.

The created cold-air circle allowed our CPU to stay at slightly higher clock speeds compared to Cubeor's approach.
Design
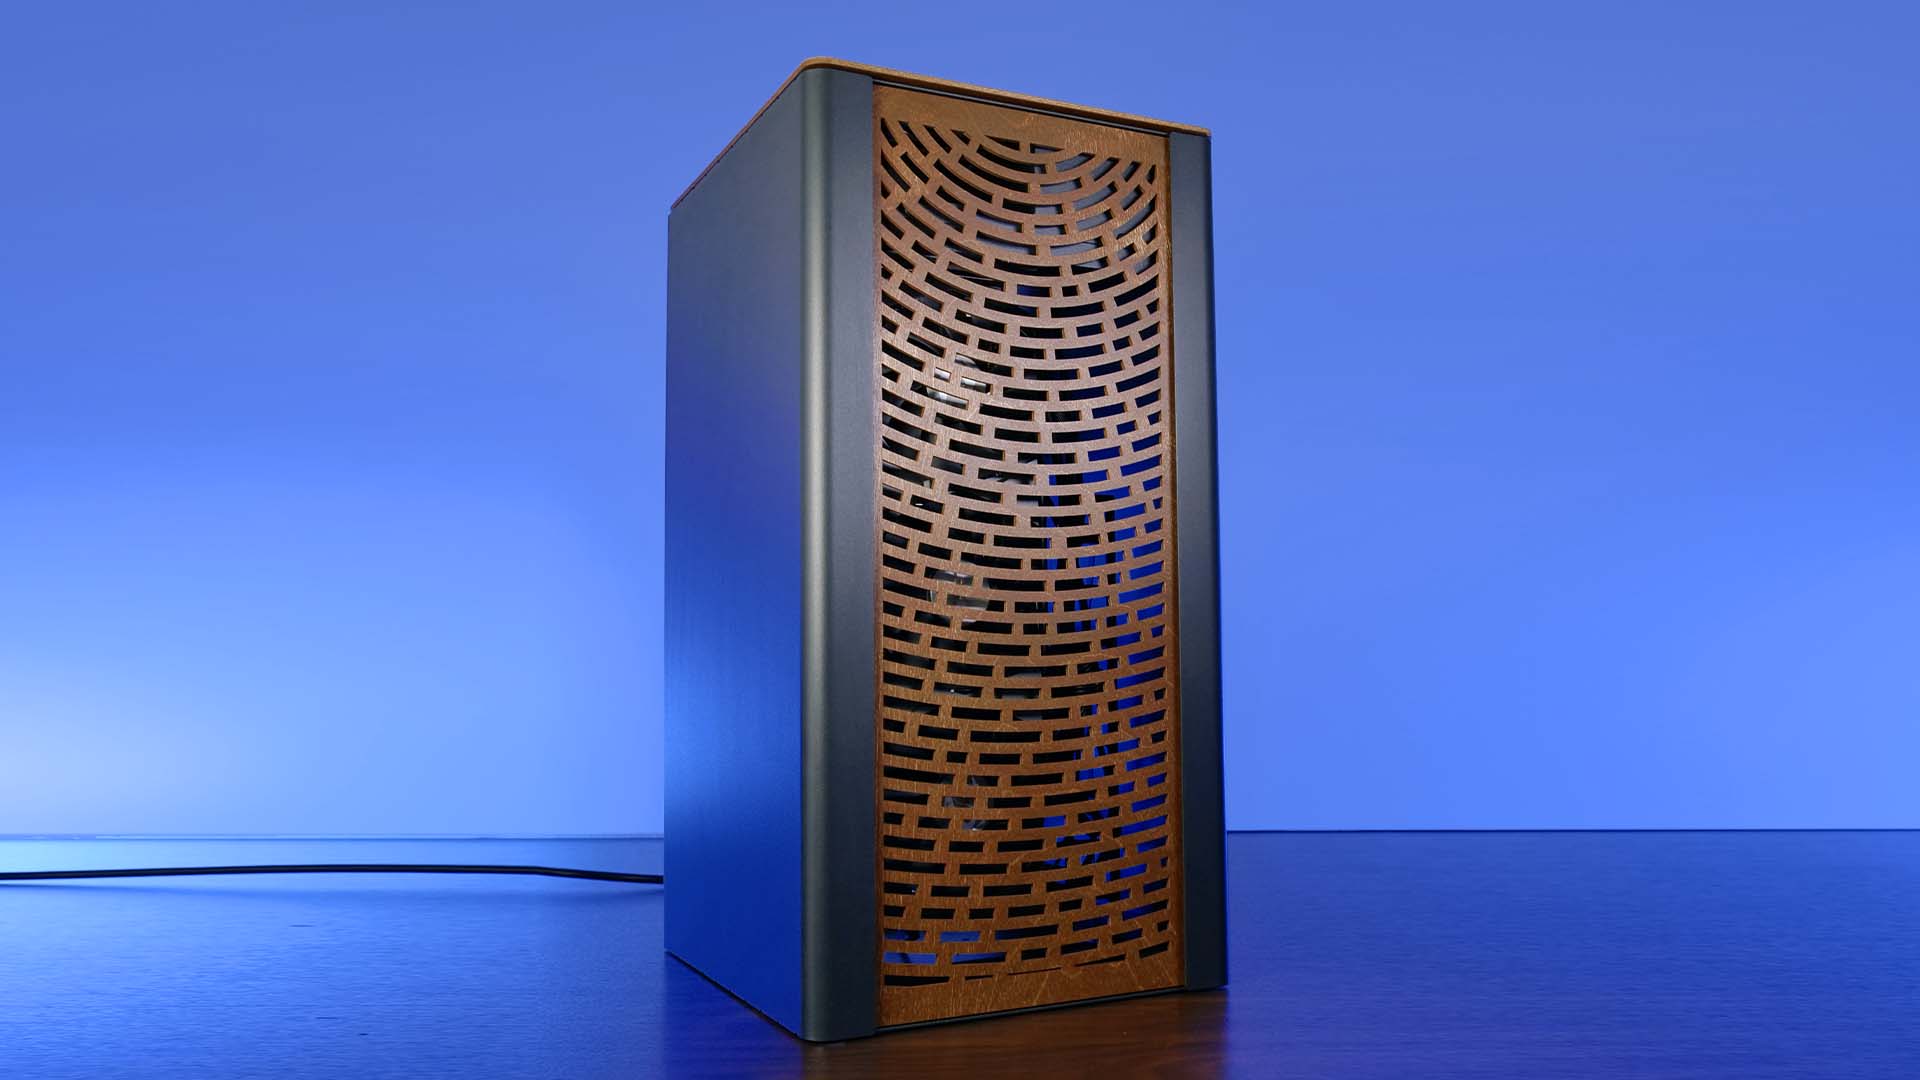
Beautiful.
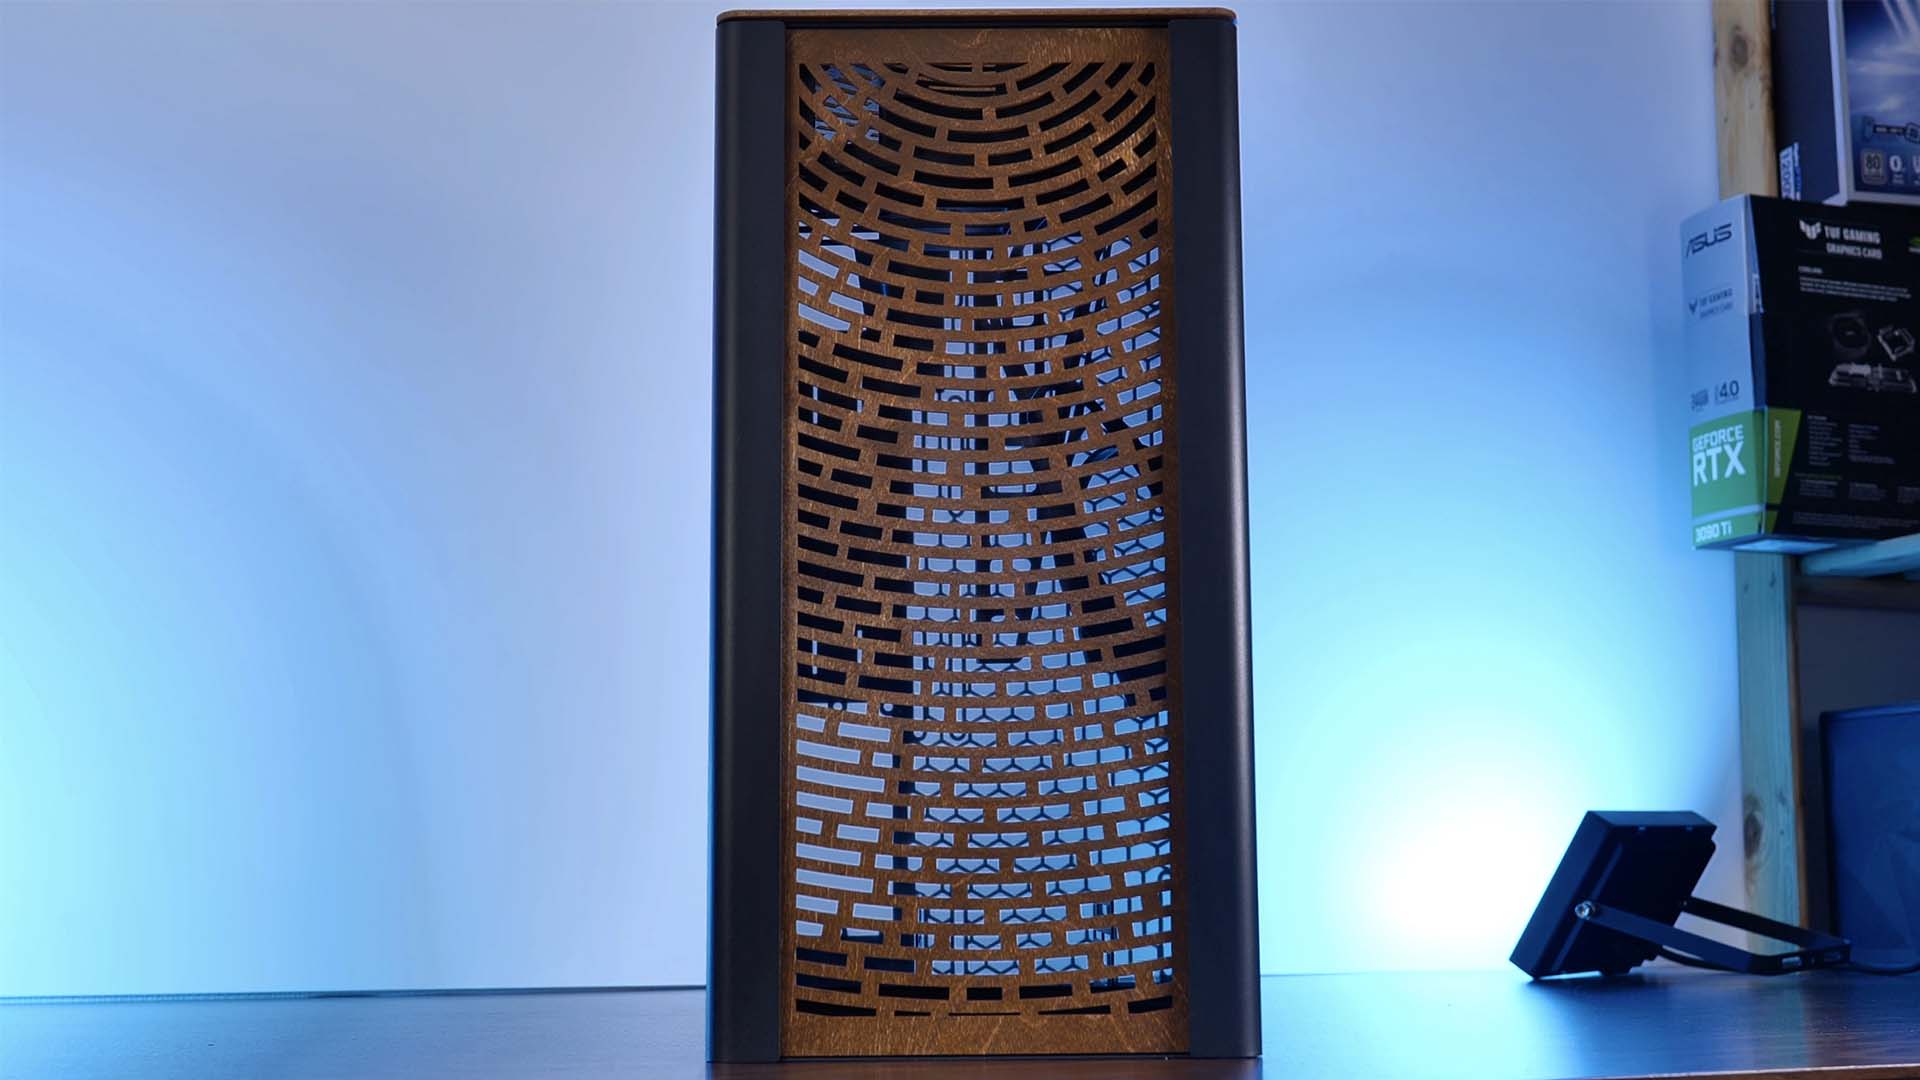
Although this feels like a repeating pattern for Cubeor's cases, the combination of matt-black-ish metal and darker wood just looks fantastic.

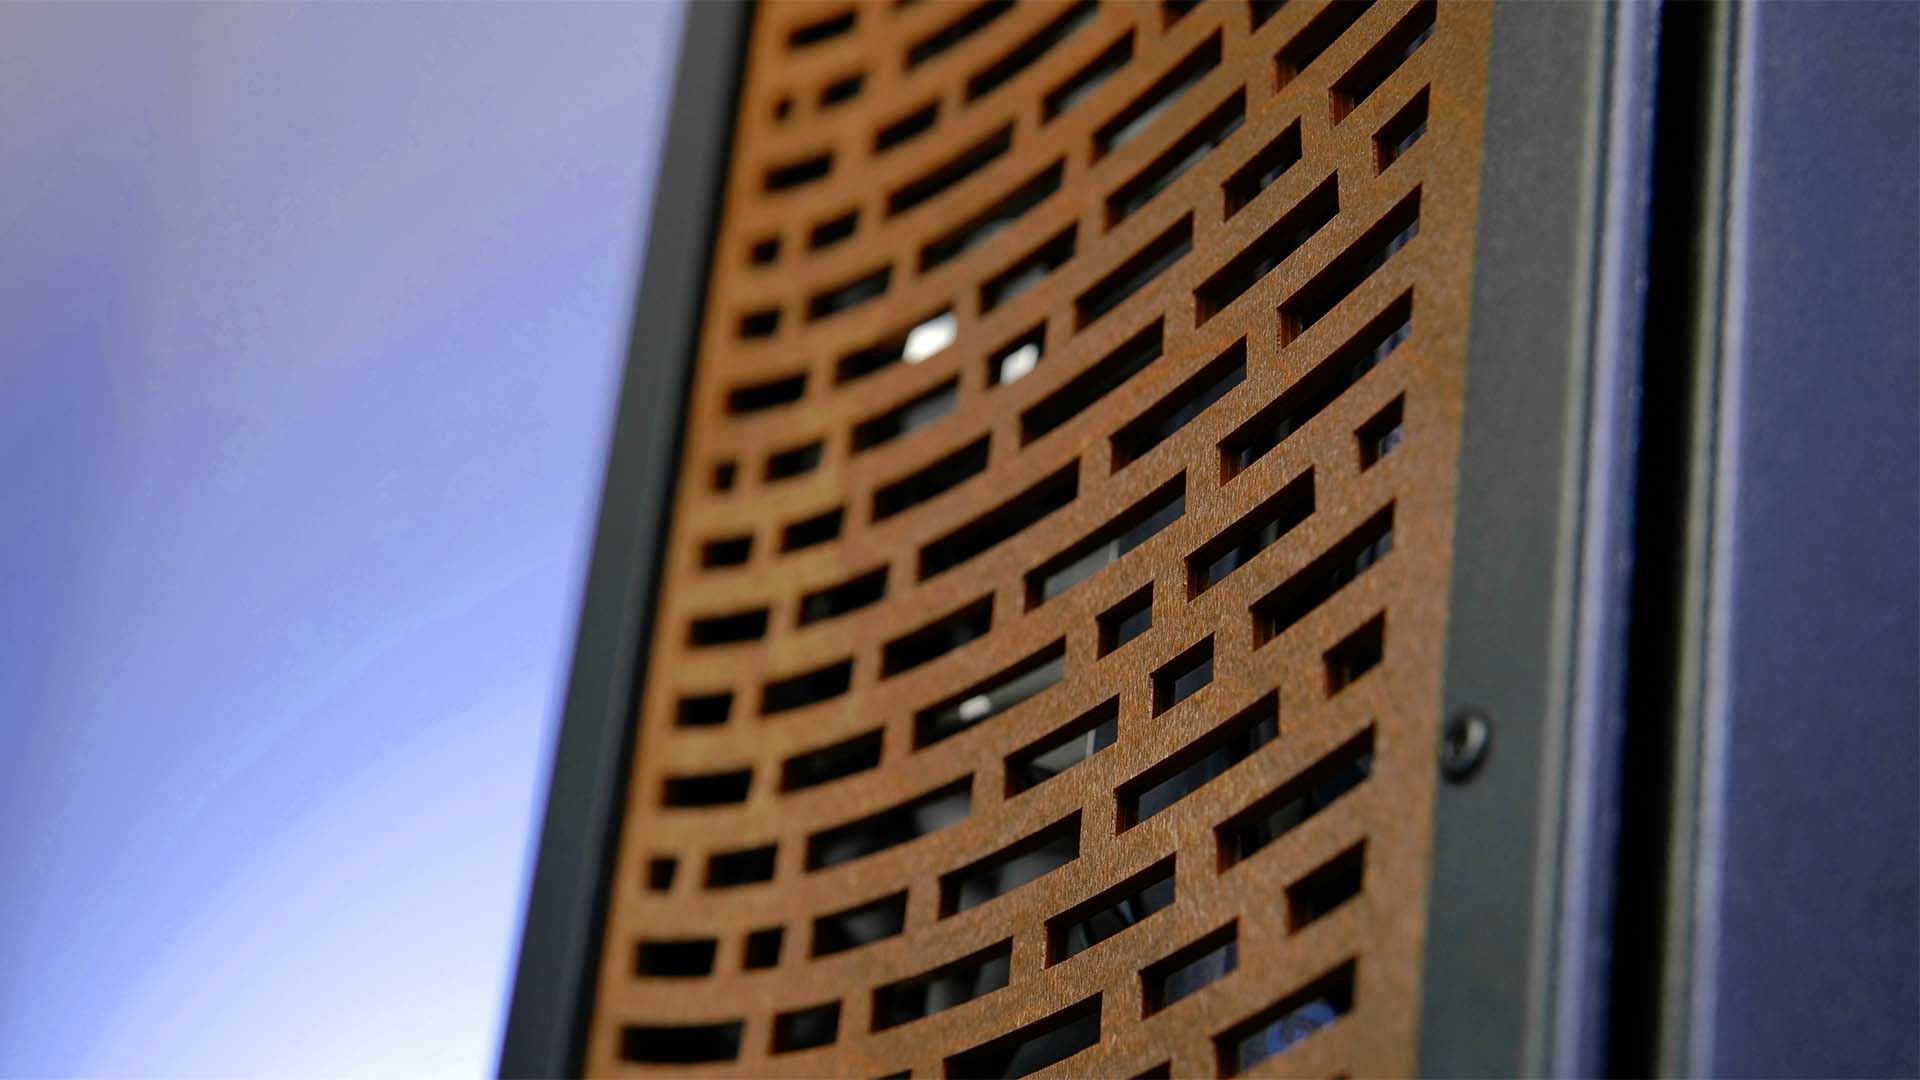
The Front side of the case comes in the Wood that we chose beforehand and features circular slits that rotate around the top of the case. Through these slits, we can have some sneak peeks into the system. Though, the only thing seeable is the GPU.
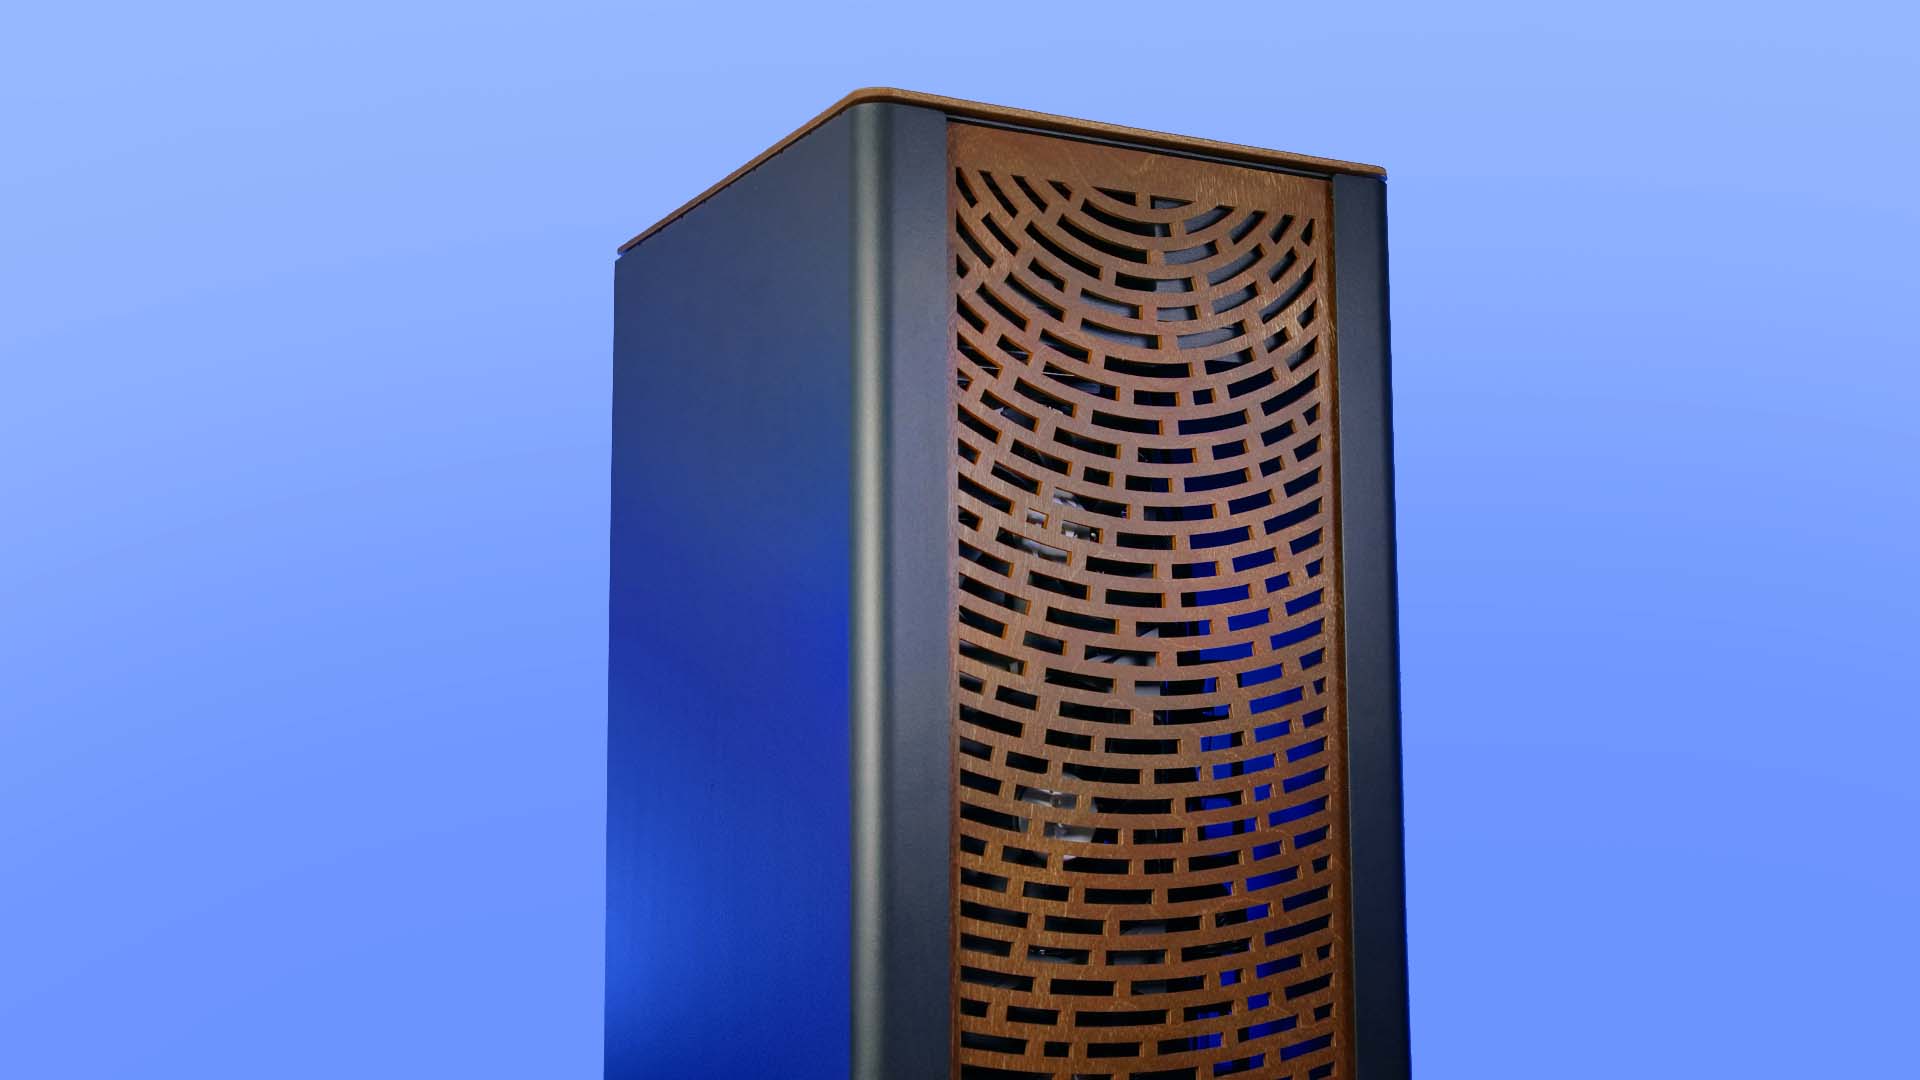
Overall, the Case looks incredibly simplistic and borderline mesmerizing.
Installation
Although installing a system inside the Vault 2 does not impose any impossible hurdles, it is still a 1-compartment miniITX case. Due to this, every component will fit in just fine, however, the cable management portion of the build will be the most complicated and tedious aspect.
As there is nothing to make the complicated any easier, we can only recommend making use of the cable pillar and the bag of Zip-Ties that Cubeor included with the case. There must be a reason for the ridiculous amount.
After you are done with your build, make sure to not forget to glue the rubber feet to the bottom side of the case. Not doing this will most certainly create numerous scratches on the bottom side of the case, your desk, or both.
Conclusion
Overall, there is very little negative to say about Cubeor's Vault 2 Case.
Like most of their cases, its mix of Metal and real wood is iconic and creates a symbiosis that we immediately fall in love with.
Quality-wise, we have absolutely nothing negative to say. Every panel is thick enough to make it un-bendable and the chassis itself is exactly as sturdy as we expected it to be. The same applies to the highly meshy back side of the case.
Another highly positive aspect is the natively supported GPU length and CPU height. With up to 350mm and 195mm cards and coolers, there is very little that will not fit into it. Something quite rare, even for +-20L cases.
The (only) point that seemed negative to us is the IO implementation and the glue-on feet. Both feel slightly underwhelming considering the overall quality of the case. The feet could have been slightly bigger, furry, and not as sticky. For the IO, it could have been made entirely out of wood instead of that Milky-Acrylic material.
But other than that, the Vault 2 managed to score so many points that we can only recommend it for your future miniITX Build.
However, we also want to remind you that due to the case's layout, you will need to invest some amount of time into a thought-through cooling system. Simple Front-in Back-out will not work in here. To make it as simple as possible, we would recommend using an AIO with all of its fans set to exhaust, or a Dual-Tower cooler with its fans facing downside and the back fans set up in the way we described in the Cooling section of this review. As long as you keep the cooling in mind, we are sure that you are going to have a great time with the case.

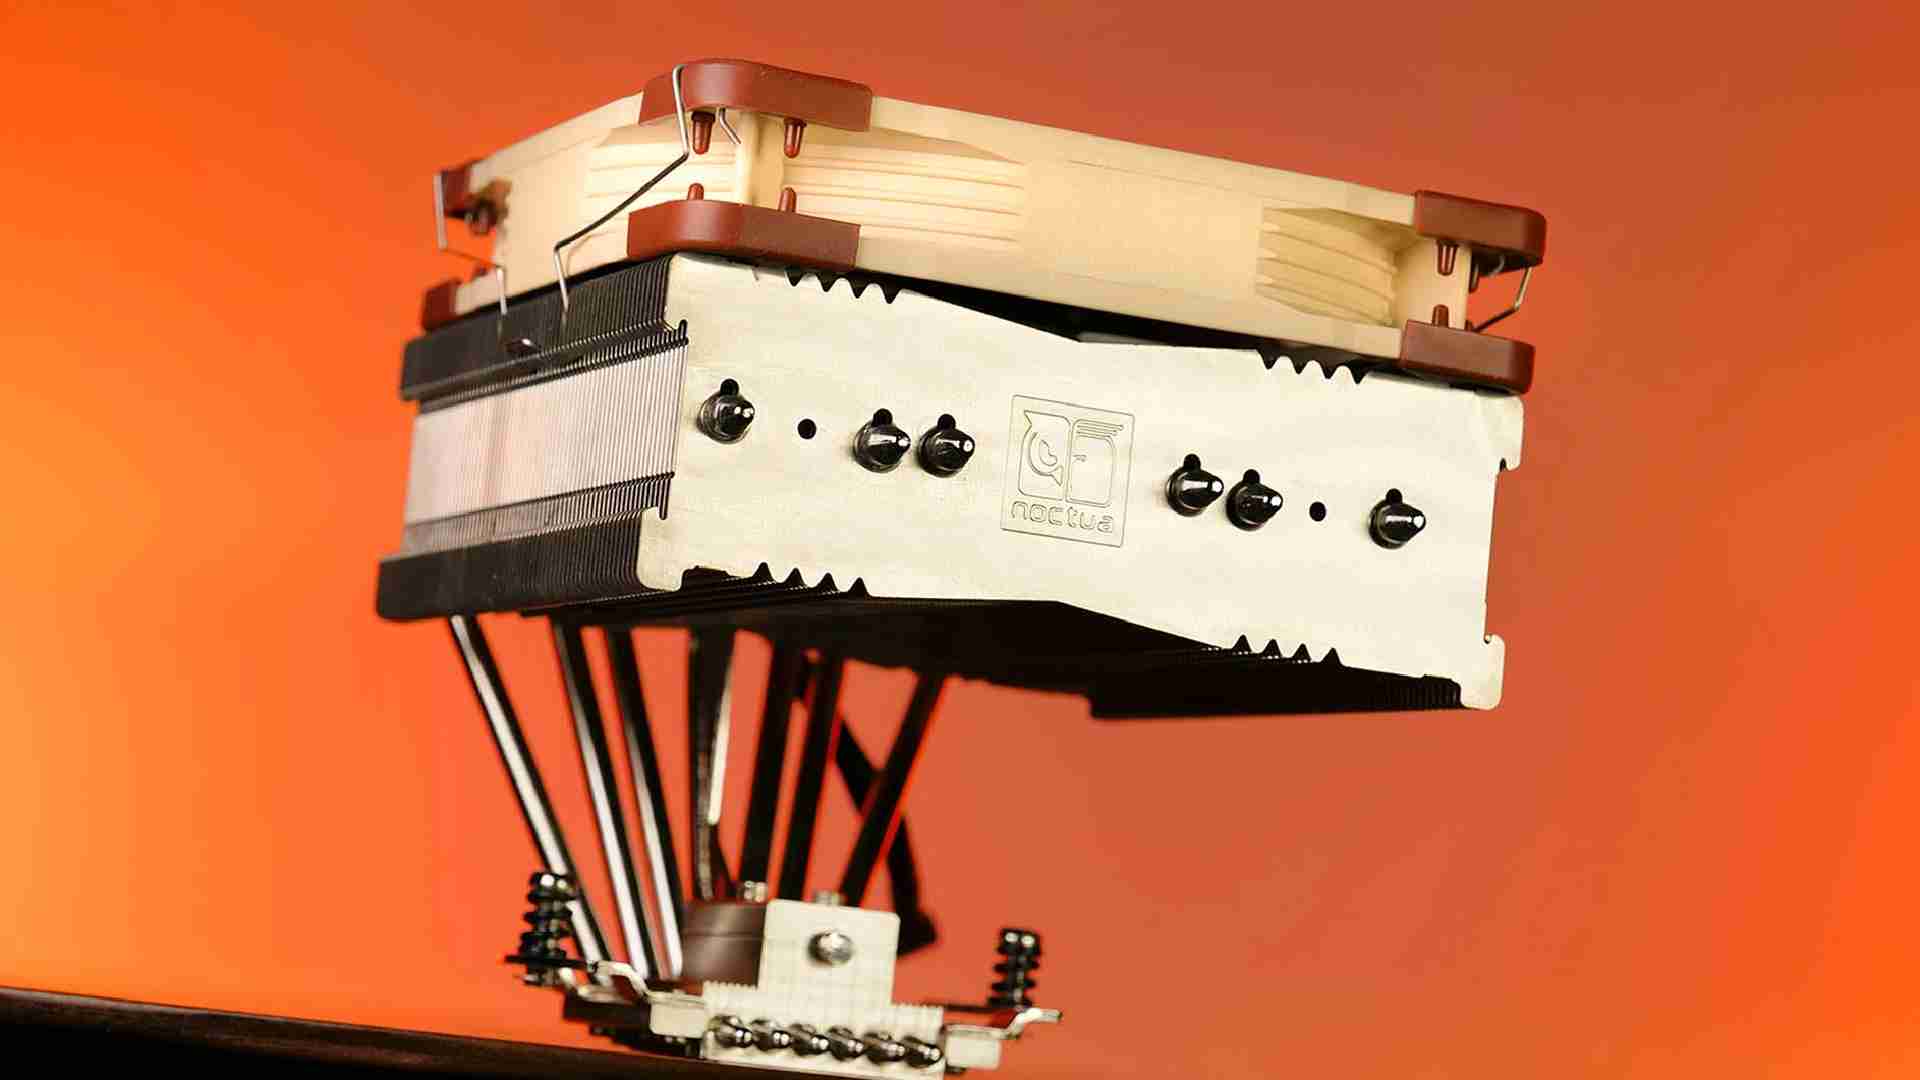
Noctua NH-C14S Review
With the C14S, Noctua tried to push the boundaries of what a C-Style CPU Air Cooler could do. Paired with one of their well-e
Read More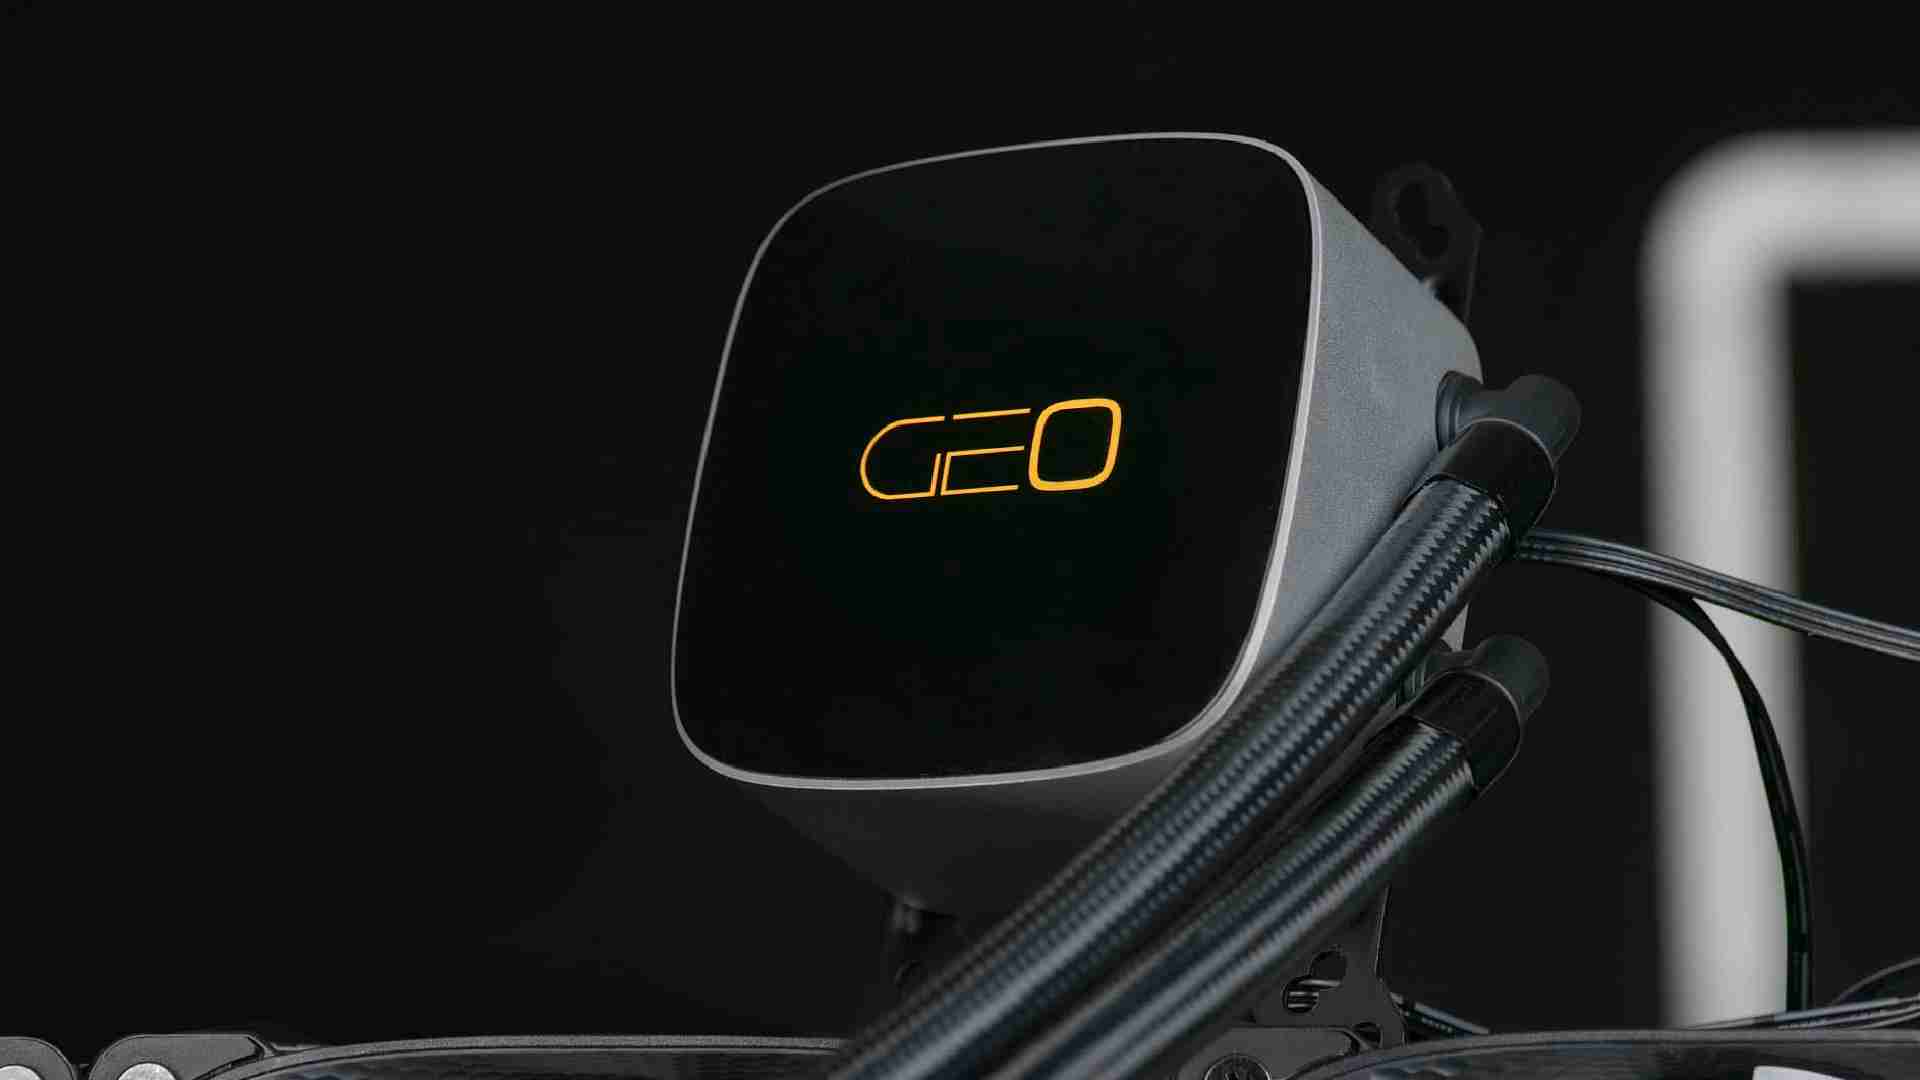
Geometric Future Eskimo Junior Neon 36
Geometric Future might not be the most represented company out there, but with the few products they have released so far, th
Read More
be quiet! Silent Wings 4 High-Speed 120mm Review
In this review, we will take a closer look at be quiet!s newest high-end case fan, the Silent Wings 4 High-Speed. At 2500RPM
Read More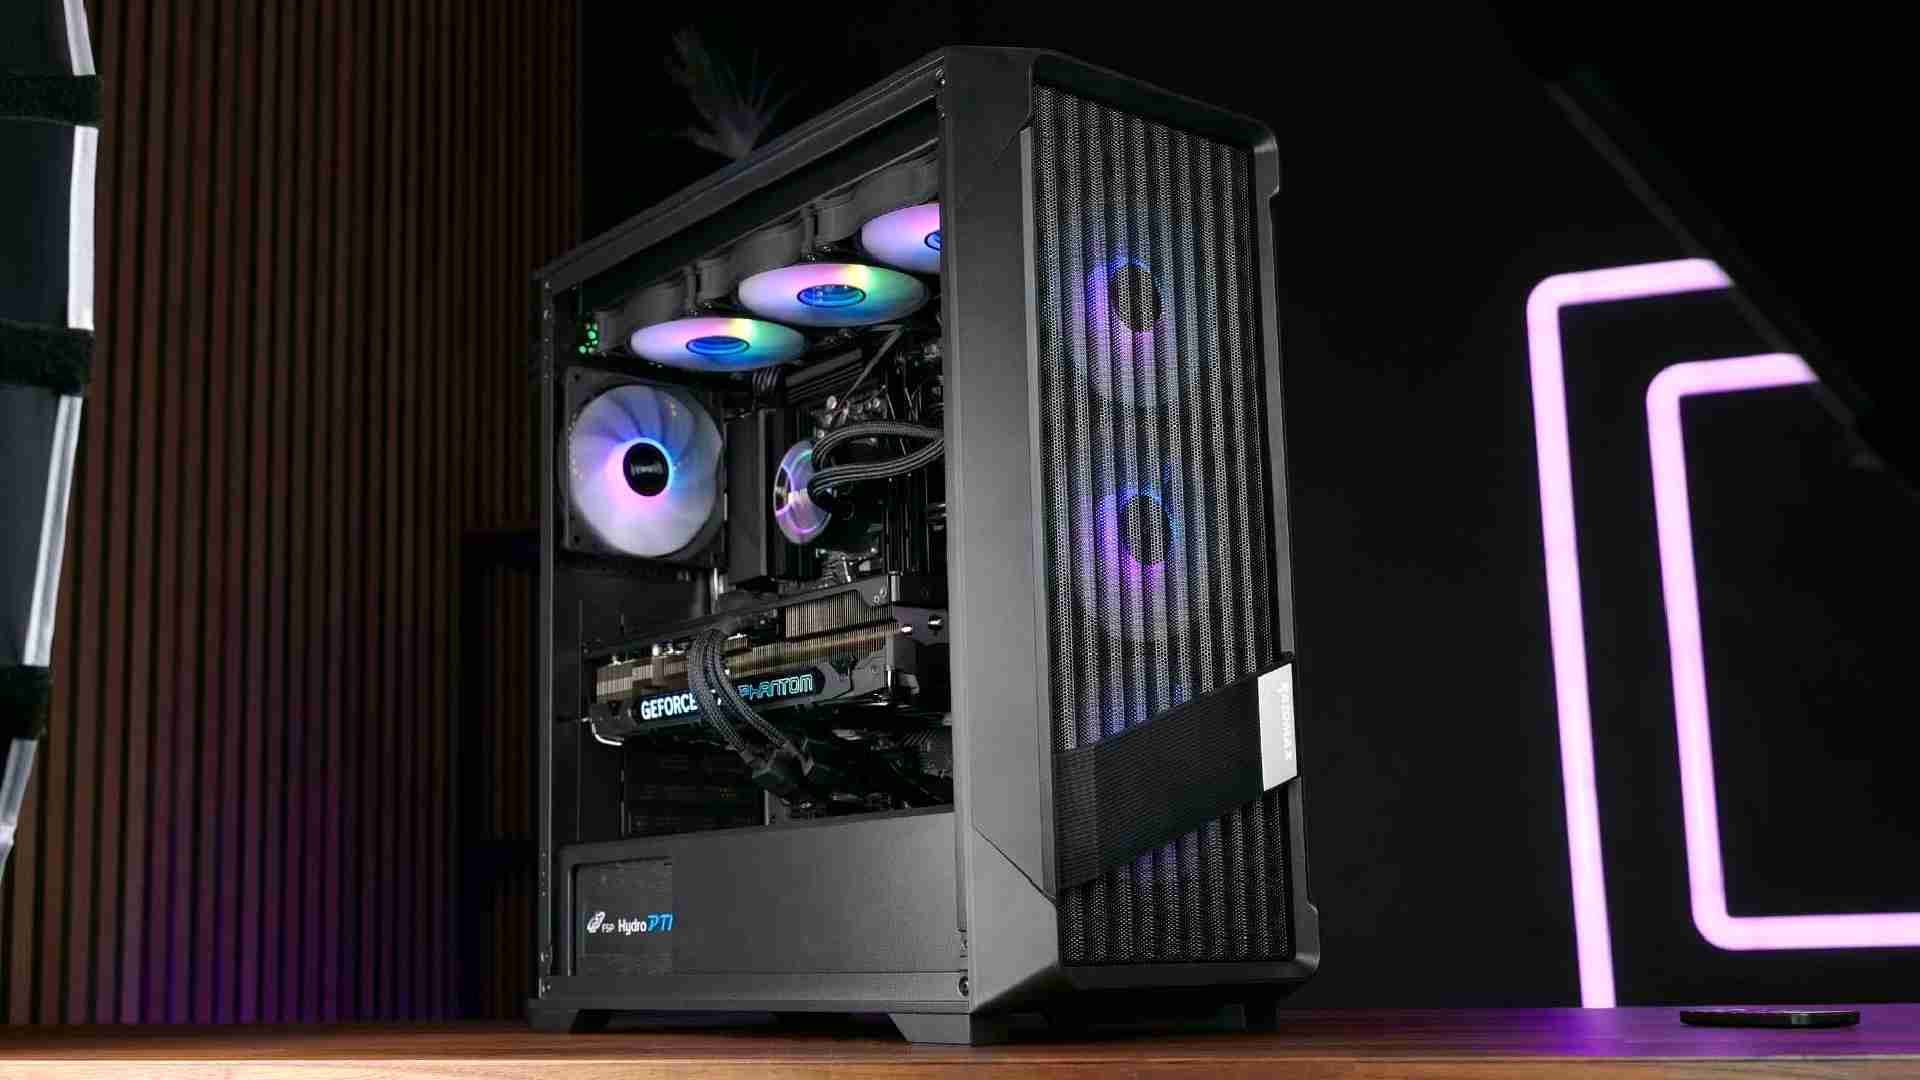
Raidmax Meshian X603 Review
In the budget friendly PC Case market, it is hard to stand out. Many have tried, most have failed. Lets take a closer look at
Read More