SilverStone Seta H1
Introduction
Most cases come with 2 or maybe 3 140mm fan spots in the front. For SilverStone, that was not enough! In this review, we will take a closer look at the SilverStone Seta H1, a case that comes with 2 pre-build 160mm fans capable of keeping any system cool!
Positive
- 2x 160mm Fans included
- 2x 160mm Fan Spots in the top
- General Fan support
- Water-cooling Support
- Airflow
- Tempered Glass Side Panel
- Multi-Functional Brackets are very useful
- Build in GPU support
- CPU Cooler
Neutral
- RGB
- Build Quality
Negative
- Feet
- The material of the Front Panel picks up dirt
What's in the Box?
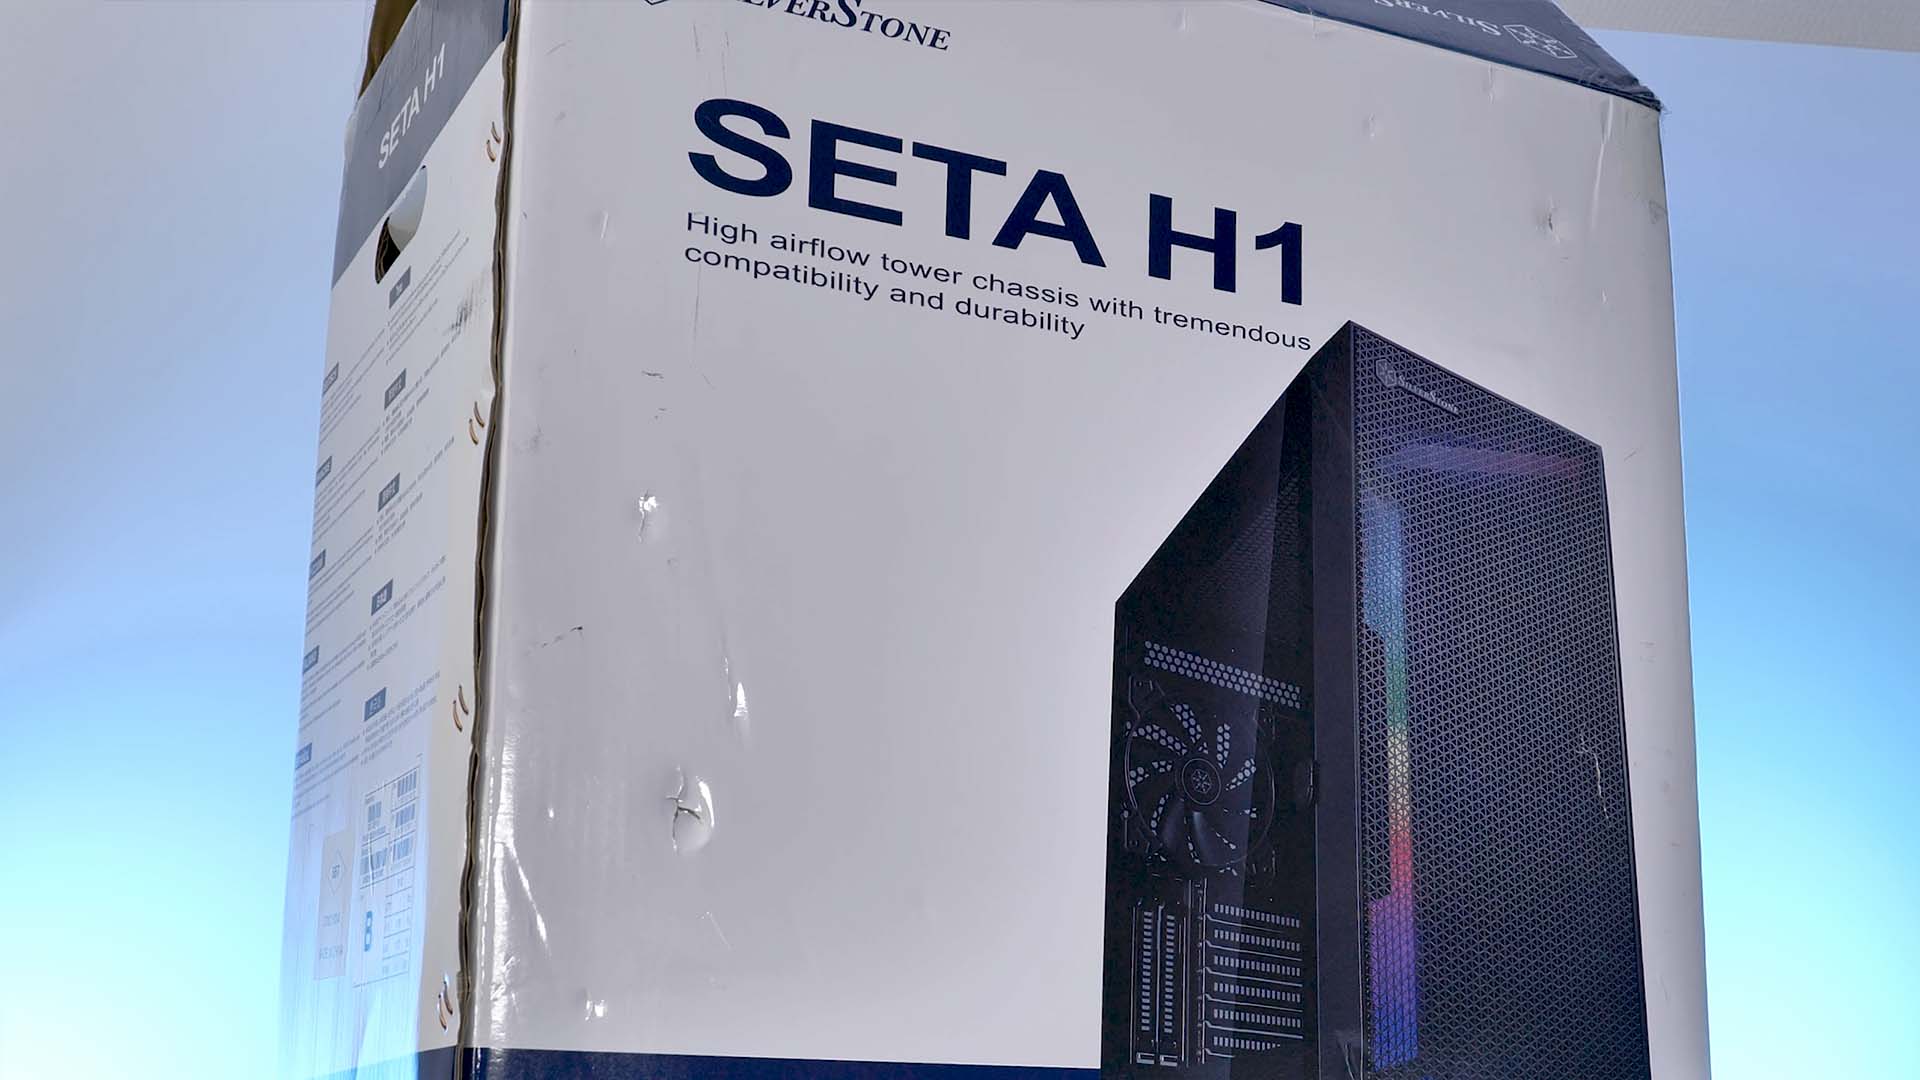
SilverStone's Seta H1 comes inside a relatively pleasing colored carton box featuring some imagery and branding.
Inside, we will find the case itself wrapped in a plastic bag and two styrofoam blocks for additional protection.
Once the case is removed from its protection, we can remove both side panels. The right panel is using a catchy screw to prevent you from pulling it to the back, and the tempered glass side panel can be opened by using the finger- lever in the front.

Inside the HDD cage, we will find the additional box of goodies containing the usual build accessories as well as 2 special brackets to which we will get later.
Once everything is unboxed, we will find ourselves with the following items:
- SilverStone SETA H1
- Installation Material (Screws, Zip-ties...)
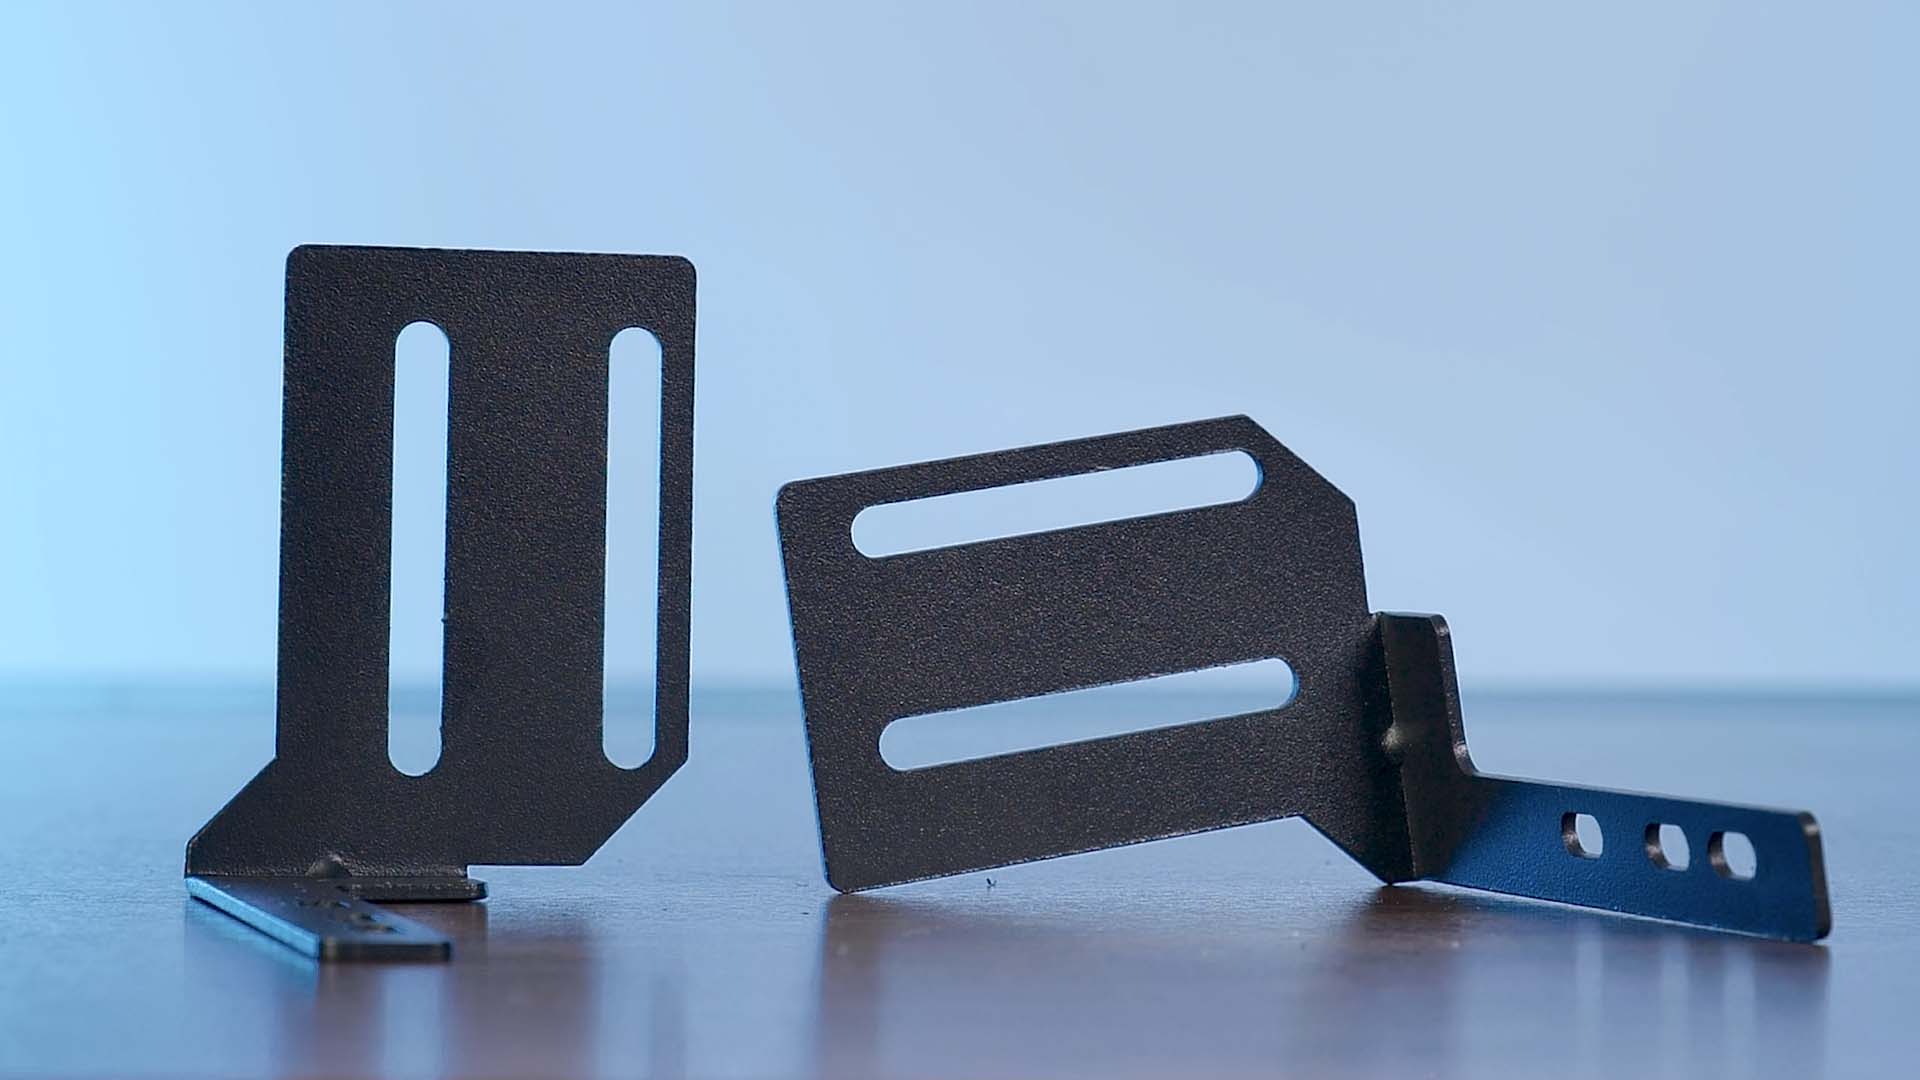
- 2x GPU Anti-Sack Brackets
- ARGB Controller / Hub
Specs
SilverStone's Seta H1 offers incredibly versatile Fan compatibility. Down below, you will find a summary of everything the Seta H1 has to offer:
| Name | Seta H1 |
| Color | Black |
| Type | Mid-Tower |
| Mainboard Size |
ATX microATX miniITX eATX (SSI-EEB, SSSI-CEB) |
| PSU Size | Up to 250mm (Case Length when HDD Cage removed) |
| PSU Position | Bottom PSU Segment |
| Side Panel | 4mm Tempered Glass Side Panel |
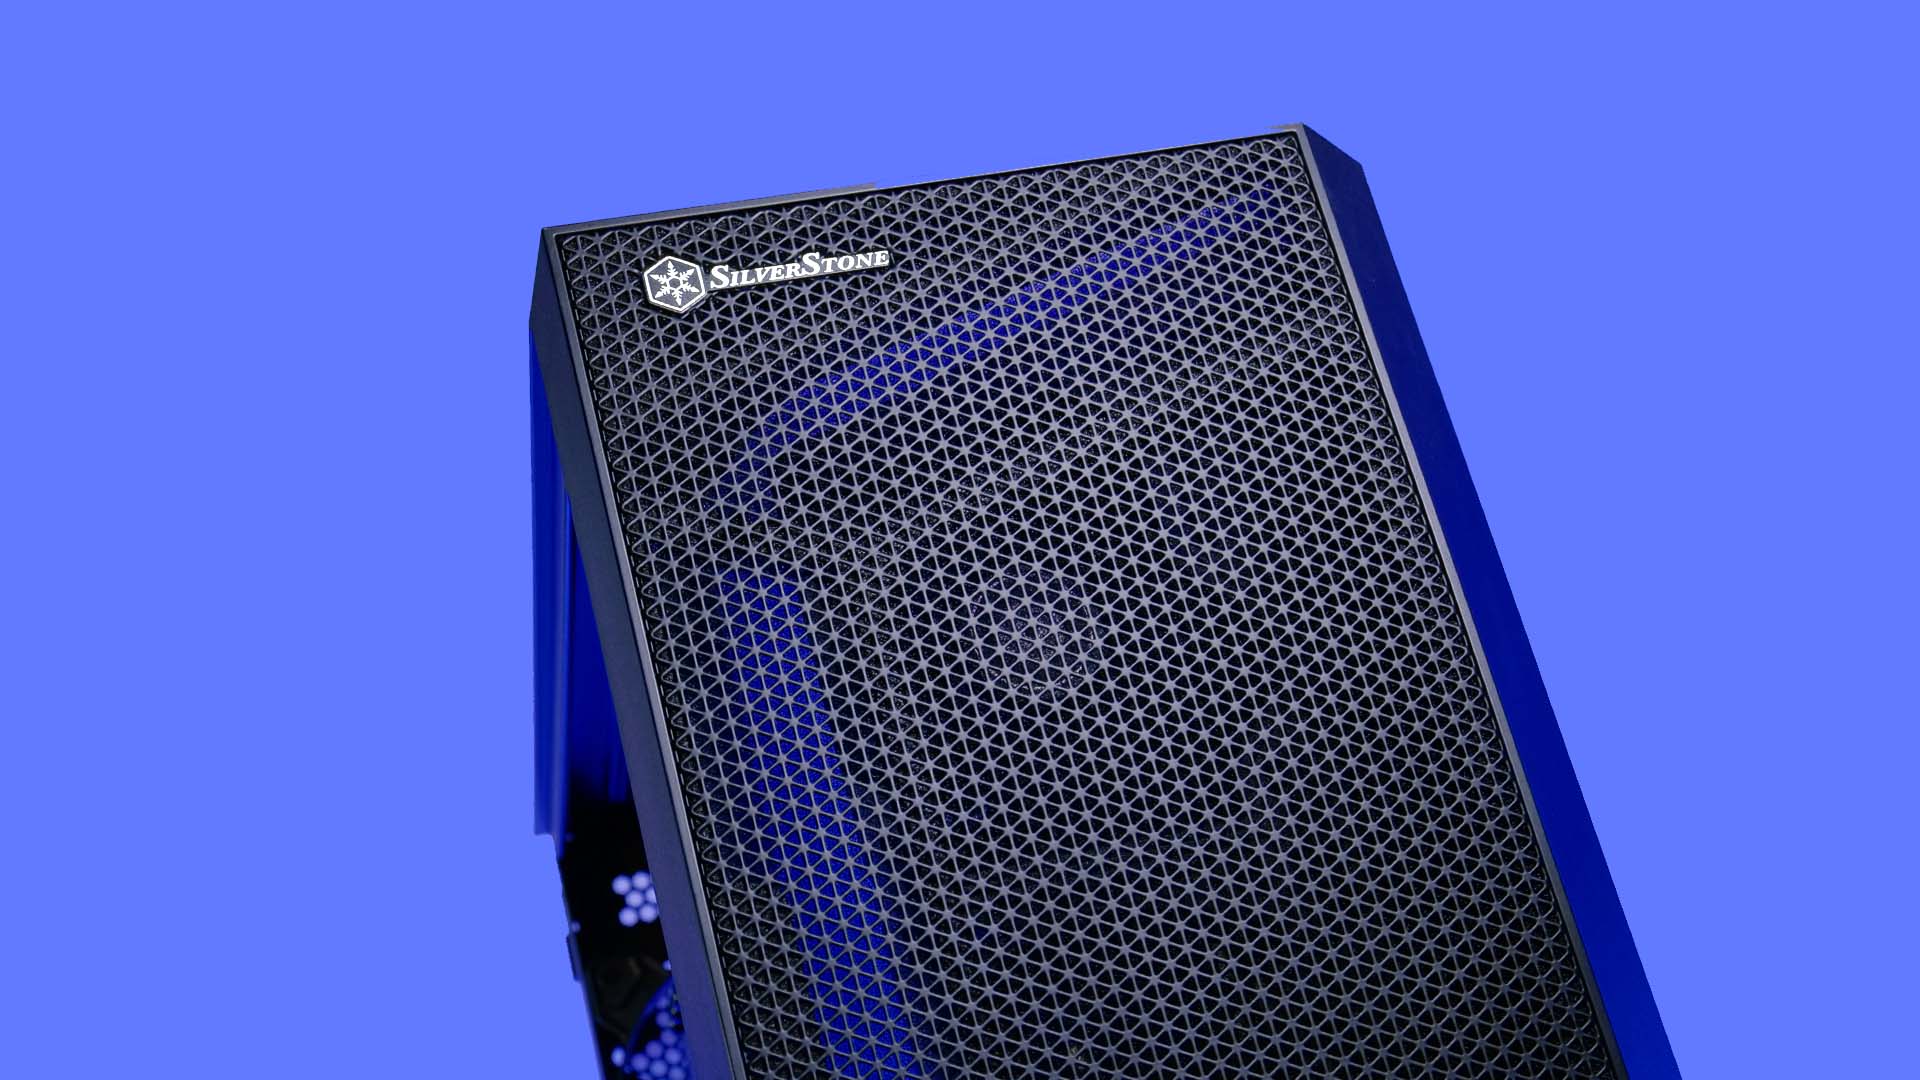
| Front Panel | Metal Mesh Structure |
| CPU Cooler Height | Up to 182mm |
| GPU Length | Up to 394mm (Radiators in the front may limit it) |
| 3.5" Drives | 2x inside HDD cage inside the PSU Segment |
| 2.5" Drives |
1x on top of the HDD cage inside the PSU Segment 2x behind the Motherboard 2x On the Multi-Function bracket |
| IO |
1x USB 3.1 Gen 2 Type-C 2x USB 3.0 Type-A RGB Button Audio In + Out |
| Dimensions | 232x494x480mm (WxHxD) |
| Fan Spots |
Front: 3x 120/140mm (or 2x SilverStone 160mm) Top: 3x 120 / 2x140mm (or 2x SilverStone 160mm) Back: 1x 120/140mm |
| Included Fans |
Back: 1x 140mm Unnamed Fan Front: 2x 160mm SilverStone Fan (1100RPM - 3Pin) |
| Water Cooling |
Top: Up to 360/280mm Front: Up to 360/420mm Back: 120/140mm |
| Extras | ARGB Controller / Hub included in Box of goodies |
Compatibility
Mainboard
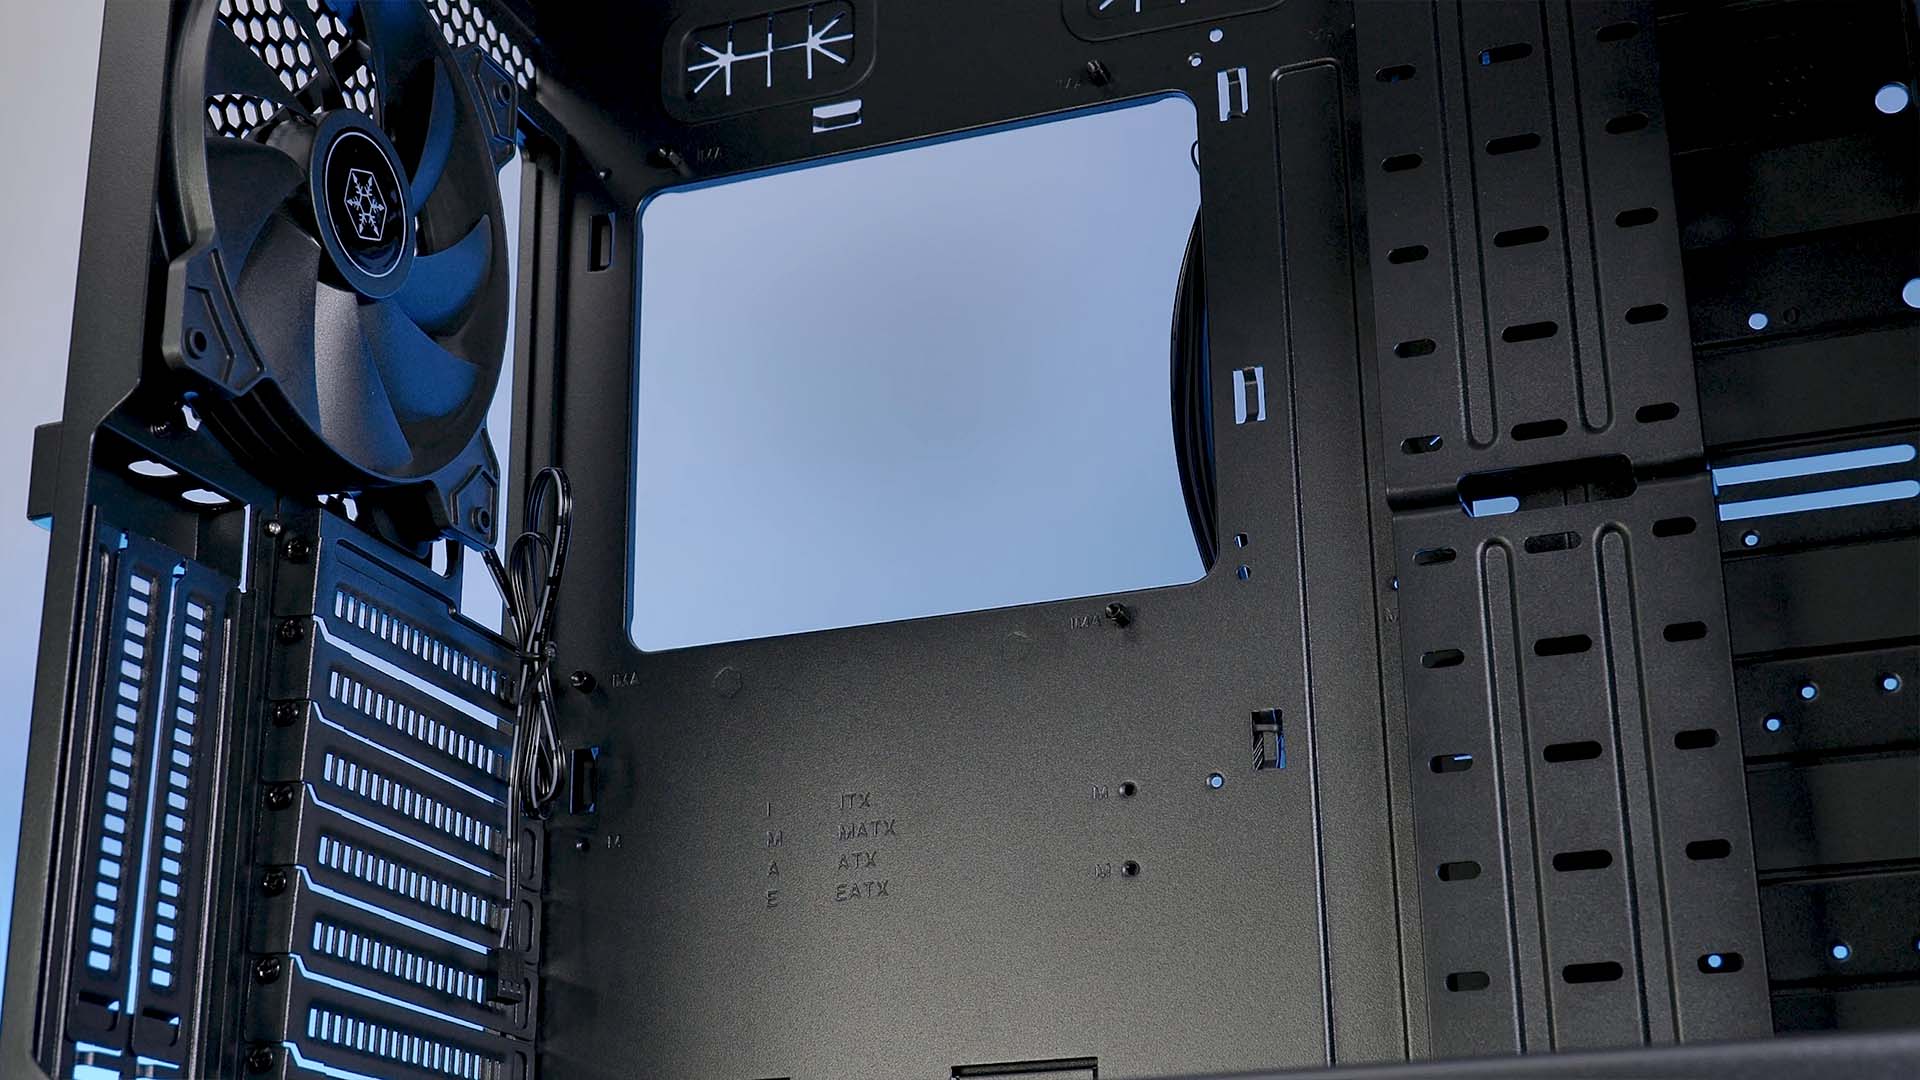
Although it is still a min-tower case, SilverStone made sure to make the Seta H1 compatible with pretty much every Motherboard size. ATX, microATX, miniITX, and even eATX by SSI-CEB & EEB standards can fit inside the case.
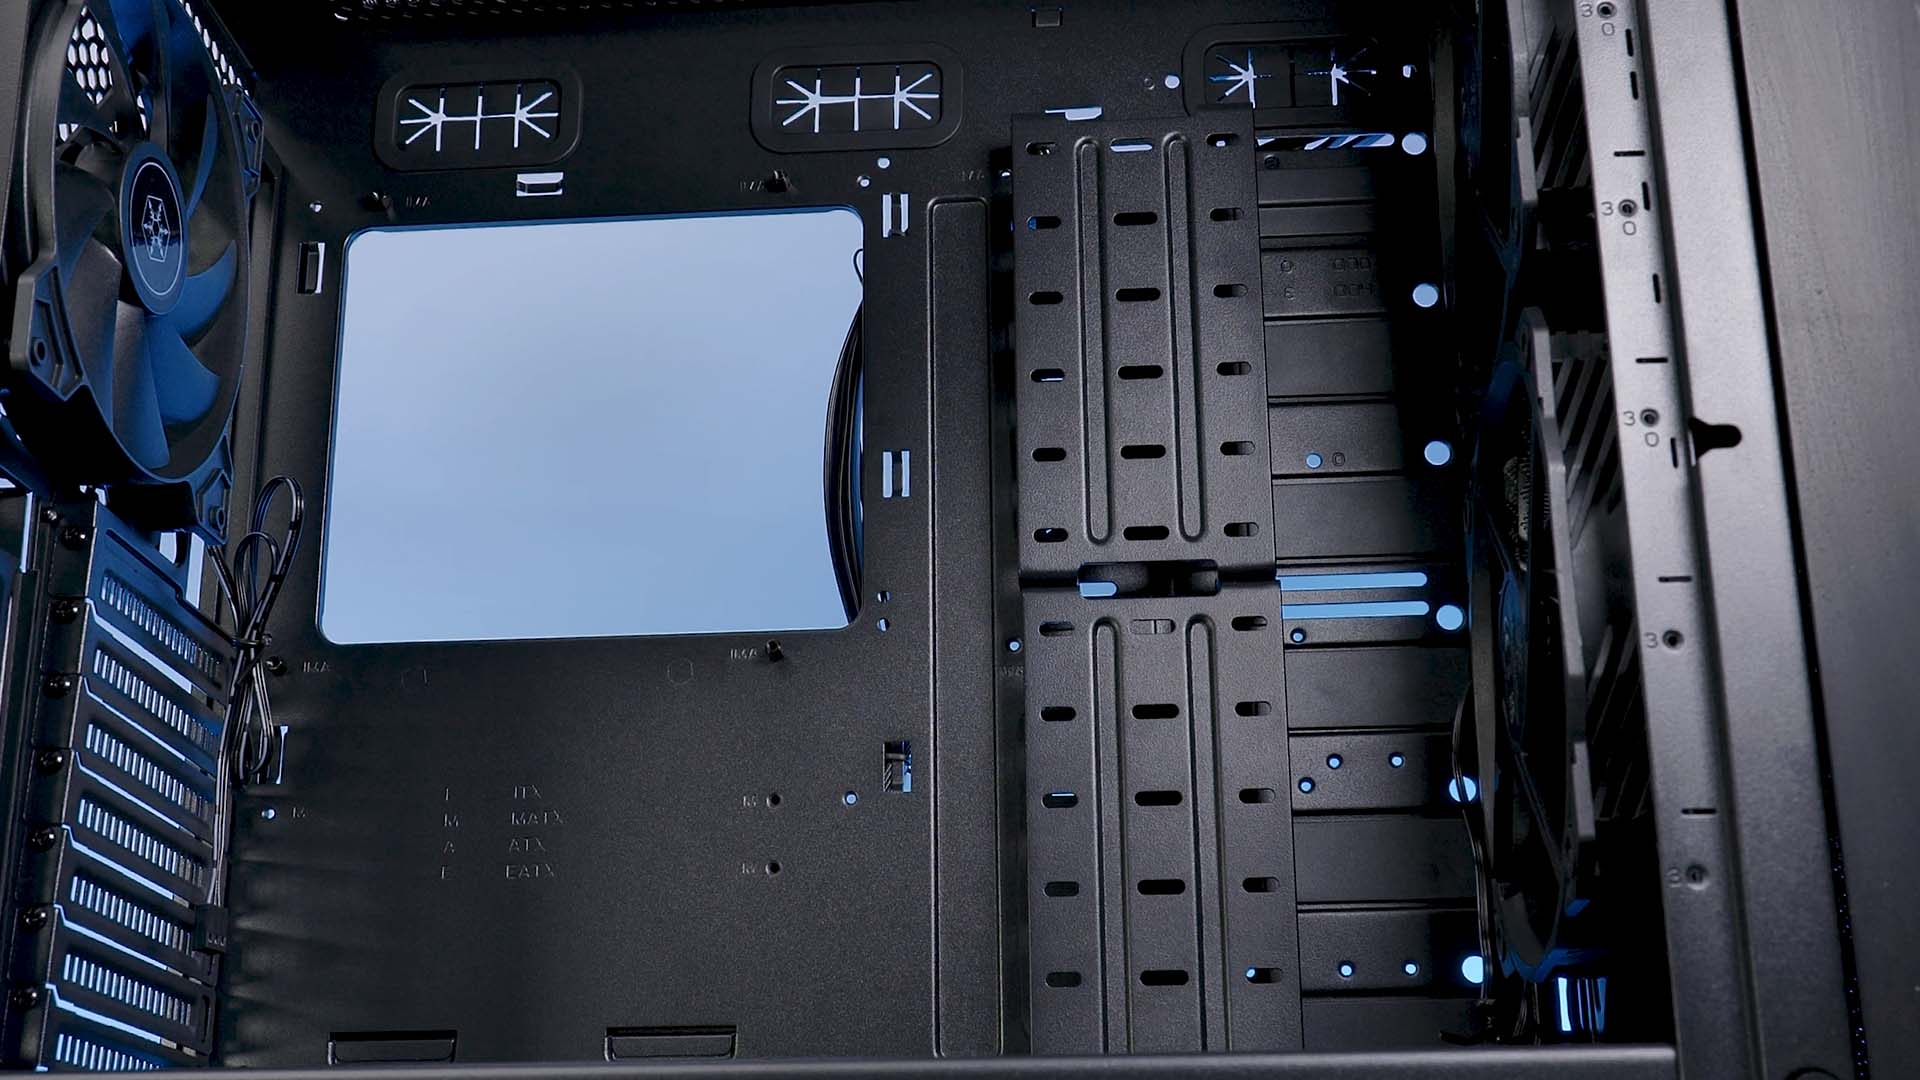
Please note that due to an eATX's width, the multi-function brackets to the right may need to be repositioned further away from the motherboard.
PSU

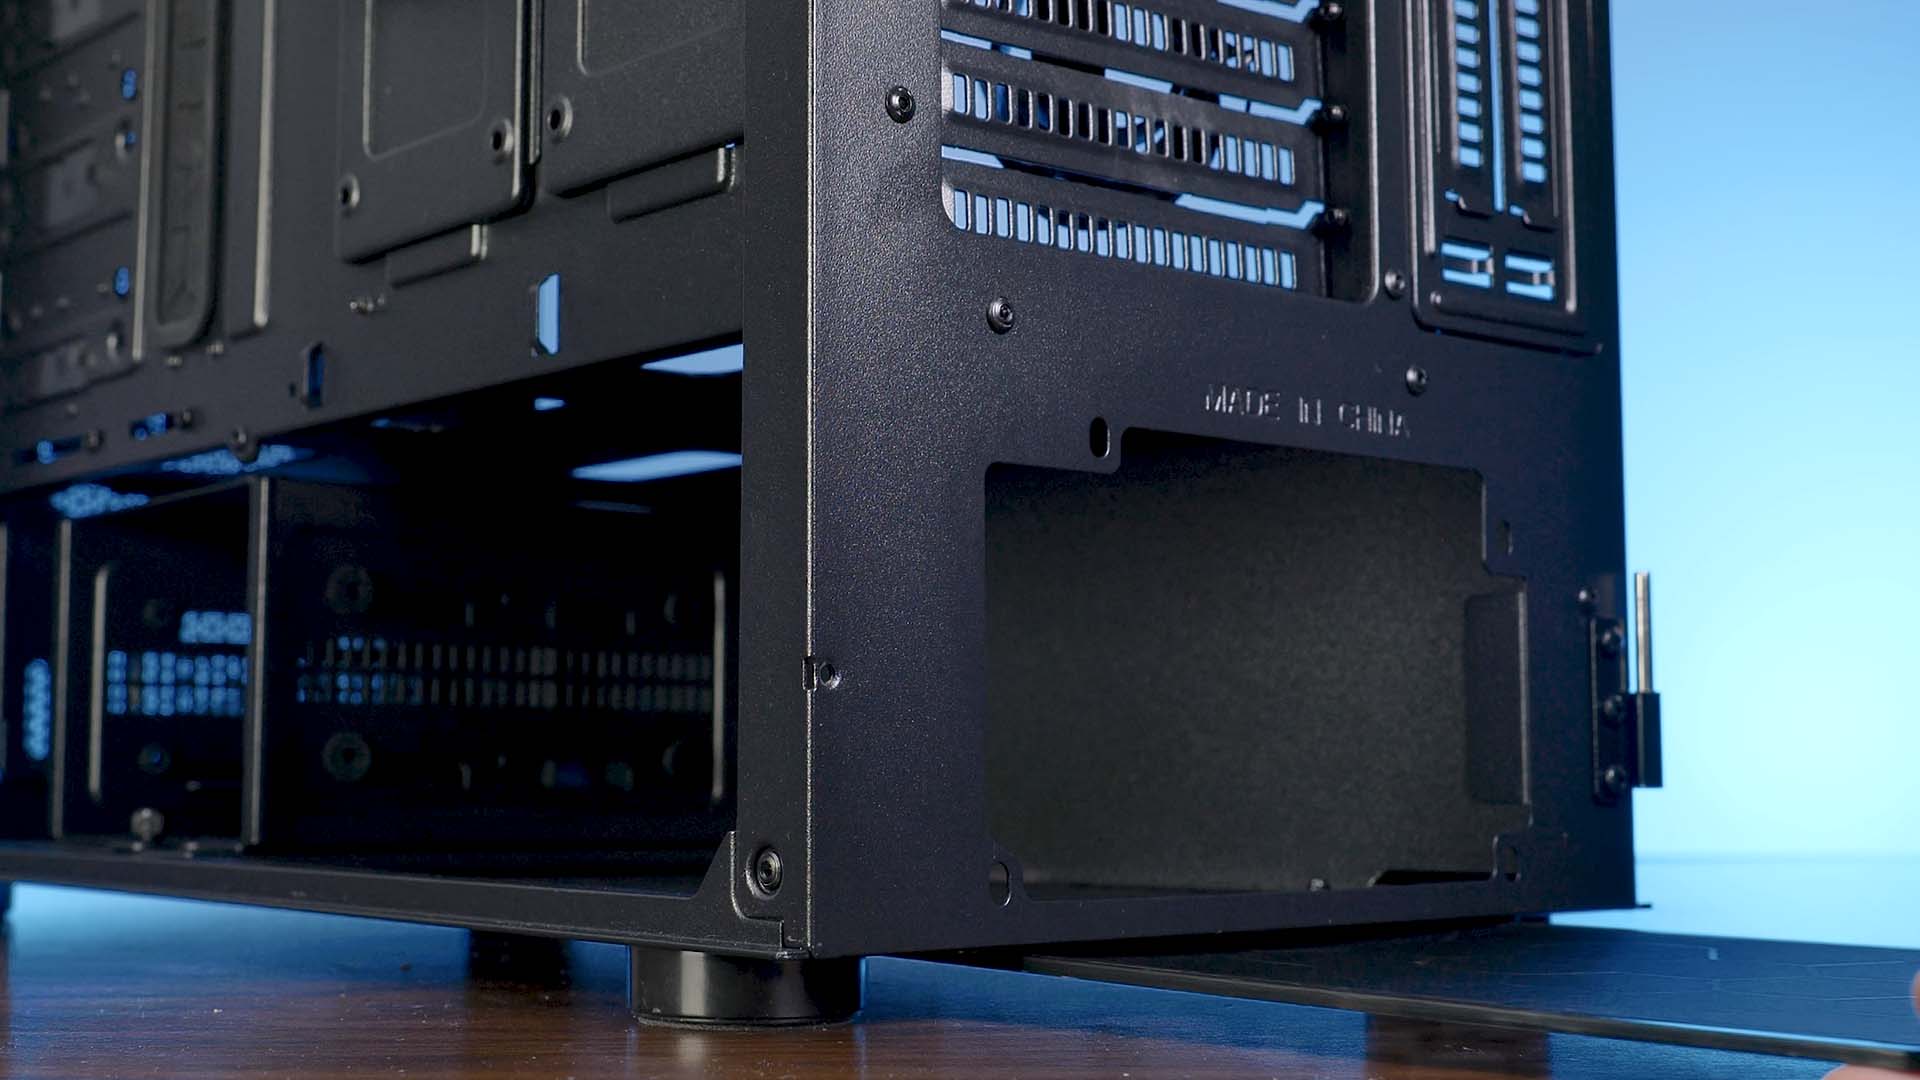
The PSU is located in its own separate compartment at the bottom of the case. Thankfully, SilverStone did not decide to cut an unnecessary hole into the section's wall in order to allow any sort of sneak-peak of the PSU.
By default, the Seta H1 can support up to 250mm long PSUs. However, if the user does not require any 3.5" Drives to be used, he can also remove the HDD Cage located in front of the PSU to enlarge the maximum length to the case itself and create an additional cable tucking space
GPU
The maximal GPU length supported by the Setha H1 is set to be 394mm. However, this is measured with only front fans in mind. If you were to install an additional radiator, this length would loose the radiator's width.
CPU Cooler
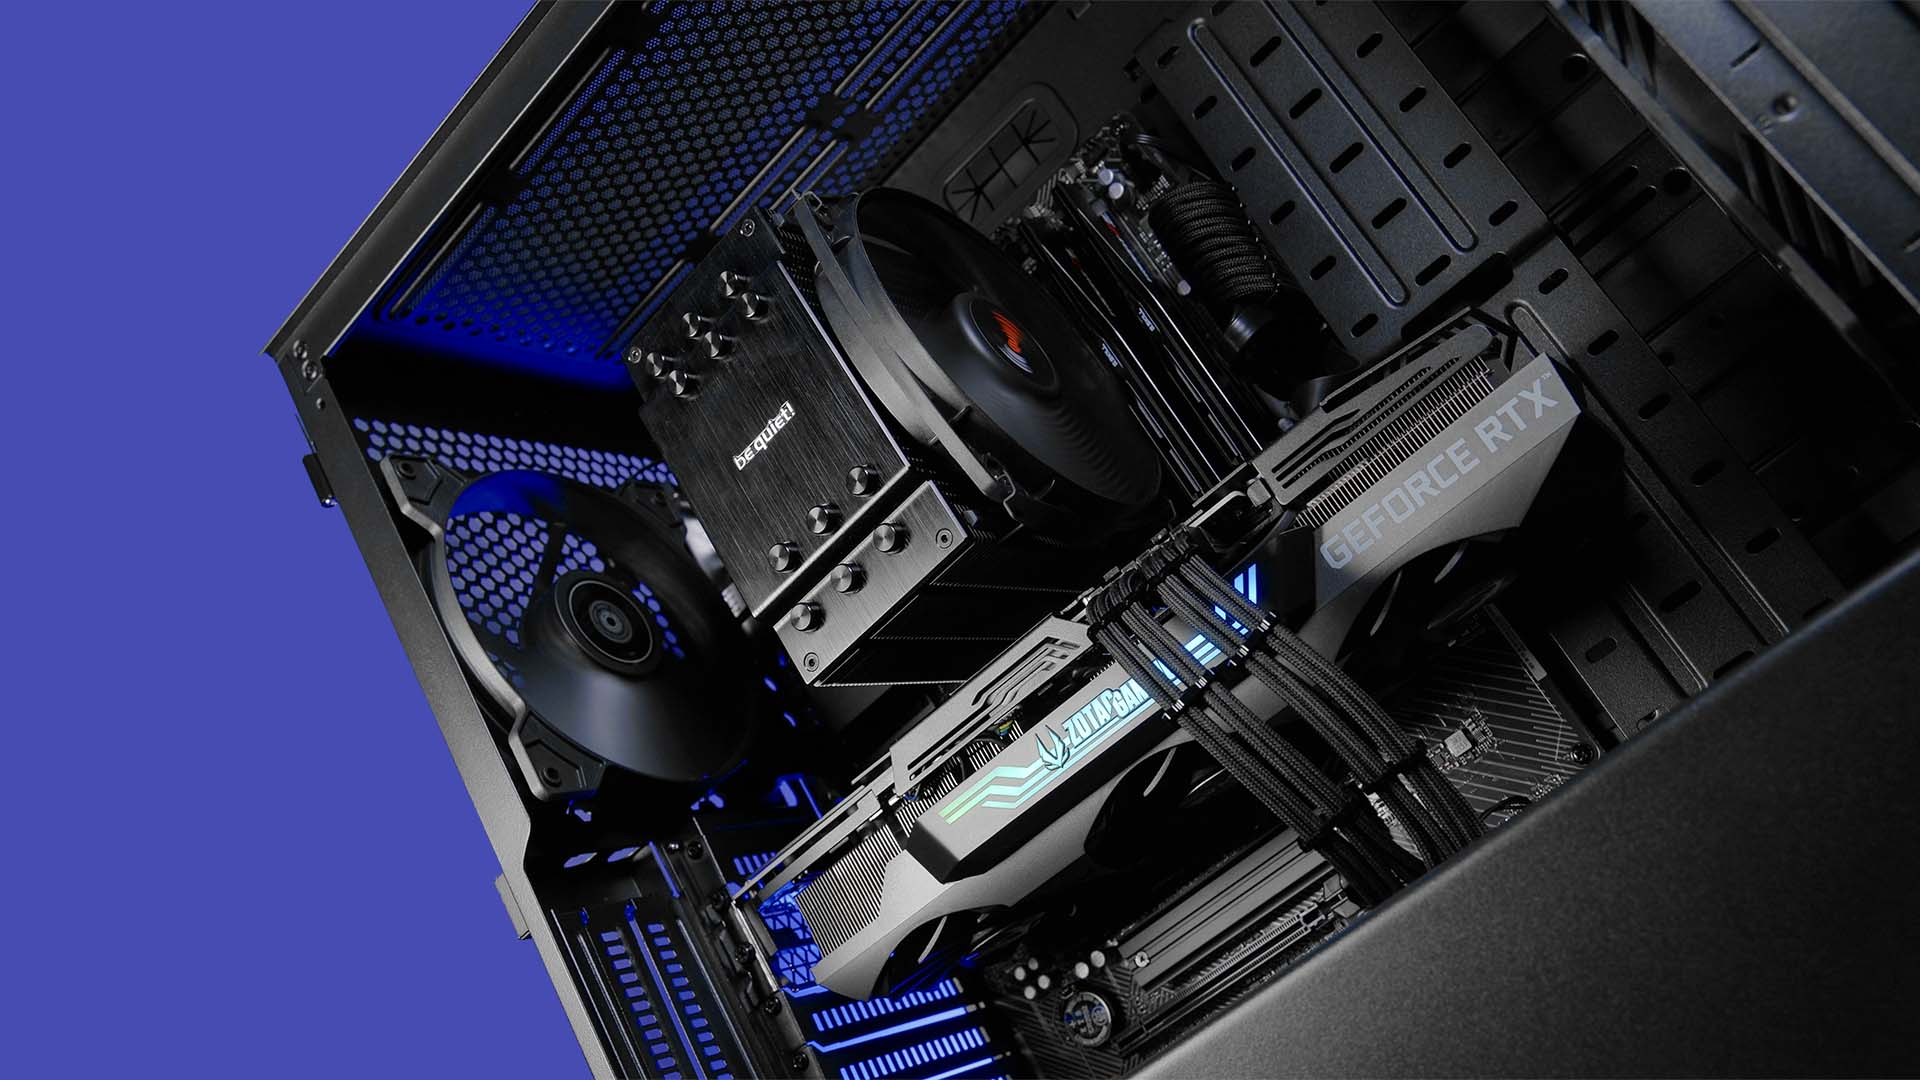
Inside the Seta H1, there is close to no CPU cooler restriction at all. By spec, we can install up to 182mm high coolers, a height we have never seen in the wild before.
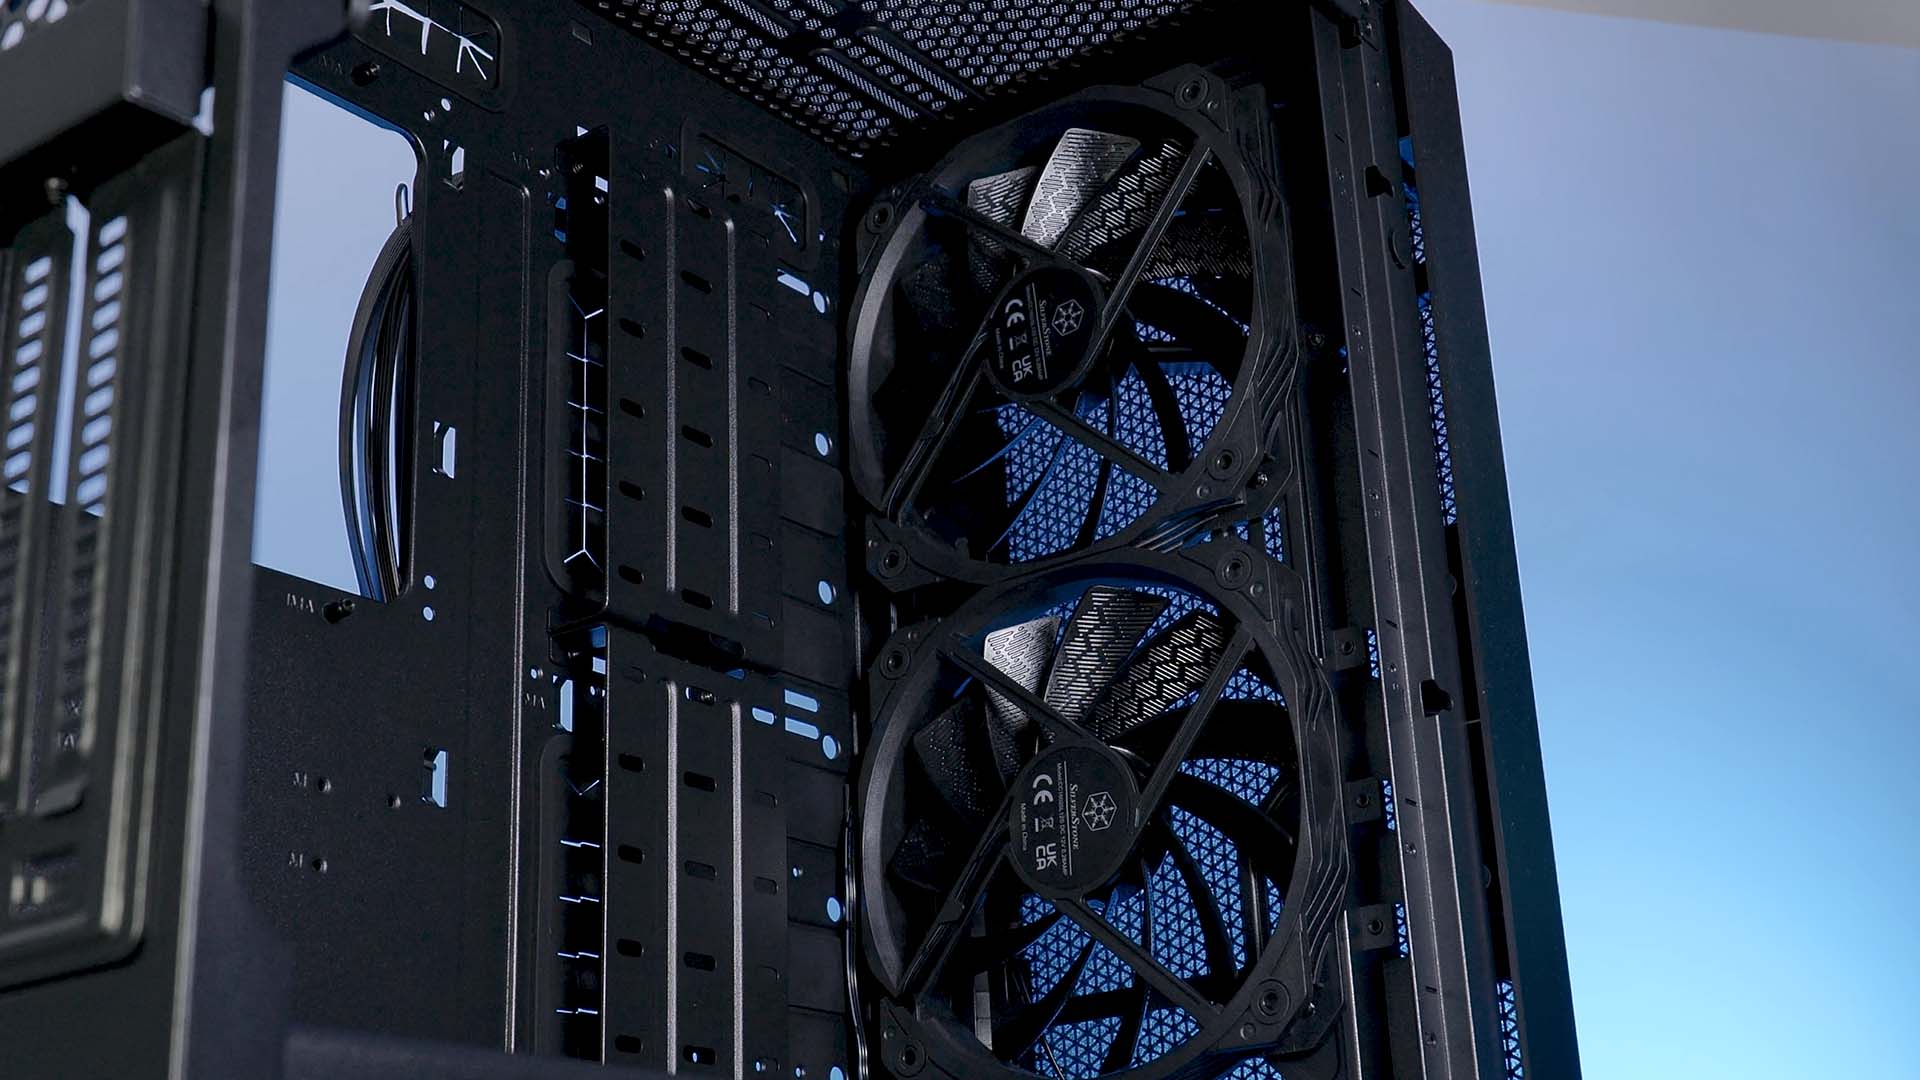
Fans
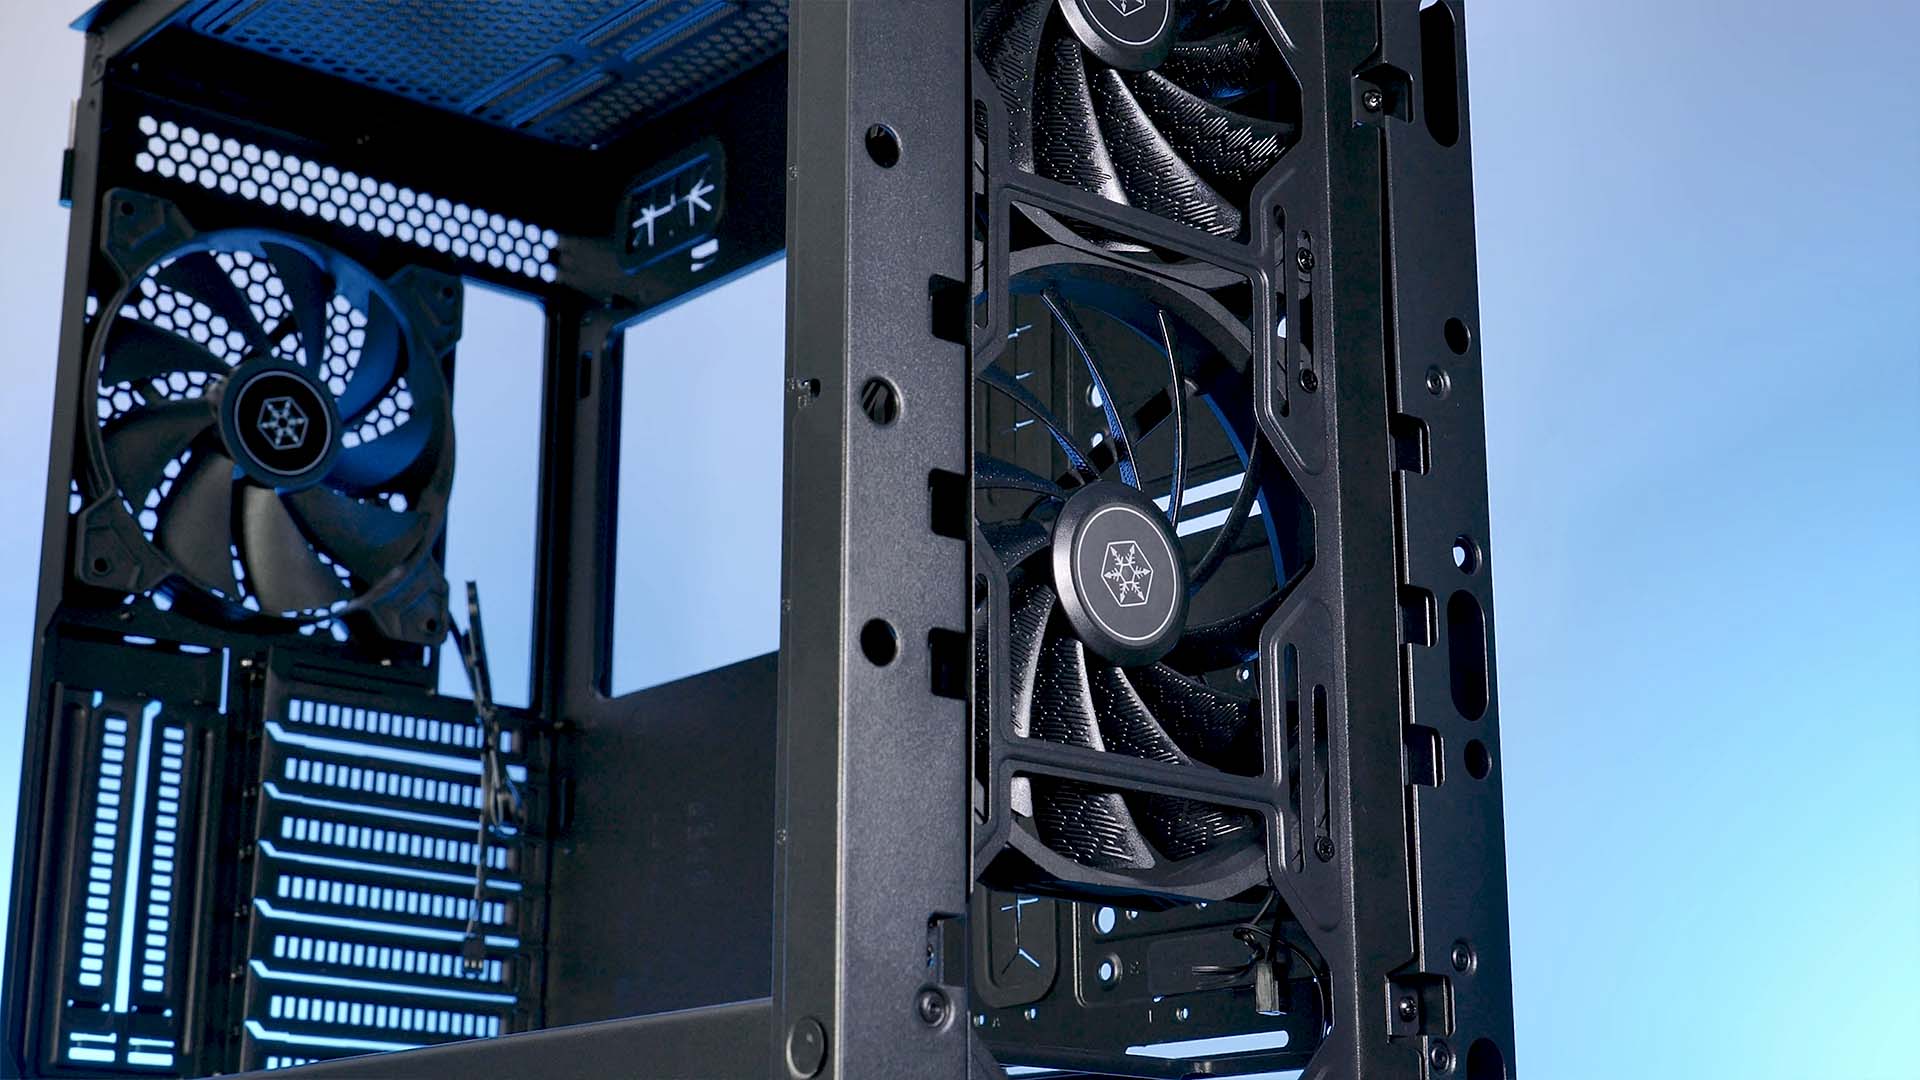
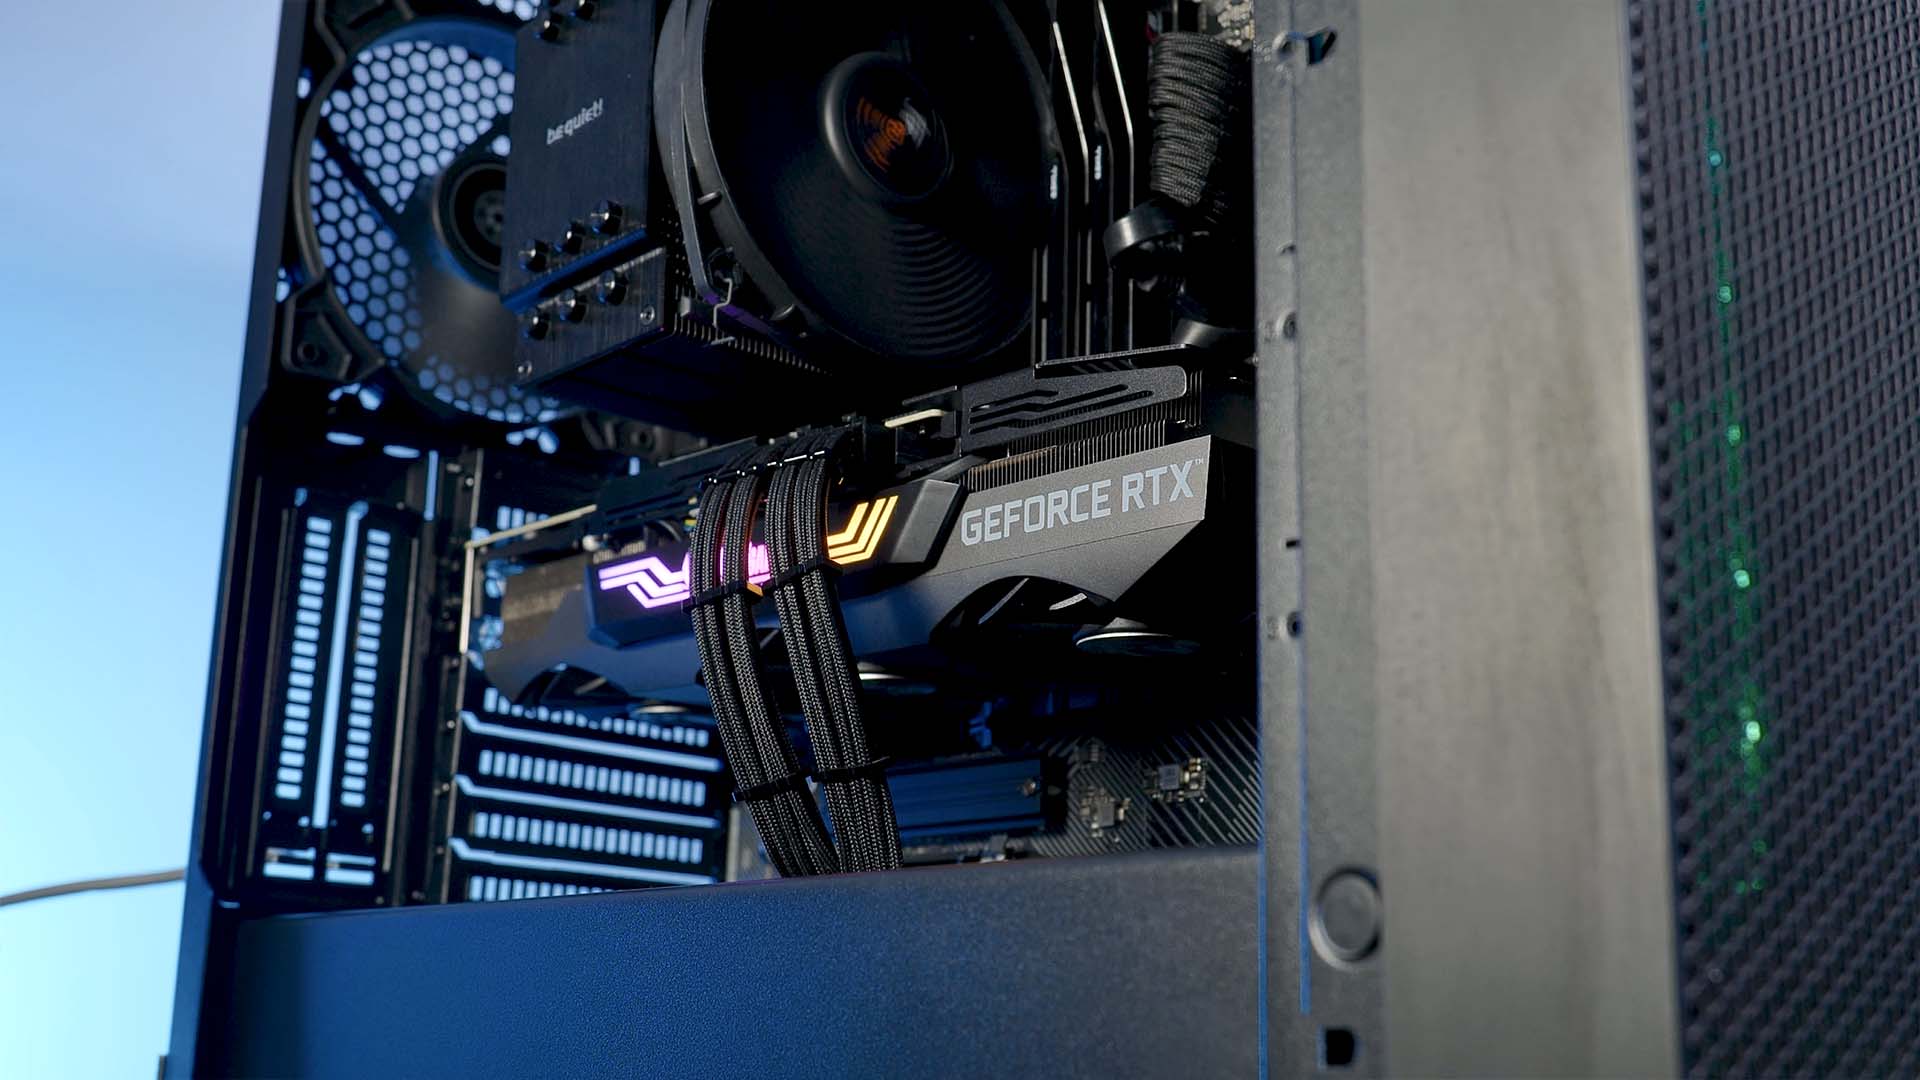
During one of our builds, we decided to let the Seta H1 stay in its original Fan- state.
Doing this showed us how incredibly powerful 160mm fans are. Although we were using high-performance hardware which required a lot of cooling, we found the original 2x 160mm SilverStone + 1x 140mm SilverStone exhaust fan to be more than enough for the average user.
In case the amount of air is not enough, we can utilize the 3x 120mm or 2x 140mm fan spots in the top.
If you would like to maximize the case's cooling capacity, however, we would suggest using the top in combination with another pair of SilverStone 160mm fans. Something that is absolutely feasible considering SilverStone designed the top exhaust spot to be significantly bigger, meaning that 160mm fans can be fully utilized.

The front Fan spots are something very special indeed. Not only can they accommodate giant fans, but the whole bracket is also reversible.
By default, the bracket is installed in a way that it aligns with the interior of the case, greatly improving the maximum fan size to 160mm. We could also install up to 140mm fans on the outside of the bracket, this would offset the front fans about 25mm closer to the front panel.
Alternatively, we can also unmount the included 160mm fans as well as the front bracket itself and rotate it around.
This would align the outside of the case allowing up to 3x 140/120mm fans on the inside of the case to be pushed about 10-15mm further away from the other components.
If pushing the front fans out by 15- or 25mm has any benefit at all, can be doubted.
Water Cooling
Fitting different-sized radiators inside the Seta H1 did reveal a little surprise.
By default, SilverStone states that only the following radiator options are available:
- Back: 120/140mm
- Front: 360/280mm
- Top: 280/360mm

However, we found that our Alphacool 420mm Test-Radiator fit perfectly fine on top of the front fan spots.
While keeping in mind that not every 420mm radiator might fit, it is a shame that there is no note about partial compatibility added to this specification.
Please note that although the radiator did fit, it came at the cost of one of the top 120mm fan spots.
Additionally to the radiators, the Seta H1 comes with another water-cooling helping tool.
The multi-function brackets found on the right side of the motherboard can be used to hold a reservoir, or, in combination with both GPU anti-sack brackets installed horizontally, as a stand for pumps.
Cable Management
SilverStone's Seta H1 features a bunch of little gimmicks to help you with your cable management. The most standardized by today would be a healthy amount of cable holes located all around the motherboard area.

Additionally, there is also the now mandatory GPU cable hole on top of the PSU shroud.
The cable holes above the motherboard as well as the 24-Pin holes on the right side of the motherboard have additional rubber protecting your cables whilst hiding whatever you tucked behind.
Please note that the holes on the right side are hidden underneath the multi-function brackets. If you want them to be visible at all times, you are free to loosen the screws of the brackets and reposition them further to the right.
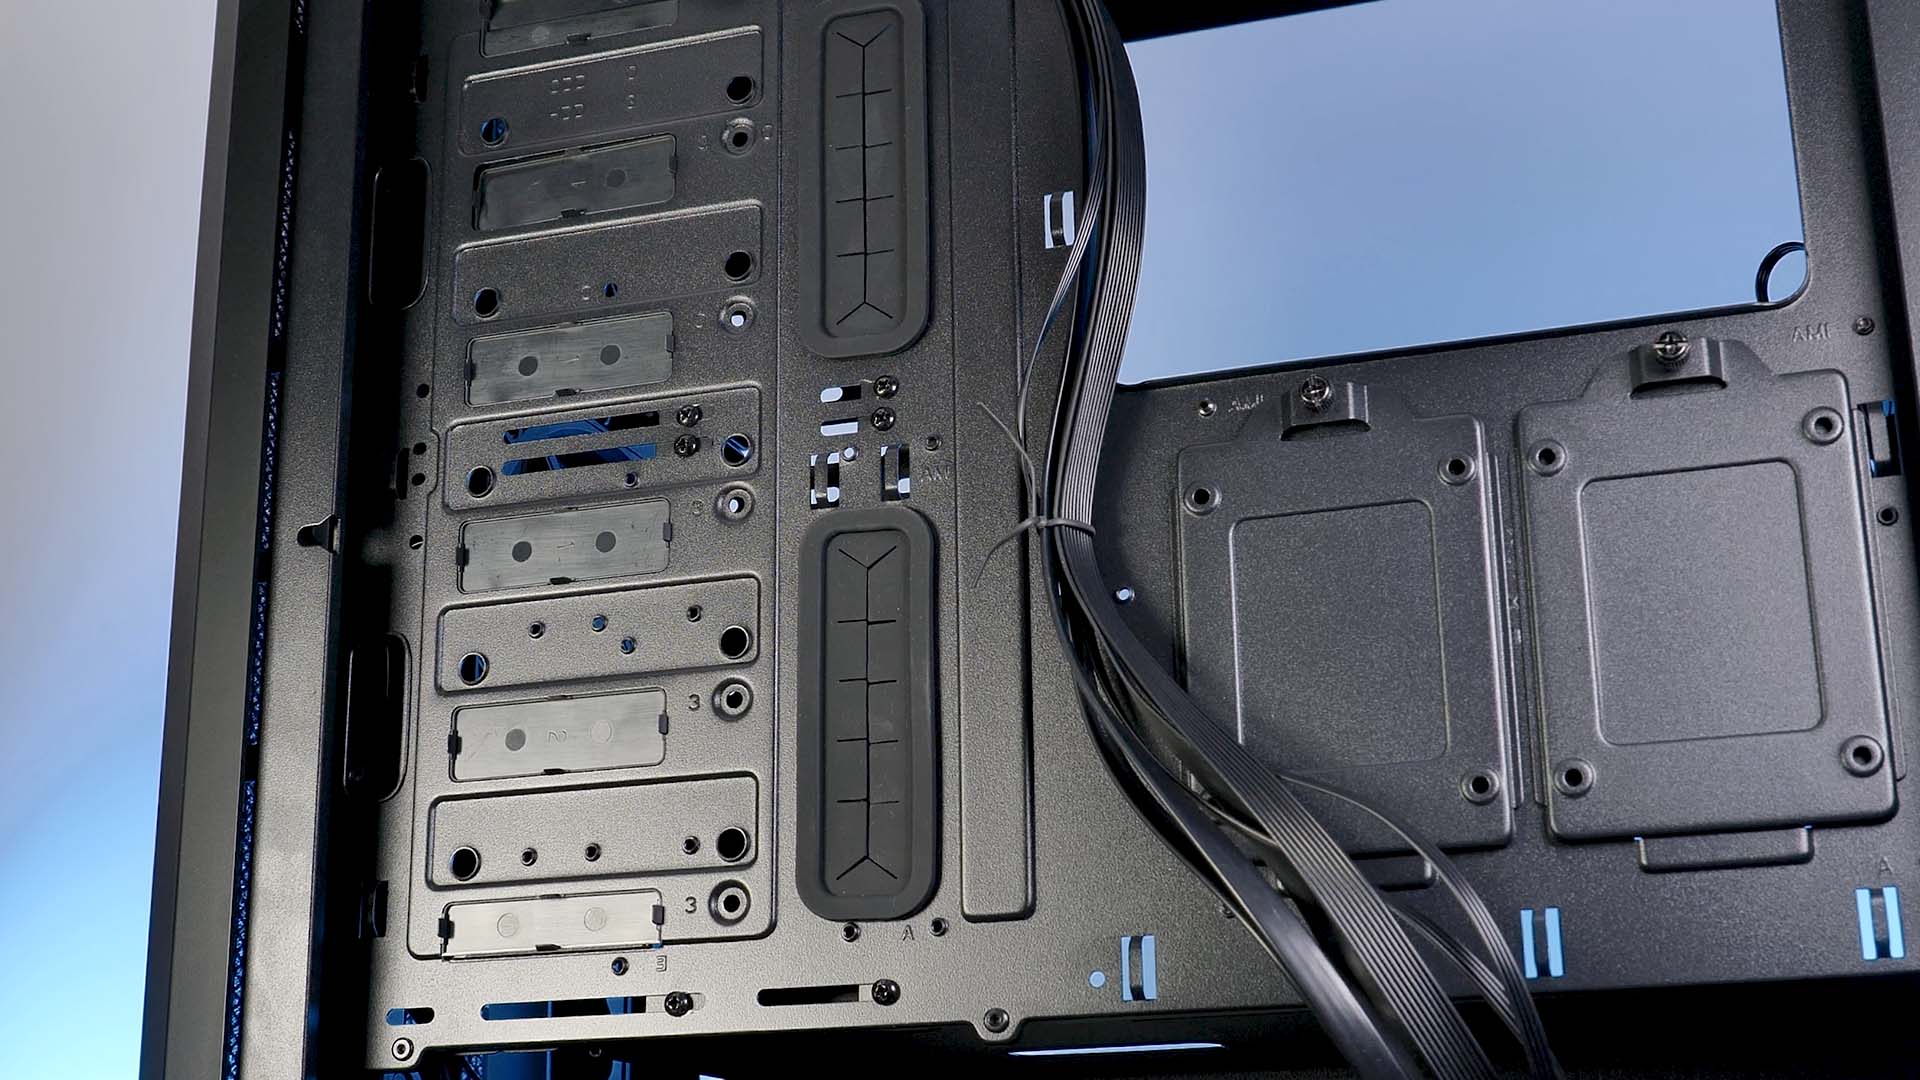
Additionally to the usual 2-2.5mm cable space behind the motherboard area, SilverStone made sure to distribute enough Velco- and Zip-Tie slots all around the case in order to keep your cables nicely tightened to the chassis.
A quickly overseen perk of the Seta H1 is the optional cable holes on the right side of the multi-function bracket. By popping out the plastic hovers from behind, we are free to use these holes for whatever we require them. These can be incredibly useful if oversized eATX motherboards are blocking the regular 24-pin holes.
IO
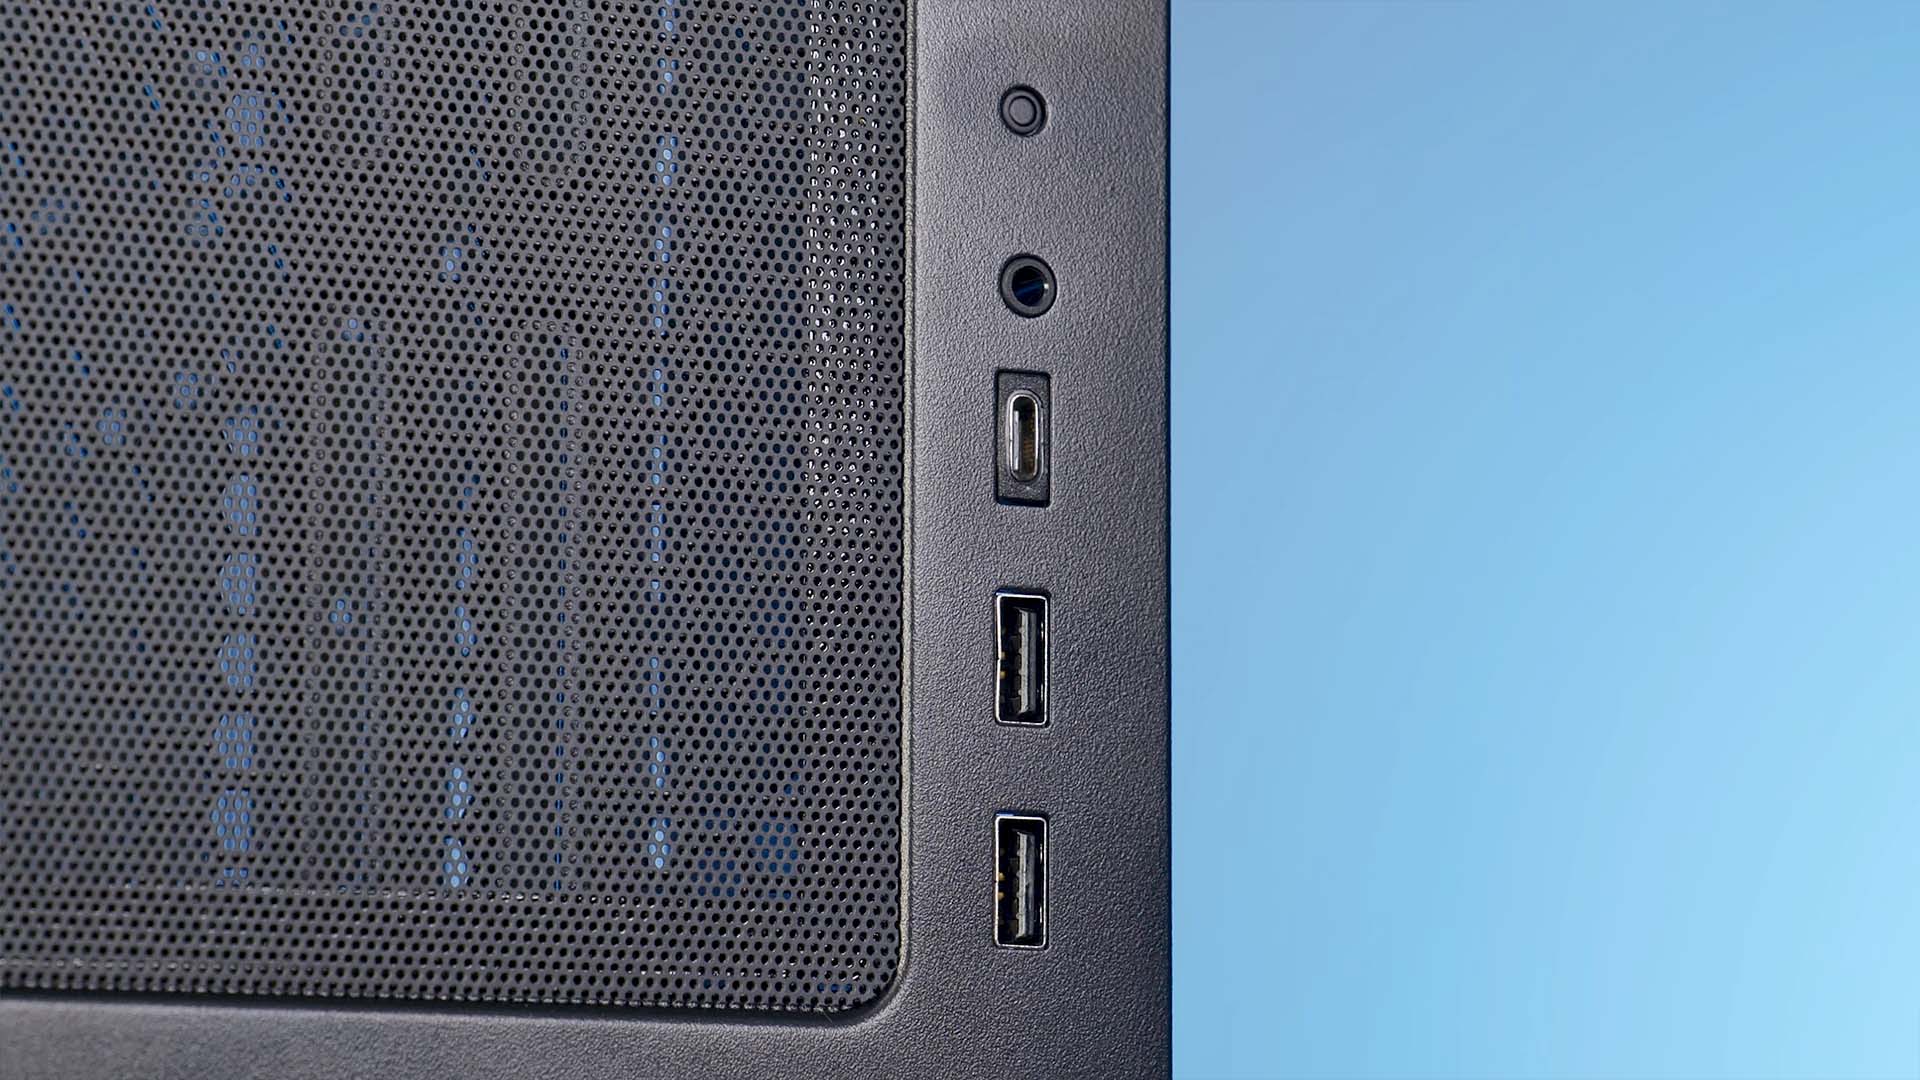
The IO panel of the Seta H1 is located on the front-right portion of the top panel. Here, we will find a dedicated LED or Reset button next to 2x USB 3.0 Type-A's, 1x USB 3.1 Gen 2 Type-C's and a combo Audio In&Out jack.
Cooling
Seta H1's most obvious advantage over other models is undoubtedly the cooling potential.
Coming with 2x 160mm intake and a single 140mm exhaust fan is nothing that should be taken for granted.
Although we would have loved to see all three fans use 4-pin PWM headers, we wanted to make clear that the case can be used with top-of-the-line hardware by default and does not require any sort of cooling upgrade. (though it's still possible).
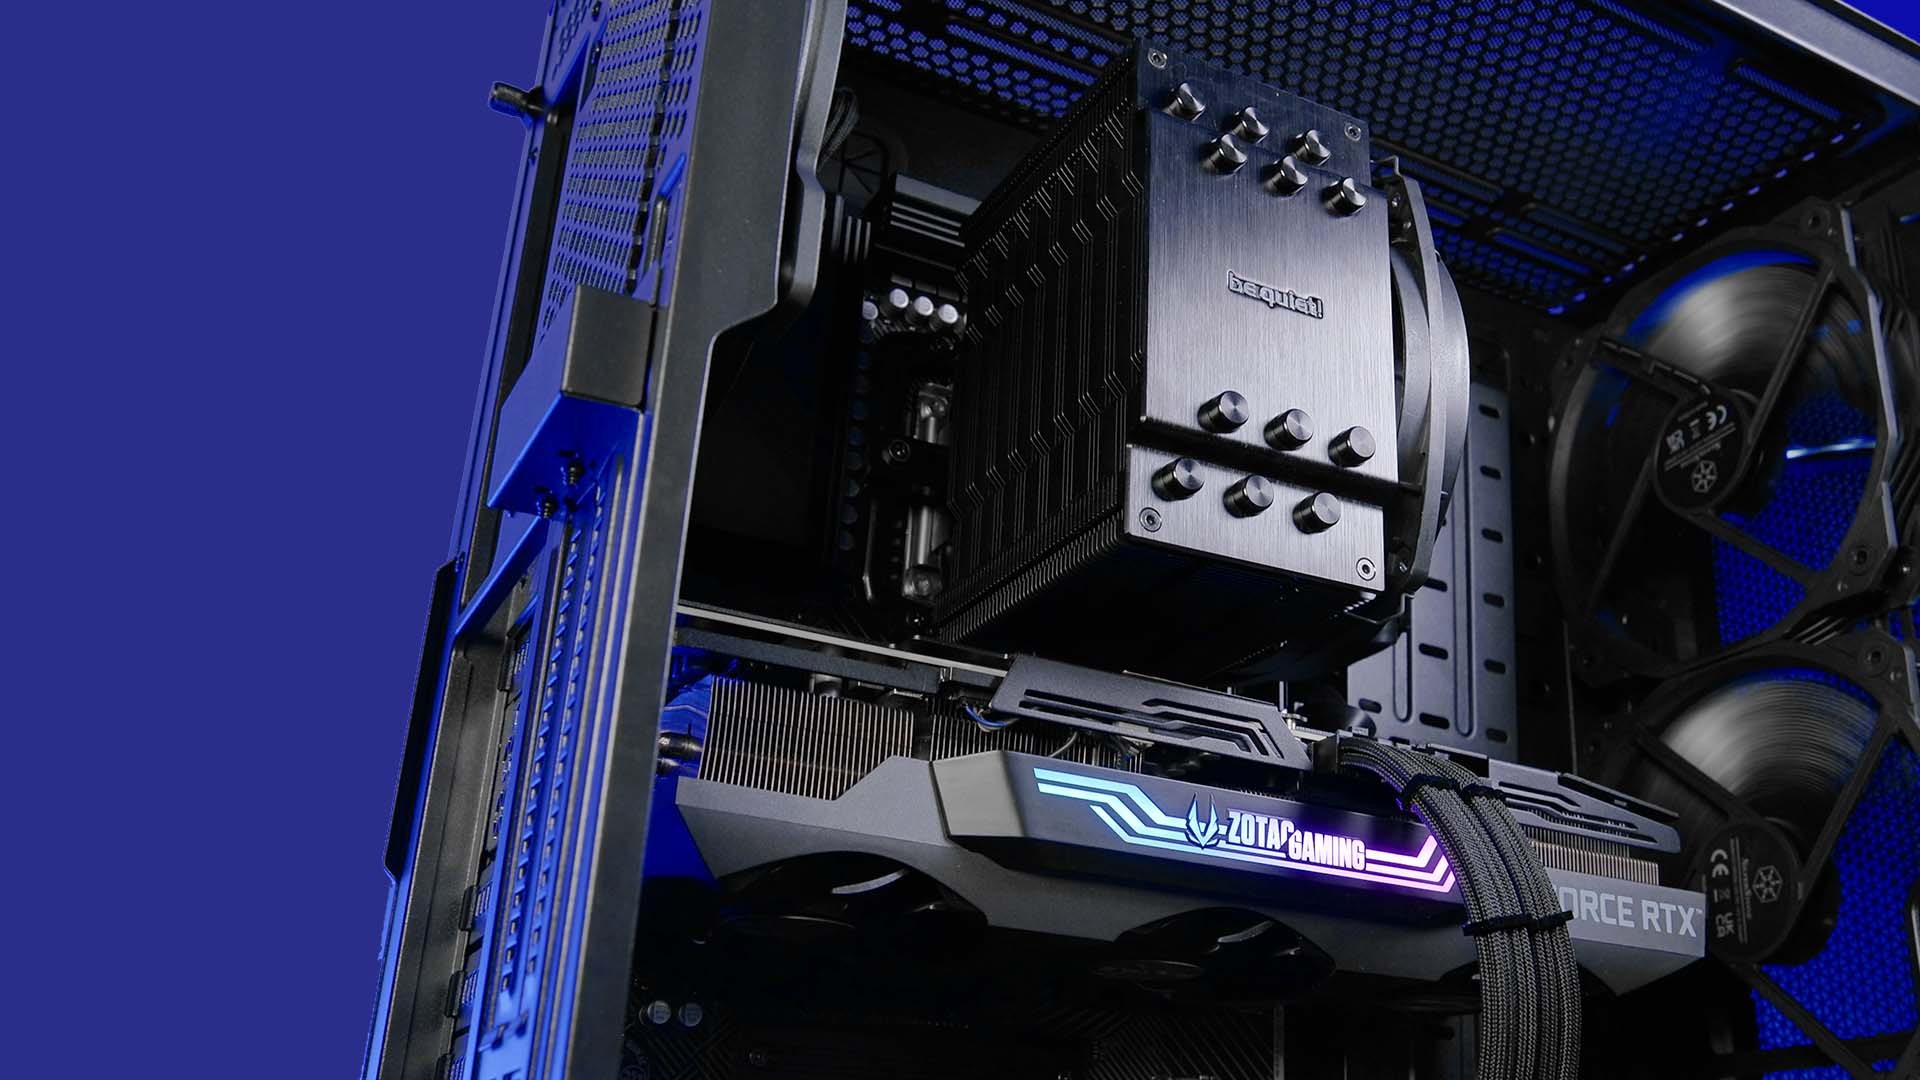
The cooling advantages of a Seta H1 are then even more enhanced thanks to the incredibly high 182mm CPU cooler height limit, or in other words: we have not seen any cooler exceed this height.
All in all, cooling-wise, the Seta H1 is a beast out of the box, but the potential with 4x 160mm SilverStone Fans is something we would love to dabble in.
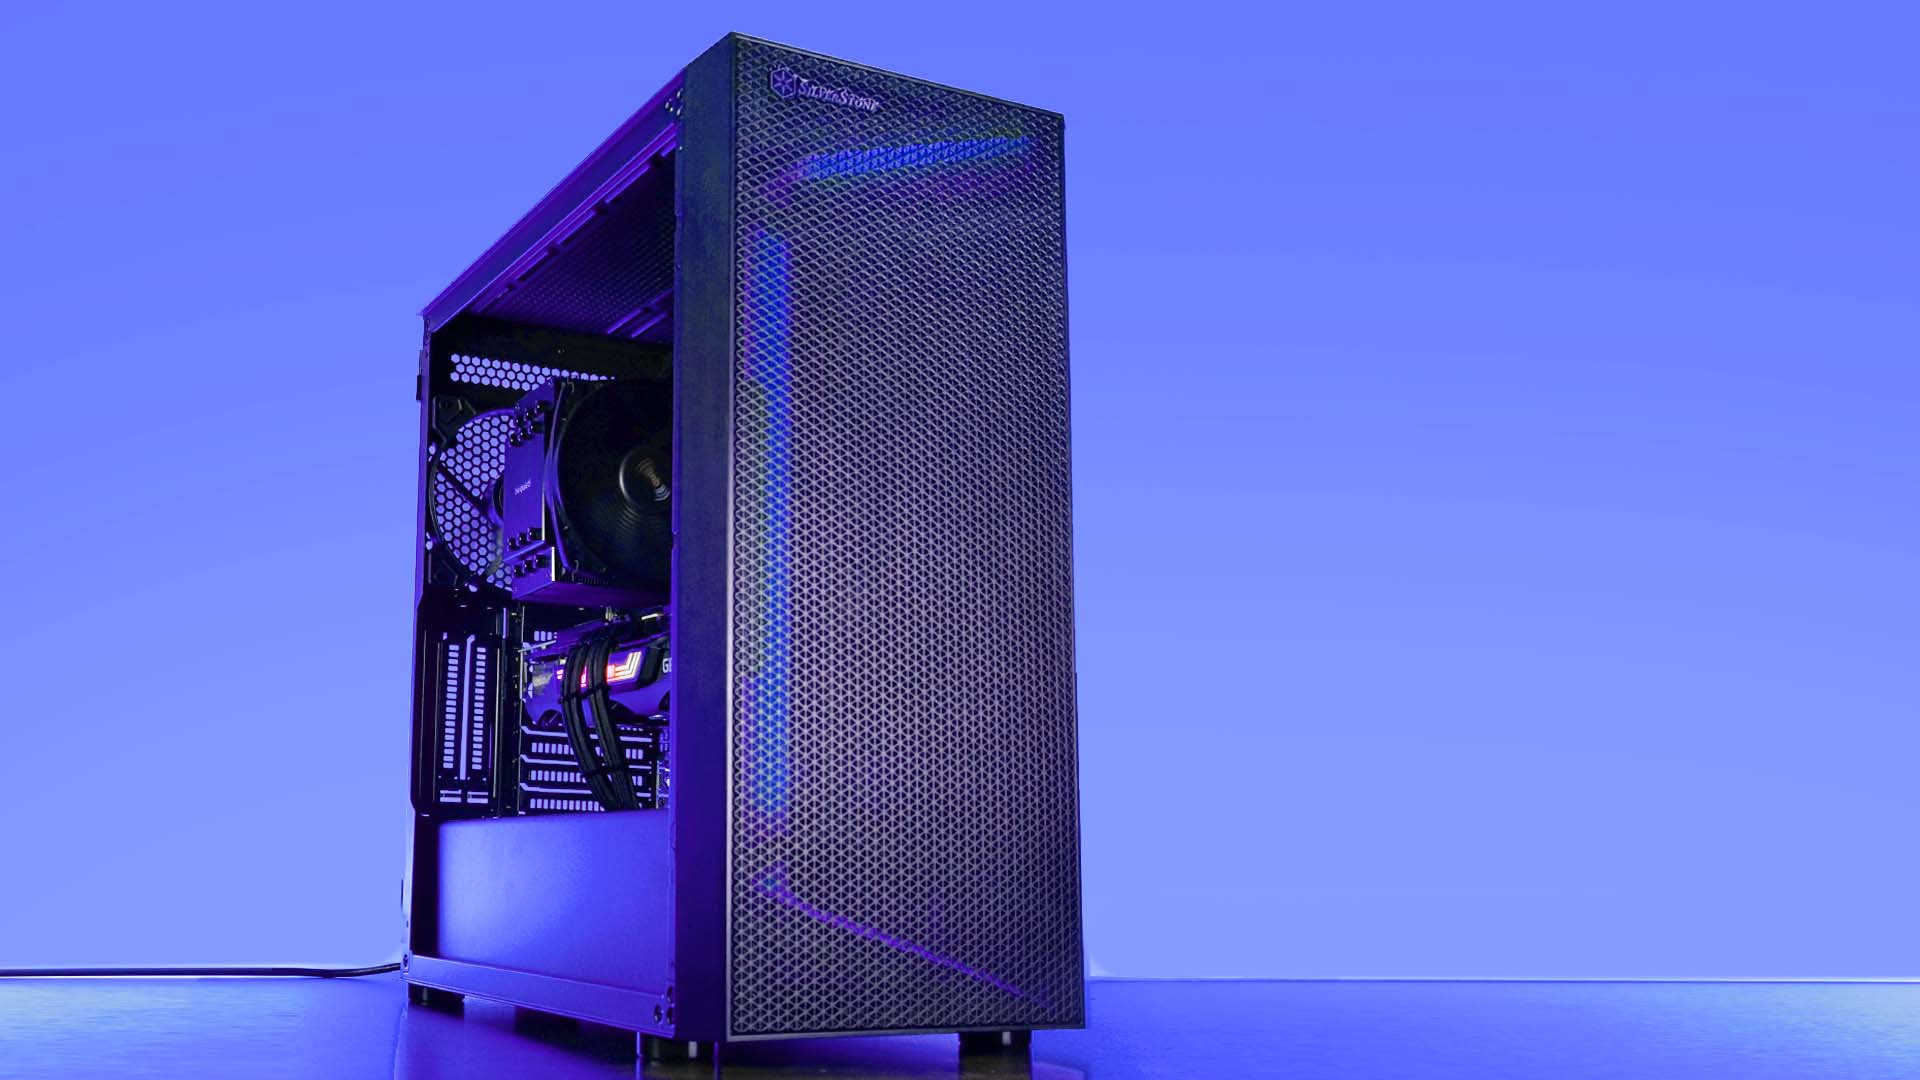
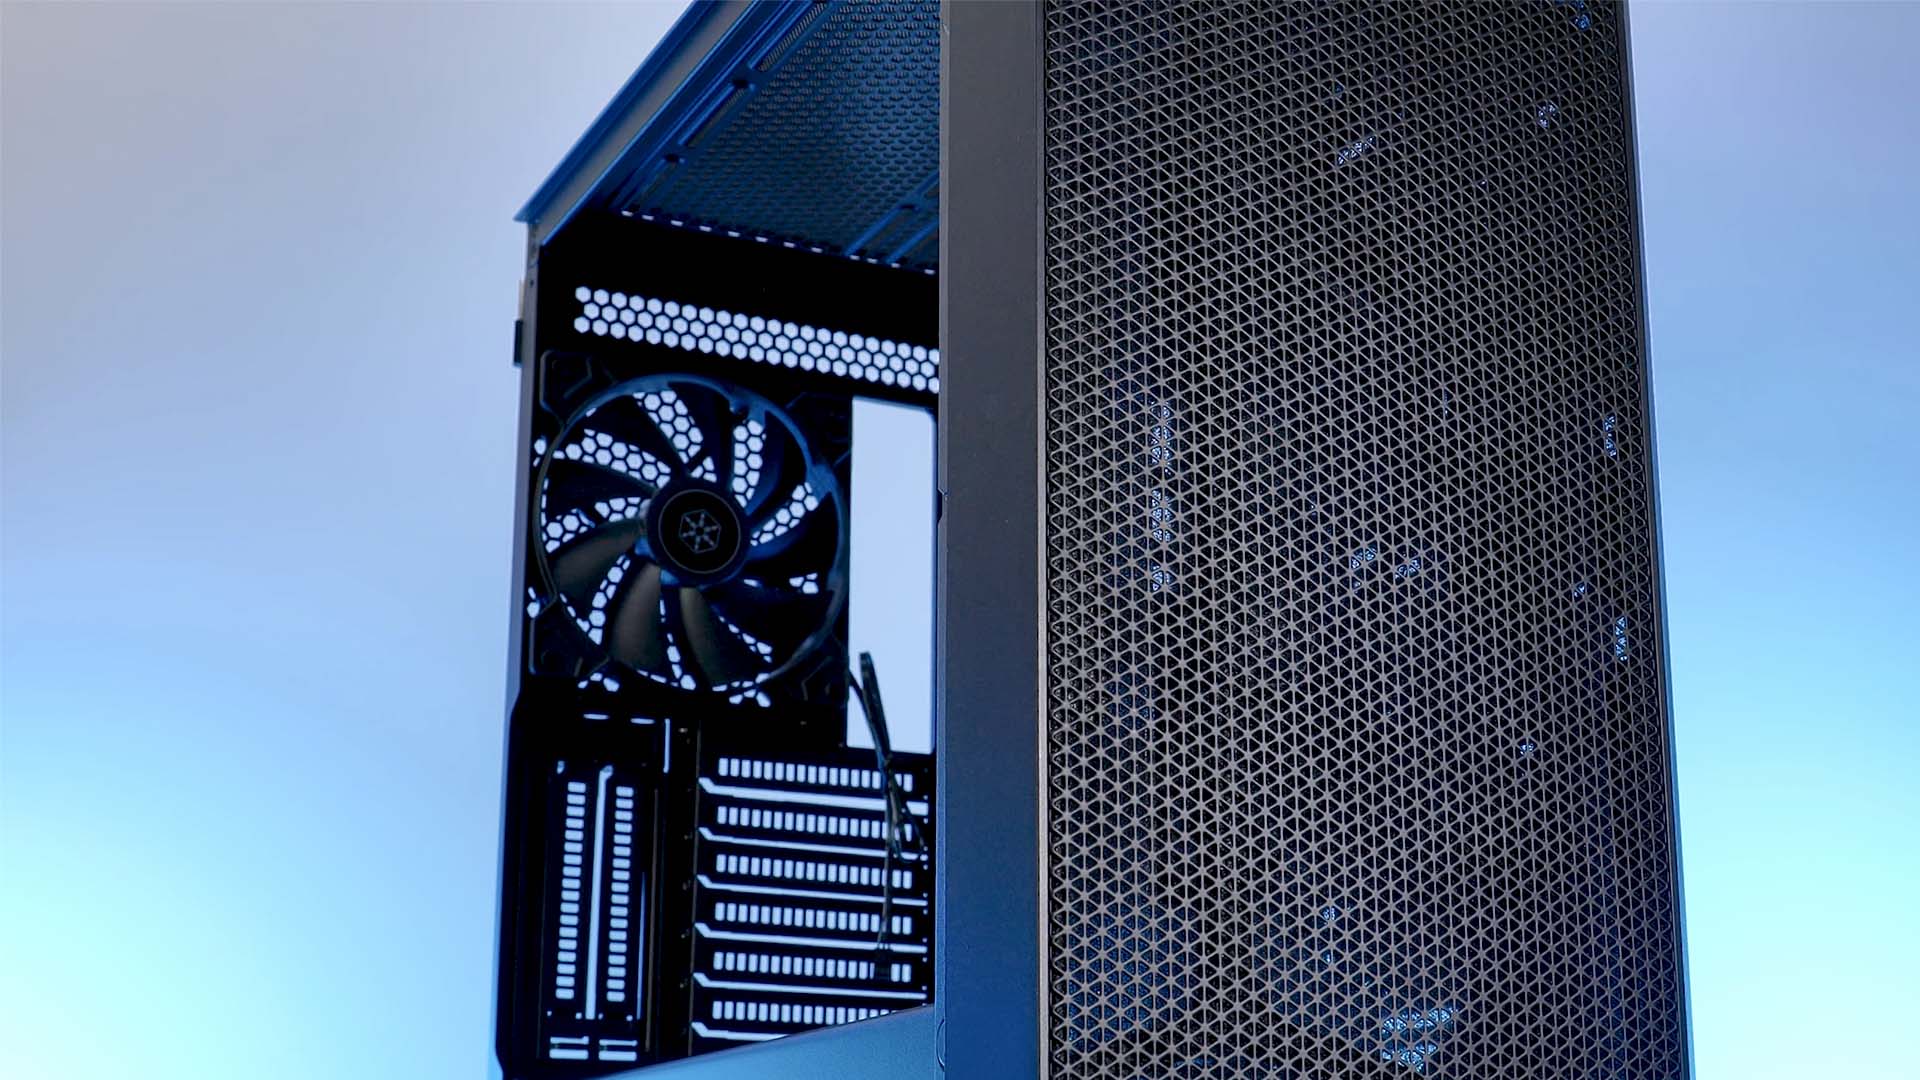
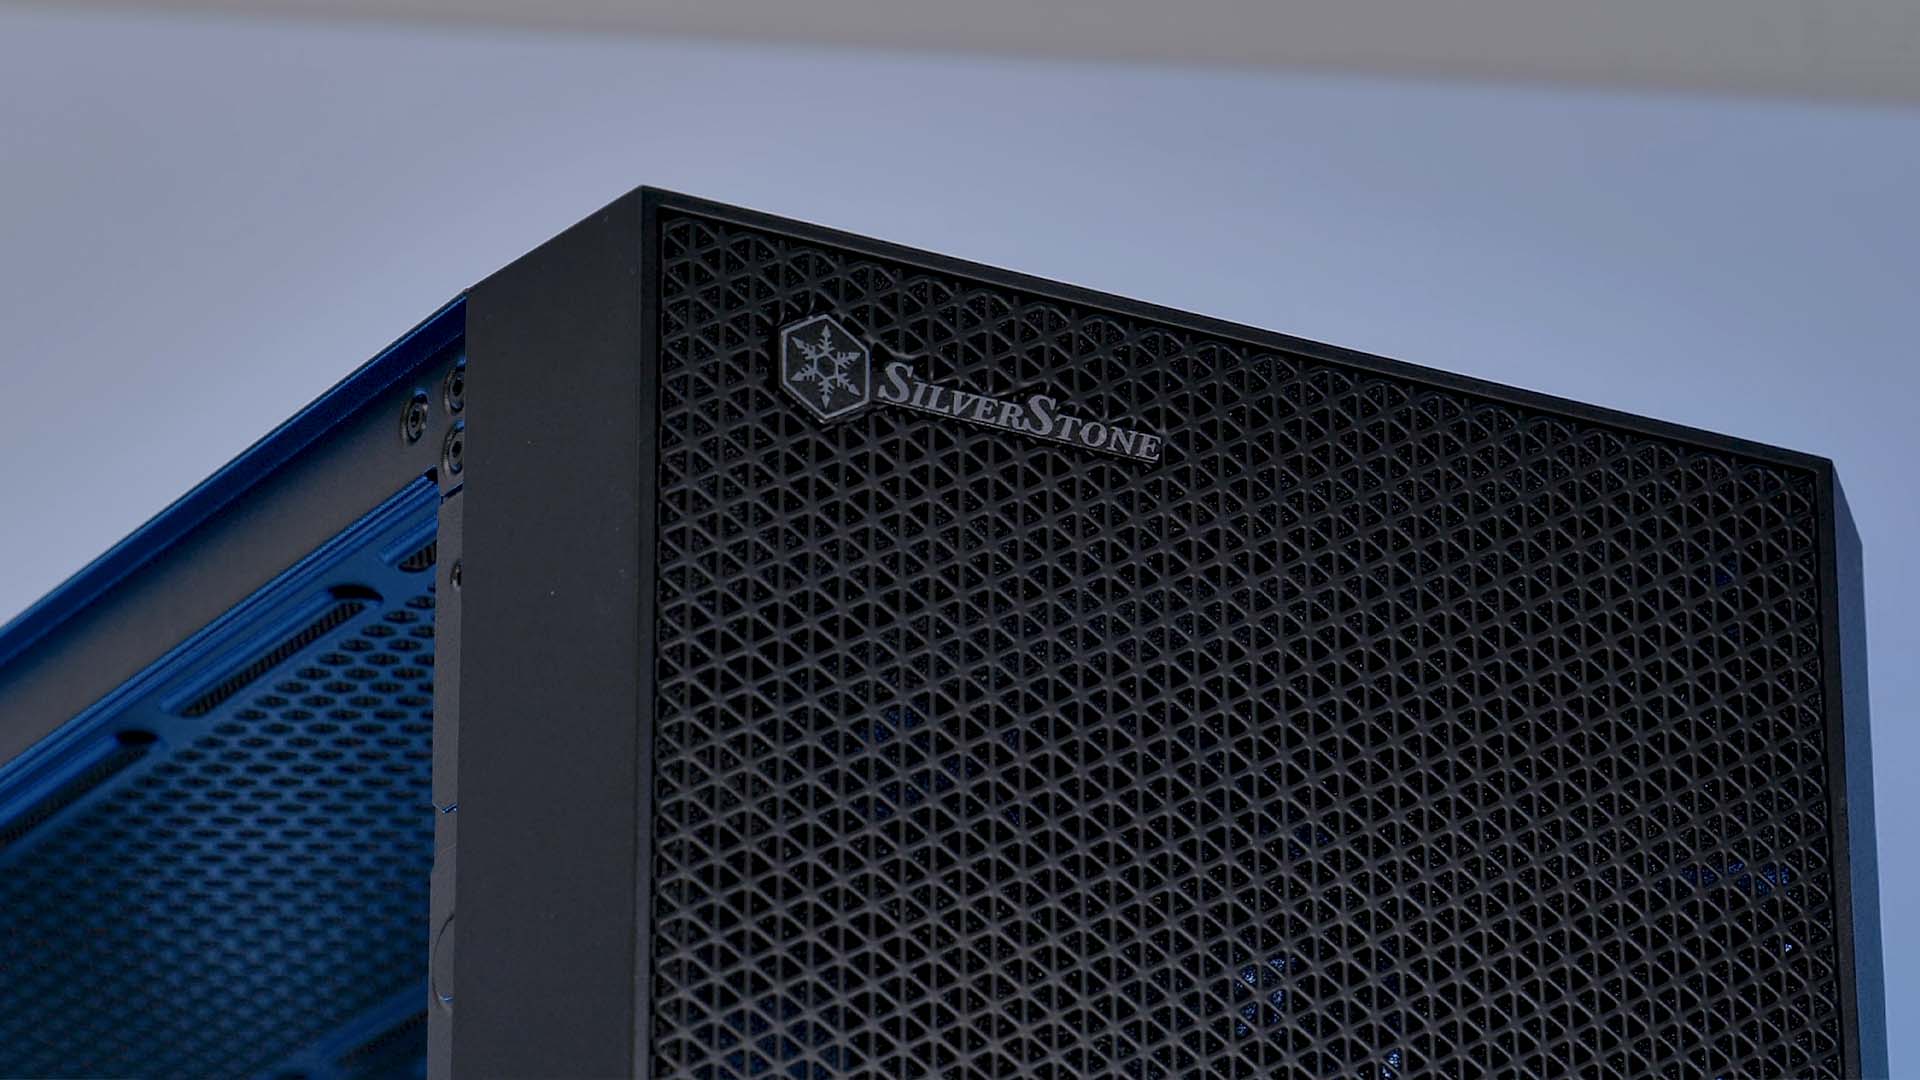
Design

Thanks to the Triangle-Mesh front panel, the case looks incredibly high-performance. Without any other outstanding optical features, the Seta H1 managed to keep up a very subtle look without any overbearing aspects.
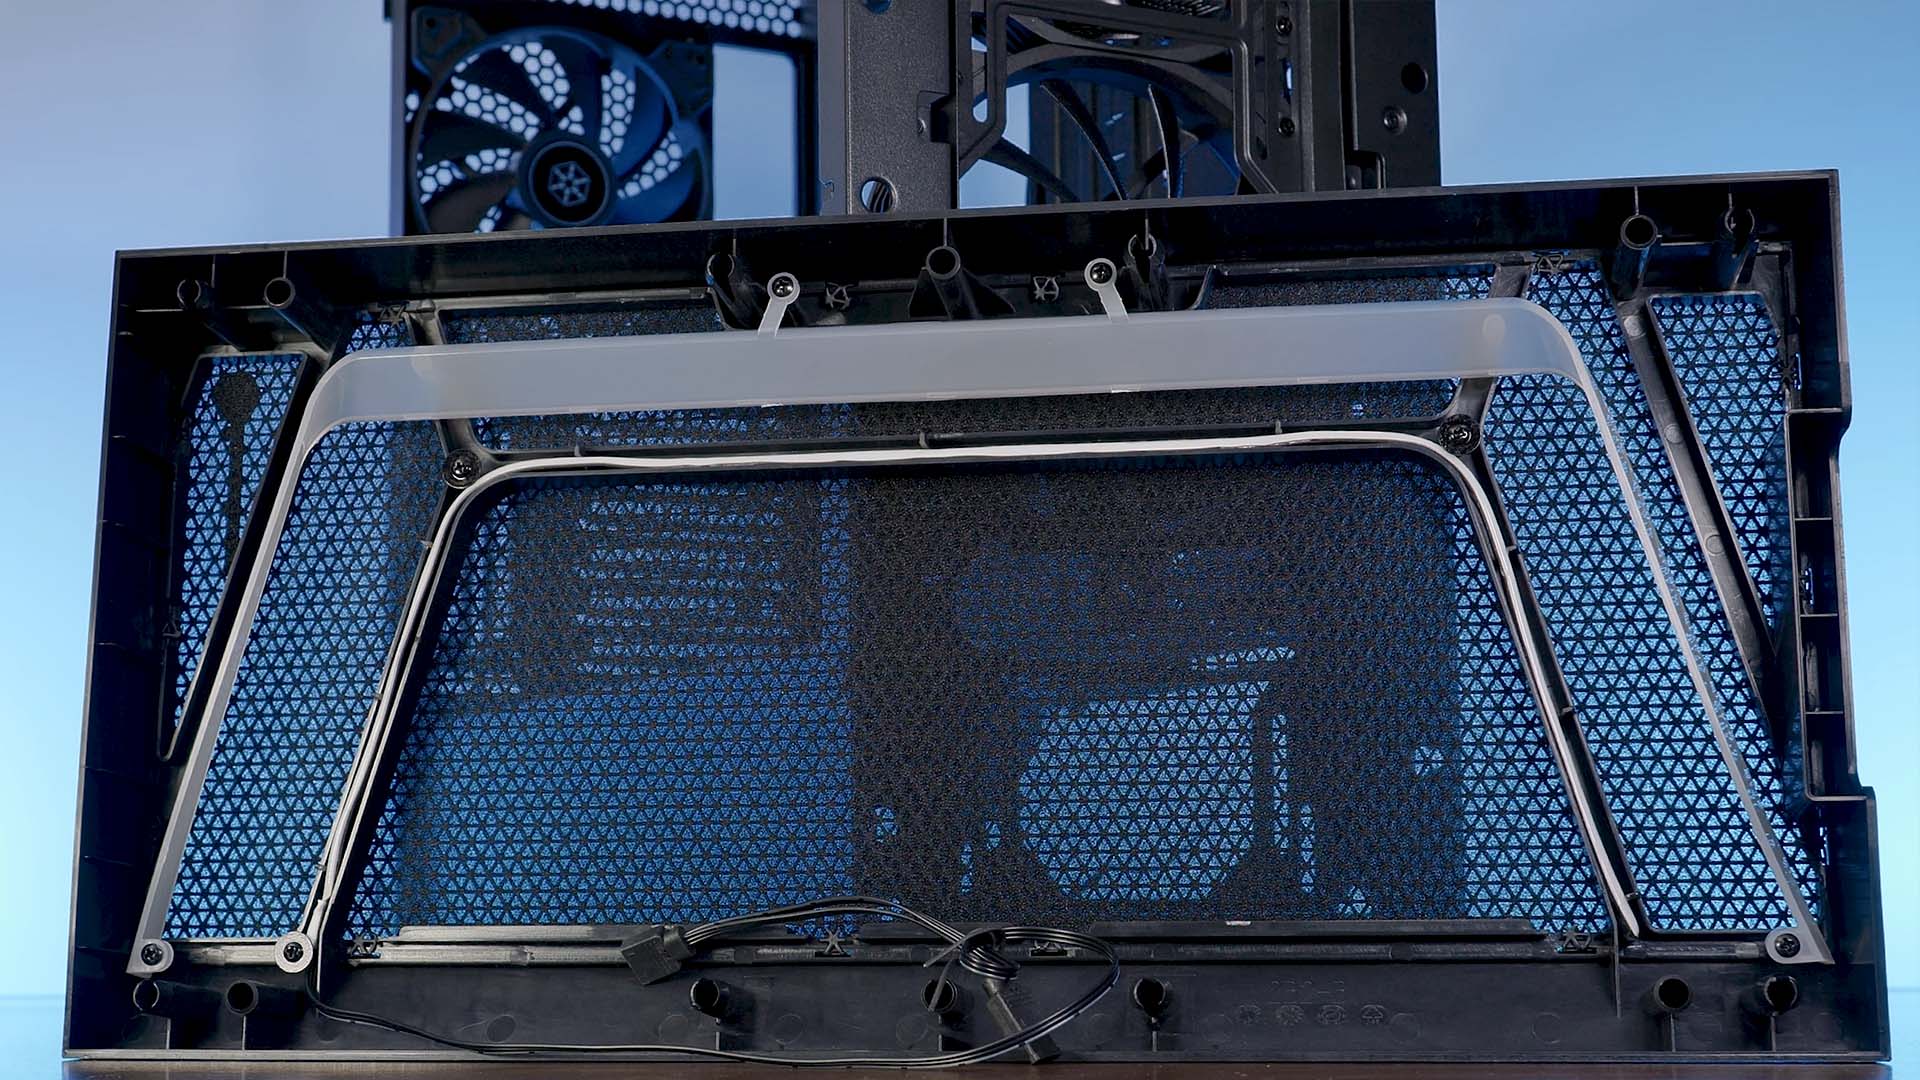
The only outliner, in this case, is the piece of milky-white plastic hidden within the front panel. This one is being illuminated by an ARGB strip sitting just a couple of cm's next to it. However, although the online images suggest an amazing ARGB block surrounding the case, it is actually barely seeable at all. No matter the lighting used in the room, or the effect and lightning strength set on your PC, the ARGB effect is highly subtle at best. You may like it, but we are not particularly impressed if something "cannot" stand out due to its strength.
Installation
Building inside the Seta H1 did not reveal any meaningful issues. Thanks to the number of cable holes and space behind the motherboard, Cable management was nothing hard either.

Using the multi-functional brackets was something nice-to-see, however, it did not particularly help either. As we tend not to use SSDs in favor of m.2 drives, we had nothing to mount to them. The only benefit that they may create for us at some point, is to use them as water reservoir holders.
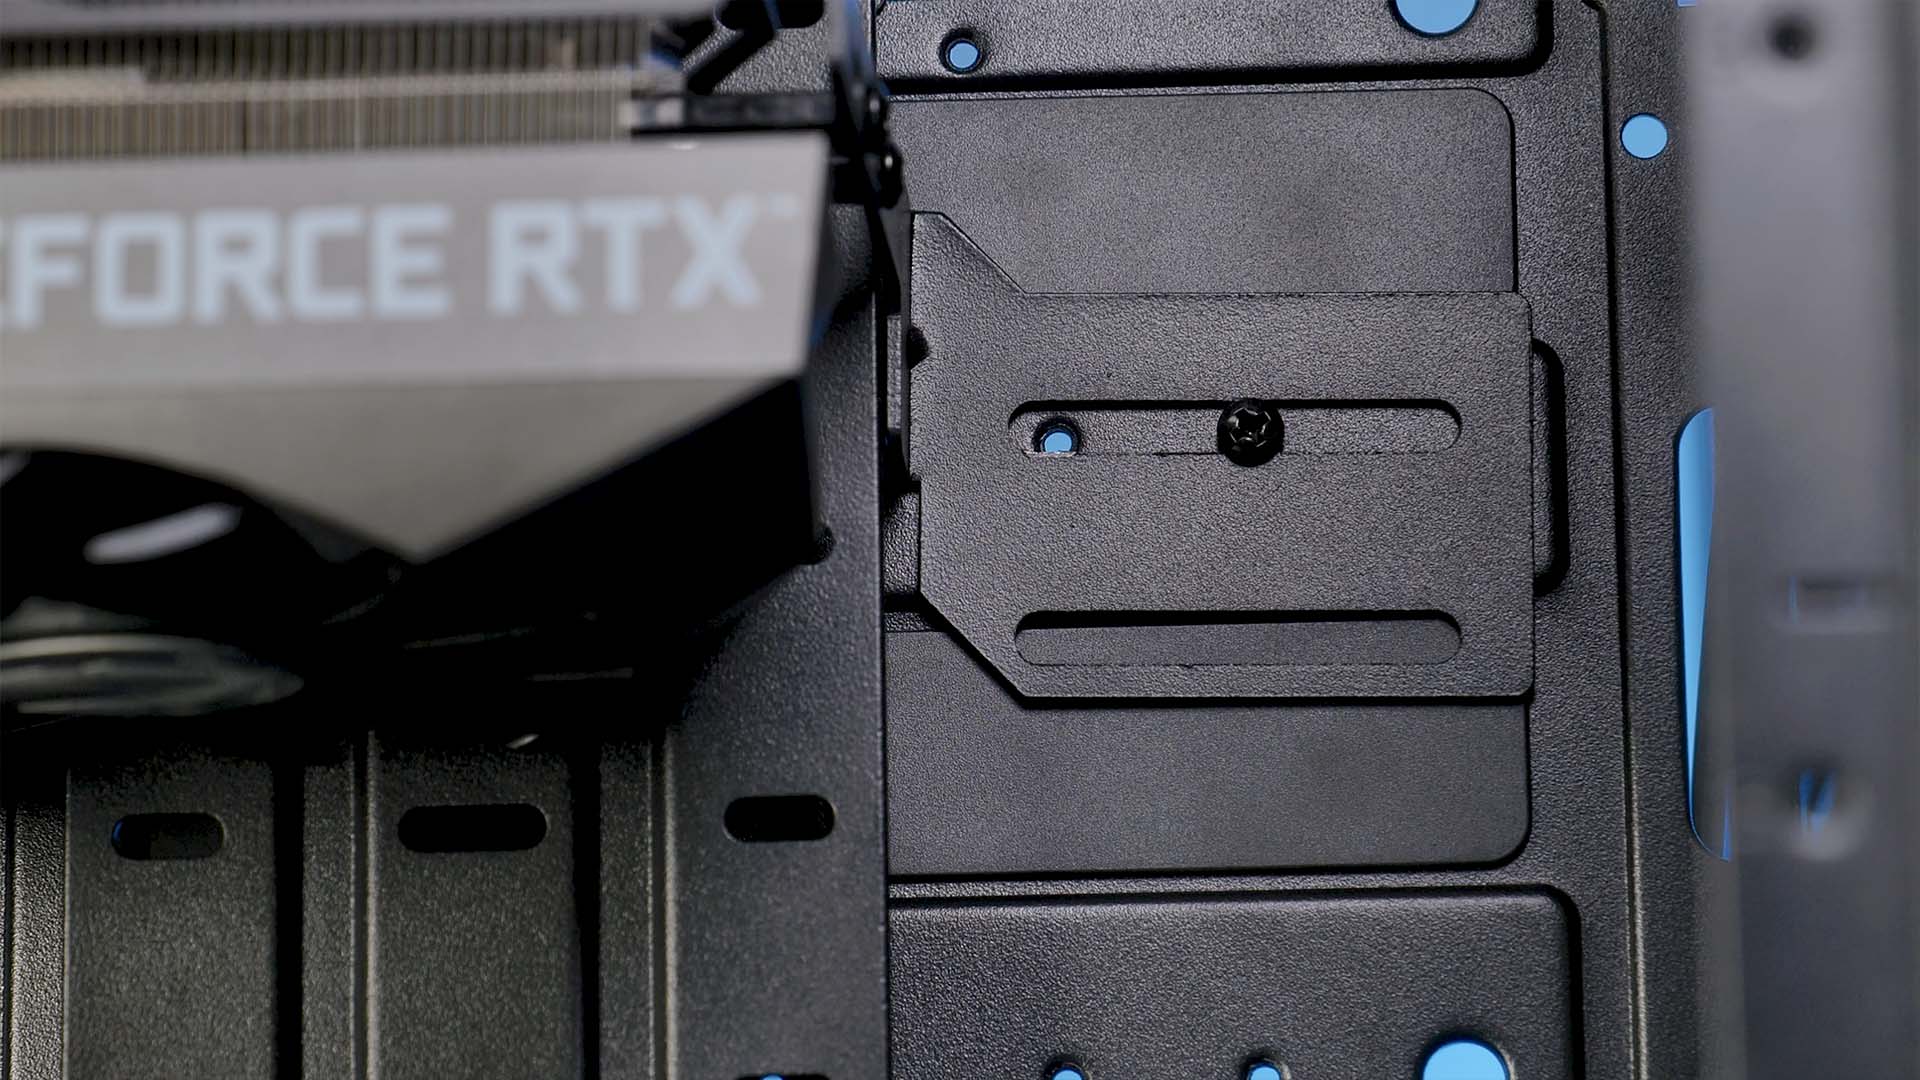
The only issue we've faced during all of our builds was the additional GPU anti-sack bracket. Although it was a great idea, it did not work natively with our Zotac RTX 3080ti, due to the brackets being too long and not fitting properly inside the GPU.
At this point, we realized that turning the bracket by 90° and adding some additional Foam on them while just resting the GPU on top would have made a lot more sense and made them universally compatible.
Conclusion
Most cases have something special that makes them unique or provides them with a good reason to choose it before every other one.
Some cases have amazing RGB, a unique design, great airflow, while others have great included fans.

For SilverStone's Seta H1, the unique aspect that scored the most points for this review is the 2x included 160mm SilverStone Shark Force fans in combination with the incredibly airflowy- mesh front panel.
By only relying on the cooling capabilities provided by the case in its default state, there is close to nothing that we could throw in which would overwhelm it.
The amount of air going in- and out of the case is uncanny.
However, the Seta H1 comes with quite a lot of upgrade paths as well. The top panel provides support for additional 2x 160mm fans, while the front can actually be used for an up to 420mm radiator.
Although the Seta H1 can score many points in the cooling category, we also found some not-so-positive aspects during this review.
The RGB implementation was lazy at best. Although the idea might have been good on paper, the LEDs used to light up the piece of acrylic inside the front panel are by far not strong enough for the desired effect. This then leads to a white piece of plastic stuck inside the front panel which does almost nothing.
Staying on the topic of materials used within the front panel, during our review, the front panel started to pick up dust. This is nothing out of the ordinary, and before filming, we tend to clean a case using some Isopropyl Alcohol. For unexplainable reasons, this leads to the front panel collecting even more first leaving it in a very undesirable state.
We are unsure of the exact cause for this, but considering that we clean every case in the same way, we believe that the materials chosen for the front panel are the issue.
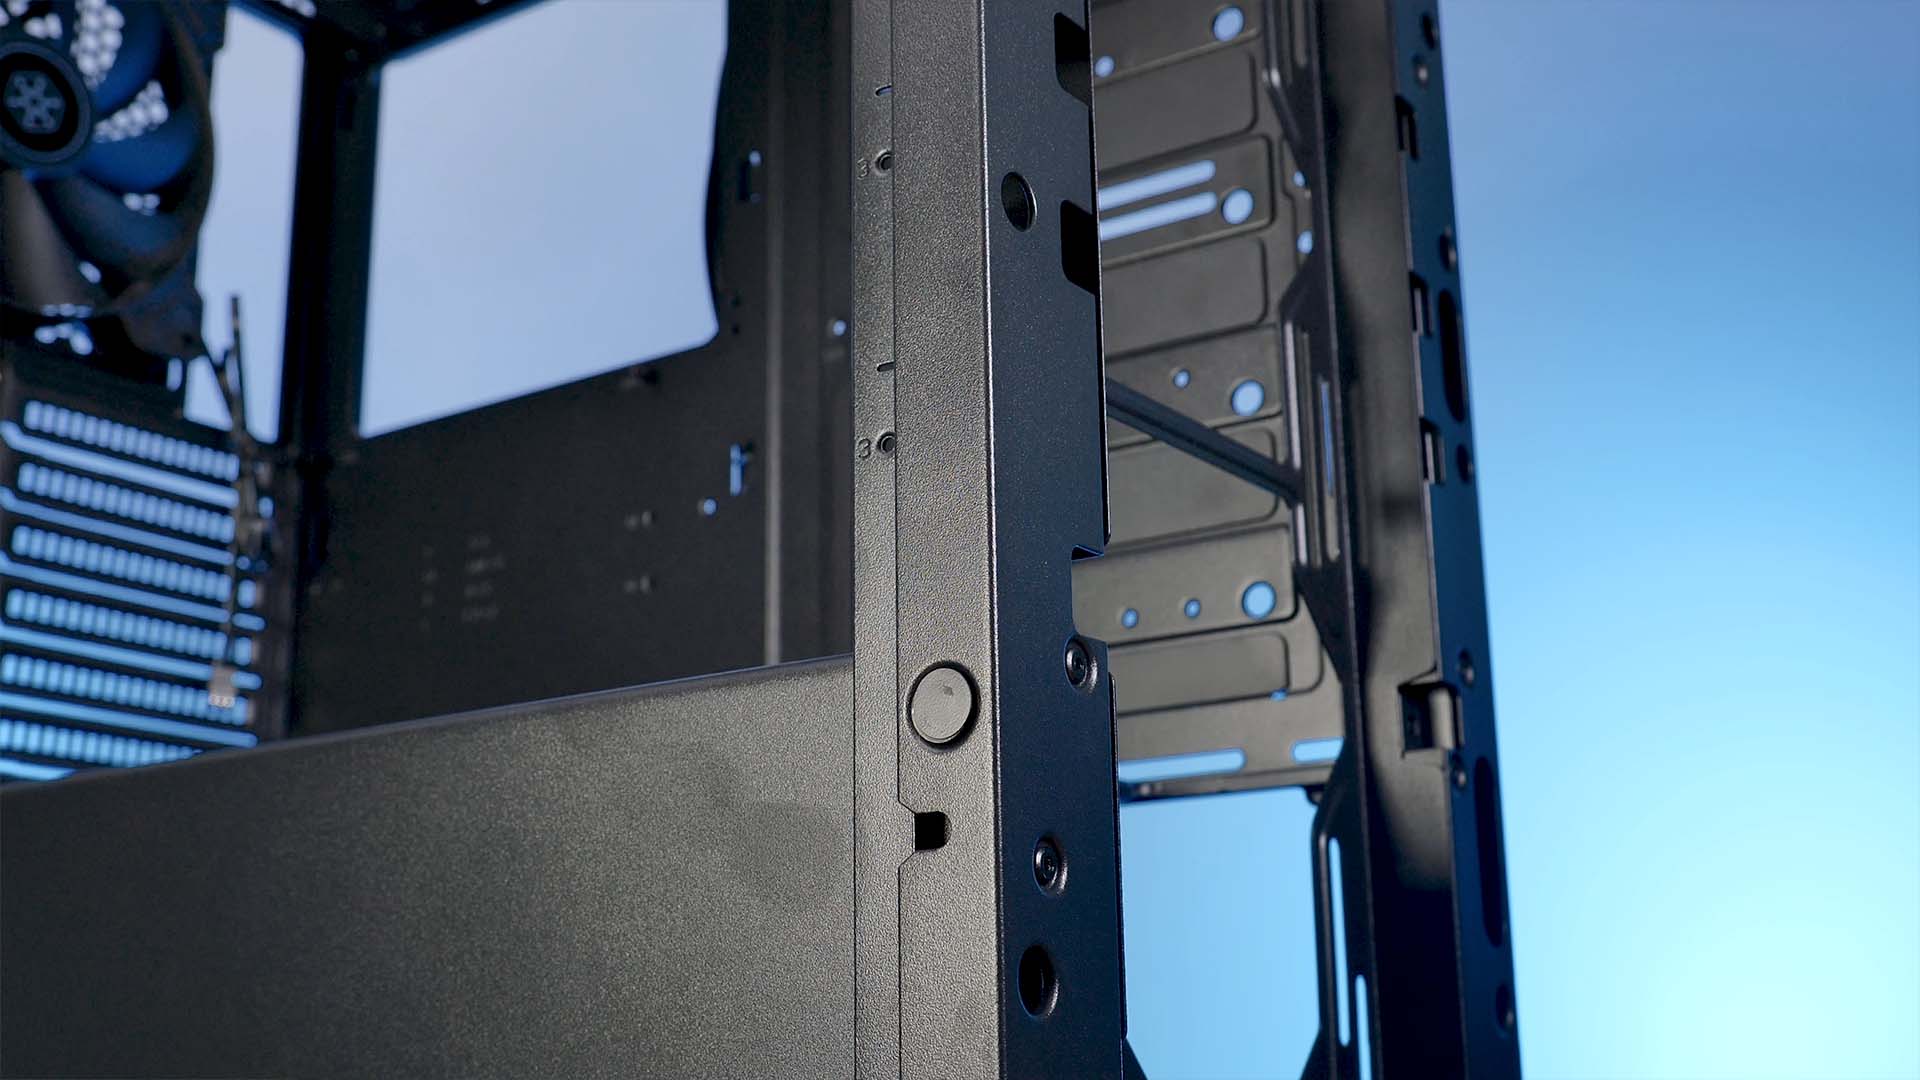
Other than those two issues, there are not many points that we are unhappy with. The build quality of the Seta H1 managed to score some extra points, nothing wiggles too much, though the feet could have been .5cm higher.
The vertical GPU mounting option is a great surplus, however unusable without a full water block unless you want to suffocate your GPU.
All in all, there are a lot of positives and negatives, however, for us, the scale is still tipped on the positive side thanks to the enormous fans SilverStone included, as well as the possible upgrade path for additional Airflow.
Due to this, we are recommending the case, and we believe it to be perfectly usable in its default state.

Gelid Stella Review
Gelid tries its luck on the already saturated RGB Fan market with a budget-oriented option called STELLA. Lets see what their
Read More
be quiet! Pure Rock 2 FX Review
As part of be quiet!s 20th year anniversary, we got a bunch of FX Series products that try to upscale the performance of the
Read More
Alphacool Core 120 4000RPM Review
While the Core 120 2500 was mediocre, the 3000RPM version had at least some headroom. Now lets see if we can maximize it on t
Read More
Noctua NH-L9x65 Review
Noctuas NH-L9x65 is probably the beefiest Ultra-Low-Profile CPU cooler you will find which will handle the job. Doubling down
Read More